Category: Recipes

  • Tiramisu cupcakes and the best ever tip I learned about gluten free baking

    Tiramisu cupcakes and the best ever tip I learned about gluten free baking

    Last week I had some spare mascarpone left over from making a delicious gnocchi bake. Craving something sweet, I decided to have a go at making some tiramisu flavoured cupcakes with the mascarpone as a topping. Tiramisu is one of my all time favourite desserts, so I thought I’d see if I could recreate the flavour.

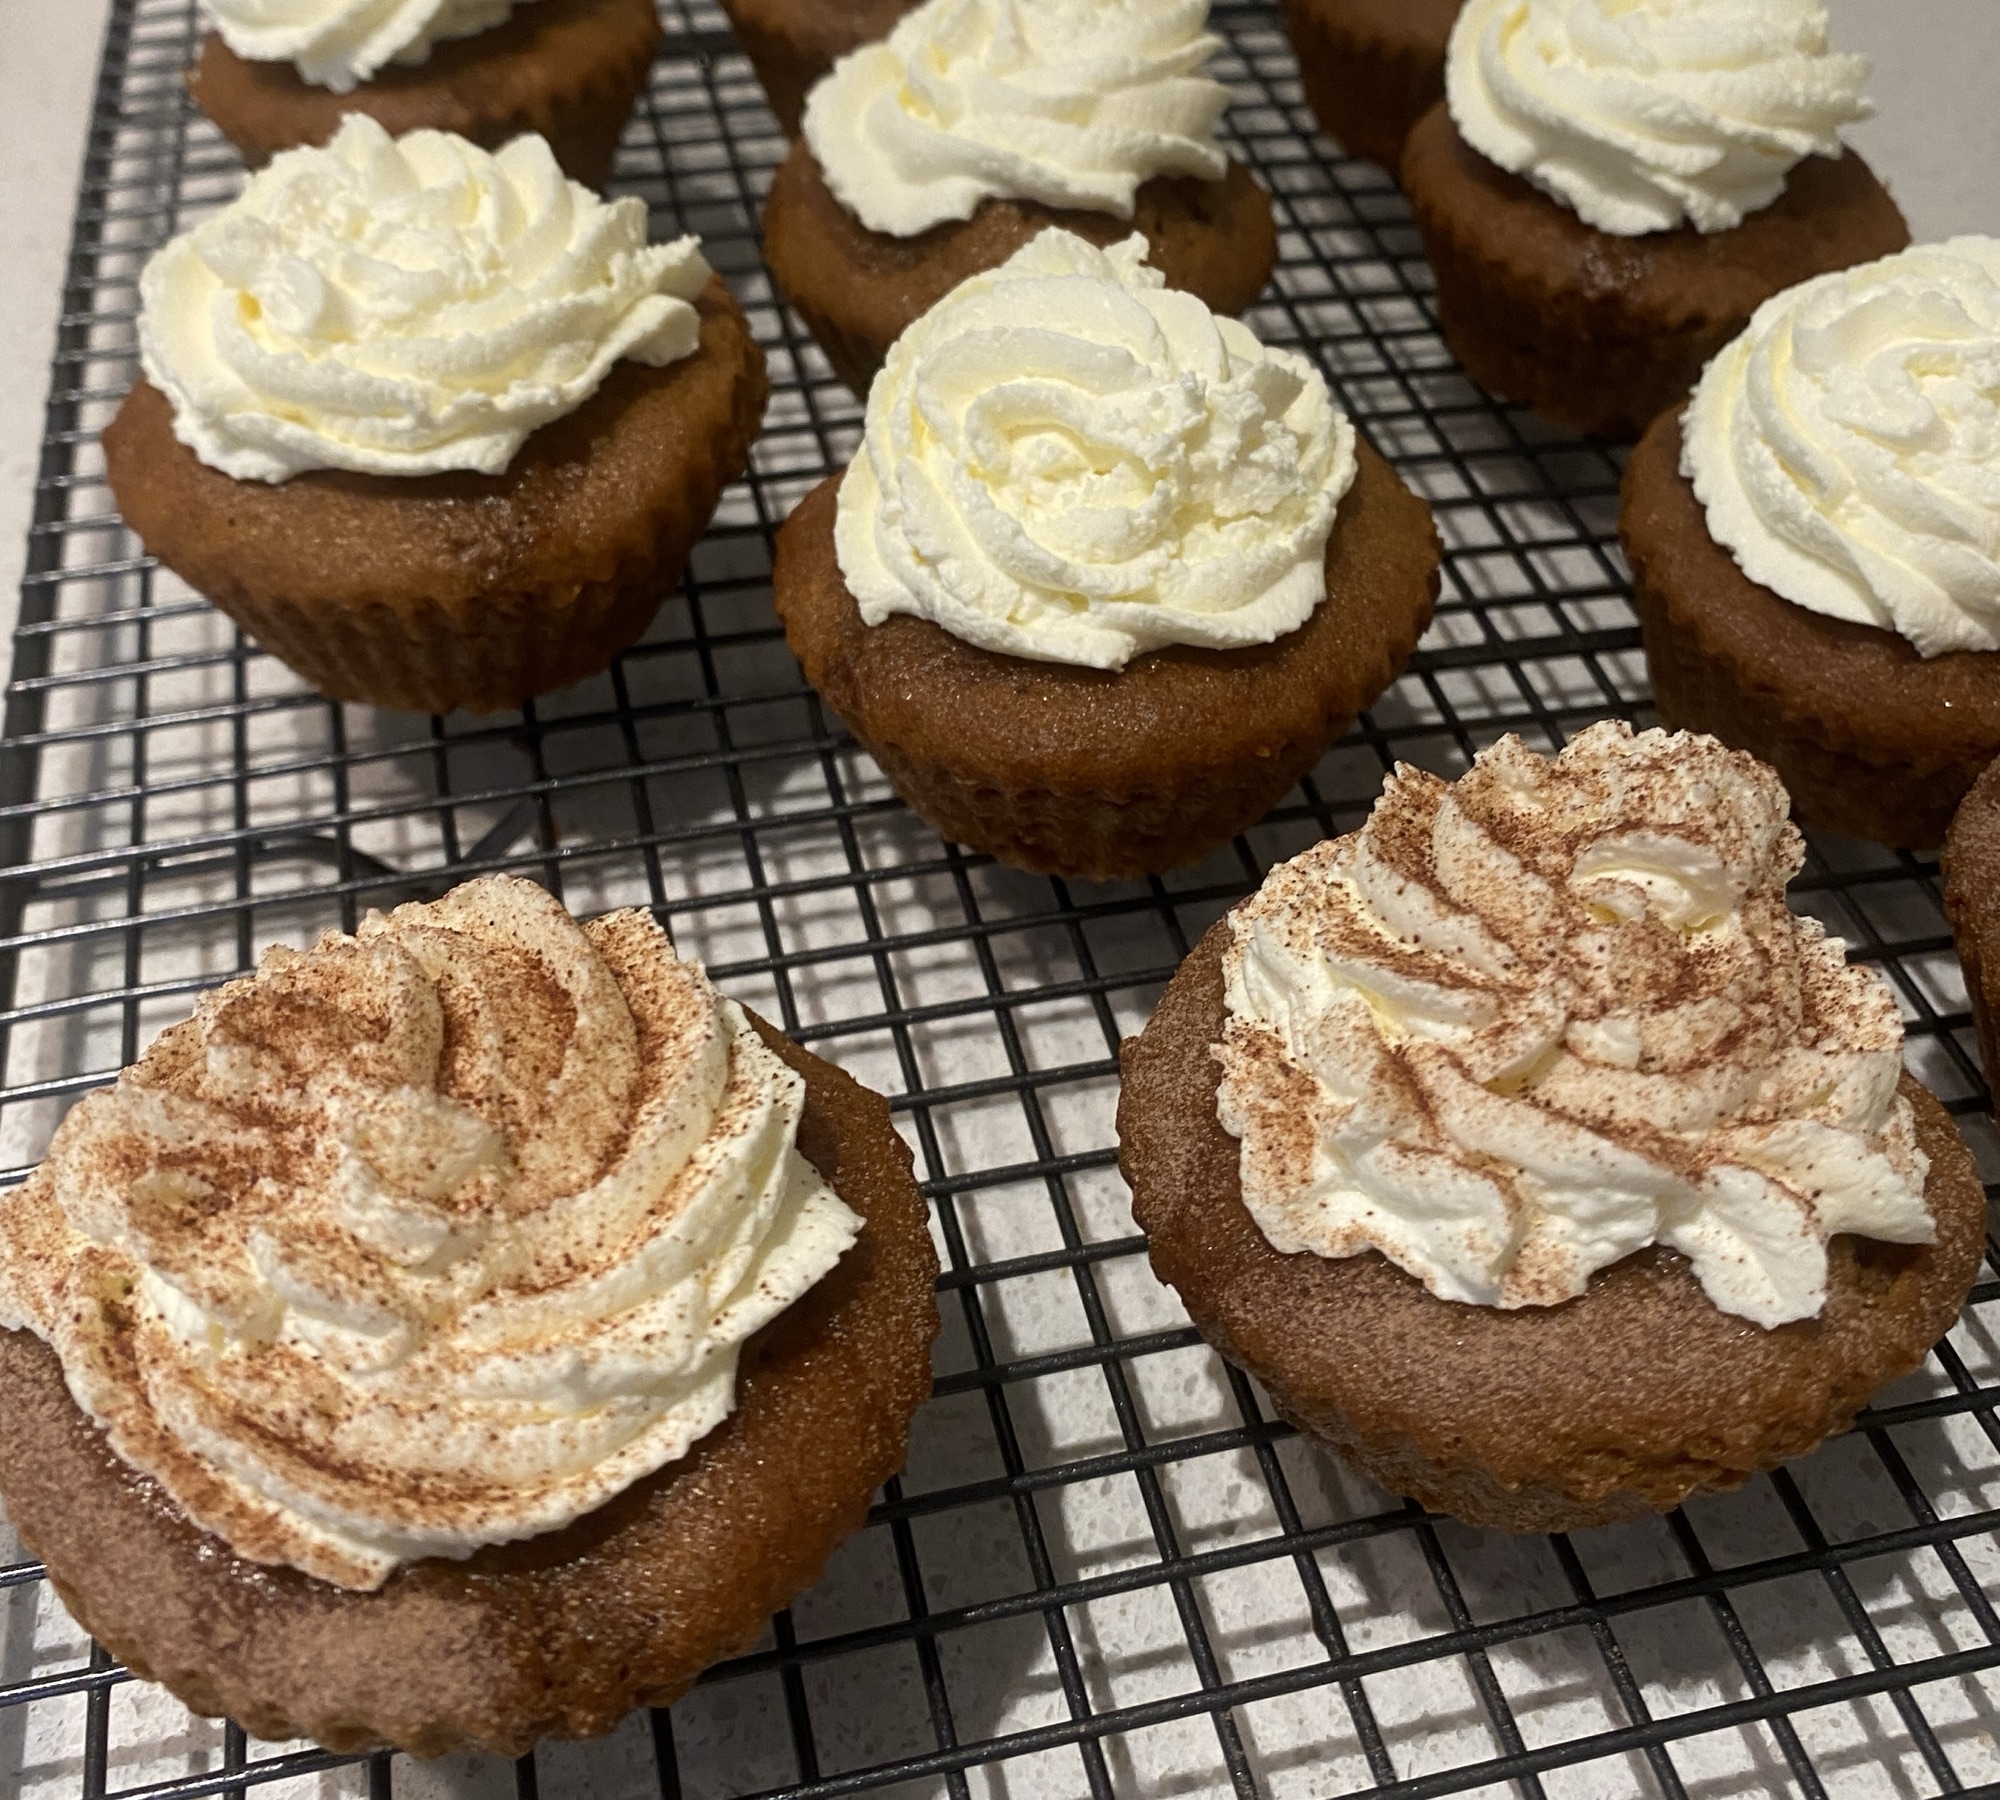
    A cooling rack with three brown coffee cupcakes with a whipped cream and mascarpone topping, sprinkled with chocolate powder. Others are in view at the back

    I don’t often make cupcakes but I invested in some silicon cases especially for these, and did a bit of research. There are loads of gluten free cupcake recipes. They tend to involve sugar, butter, SR flour, xanthan gum and eggs in various quantities (there was a surprising amount of variation) but on browsing specifically for coffee cupcake recipes, I came across a tip I had to test out. This came from the Gluten Free Alchemist, and it was to add some yoghurt to keep the cakes moist.

    I couldn’t follow her recipe as it was for coffee and walnut and included ground nuts, which I didn’t want to use in mine – so I borrowed the tip and created my own recipe using an amalgamation of what I’d seen on various sites. I’m not normally one for inventing baking recipes but this was a fairly low risk situation.

    There are two more important tips I learned which came in handy for this bake:

    1) Let your gluten free cake batter rest for 20 mins before baking it. Gluten free flours take more time to absorb moisture than regular flour, so resting helps soften the grains and improves the texture.

    2) If you’re using silicon cases, like I was for the first time, take the buns out before they cool, so they don’t go soggy from trapped moisture.

    So on to the recipe:

    To make 12 coffee flavour cupcakes, I used these ingredients:

    • 115g salted butter, room temperature, cubed
    • 30g caster sugar
    • 85g dark brown soft sugar
    • 2 large eggs, beaten
    • 115g gluten free self raising flour
    • 1 tsp baking powder
    • 1/4 tsp xanthan gum
    • 4 tsp espresso coffee powder
    • 3tbsp yoghurt
    • 1 tsp vanilla extract

    First, mix together the coffee, yoghurt and vanilla in a small bowl, and leave it to sit.

    Cream together the butter and sugar in a medium sized mixing bowl using a whisk.

    Add half the beaten eggs and sieve in half of the flour then continue to mix carefully with the whisk. Then add the remaining egg and sieved flour along with the baking powder and xanthan gum.

    Finally, mix in the yoghurt with the coffee and vanilla.

    Rest the mix for 20 minutes, during which time you can put the oven on and warm up a flat metal tray if using silicon cases. (I baked these at 155C to account for the silicon cases acting as an insulator).

    Spoon the batter into the twelve cup cake cases and pop them on the heated tray. Bake for 25 minutes. I turned mine round after 18 mins but as you can see they still have a slightly uneven rise, so next time I’d probably turn them a little sooner (not too soon to avoid collapse).

    After five minutes, remove from the silicon cases onto a cooling rack.

    If you’re using paper cases, bake at 170C for 15-20 mins

    What you can’t see from the screen capture below is how springy the cakes were. I can’t add a video here so here’s a link to my Instagram reel – it’s really worth a look. They were brilliant!

    Once cooled, I pricked the cup cakes with a skewer and drizzled in a mixture of Kahlua, espresso and icing sugar. Then I piped on a mix of my leftover mascarpone and double cream. Another top tip if you happen to be mixing these – if you’ve got more double cream than mascarpone, you can whip them both together in a bowl. If you have more mascarpone, you should just loosen it with a spoon then fold it in carefully to your whipped double cream, to avoid it splitting.

    For a finishing touch, I sieved a bit of drinking chocolate powder on the top. Ta da! They were delicious.
  • Pancake day – French galettes

    Pancake day – French galettes

    It’s pancake day, it’s lockdown and it’s half term, so I’ve got the day off work. What better to do than feed the kids pancakes until they burst? At breakfast time, we indulged in what’s normally a weekend treat of banana pancakes (recipe here). These are great because they’re super easy to make with only three ingredients and no refined sugar, just the sweetness from the banana. Of course, the kids’ preferred toppings of lashings of syrup and jam counteracts the lack of sugar in the pancakes, but I top mine with almond butter and berries, so it’s a pretty healthy start to the day.

    Onwards to lunch. I prepared some batter to make galettes last night, so all I needed to do today was heat and add toppings. These pancakes are more savoury than our trad. English pancakes, with a nutty flavour, and are great for a light meal. They are made with buckwheat flour, which, although the name suggests otherwise, does not contain actual wheat. It is, however, subject to cross contamination as with oats, so you need to make sure it’s a gluten free brand (two I know of are Doves Farm and Amisa).

    I bought a crepe pan in France years ago, which came with a T shaped implement for spreading the batter and a flat spatula for turning. You could probably use a regular frying pan for this and just swirl the mixture around the pan.

    Ingredients
    250g buckwheat flour
    2 eggs
    1 tbsp oil
    1/2 tsp salt
    500ml water

    Method
    Firstly, you need to whisk all the ingredients together in a bowl and leave the resulting batter to rest for a couple of hours. I usually just cover it with a tea towel and leave it on the counter.

    Secondly get your crepe/frying pan nice and hot and prepare a mixture of melted butter and oil (or just oil is ok), then spread a small amount all over the hot pan – I use a silicone pastry brush for this.

    Spread the batter around the pan using the tools or by swirling the pan before it all sets, and then cook until all the liquid has gone.

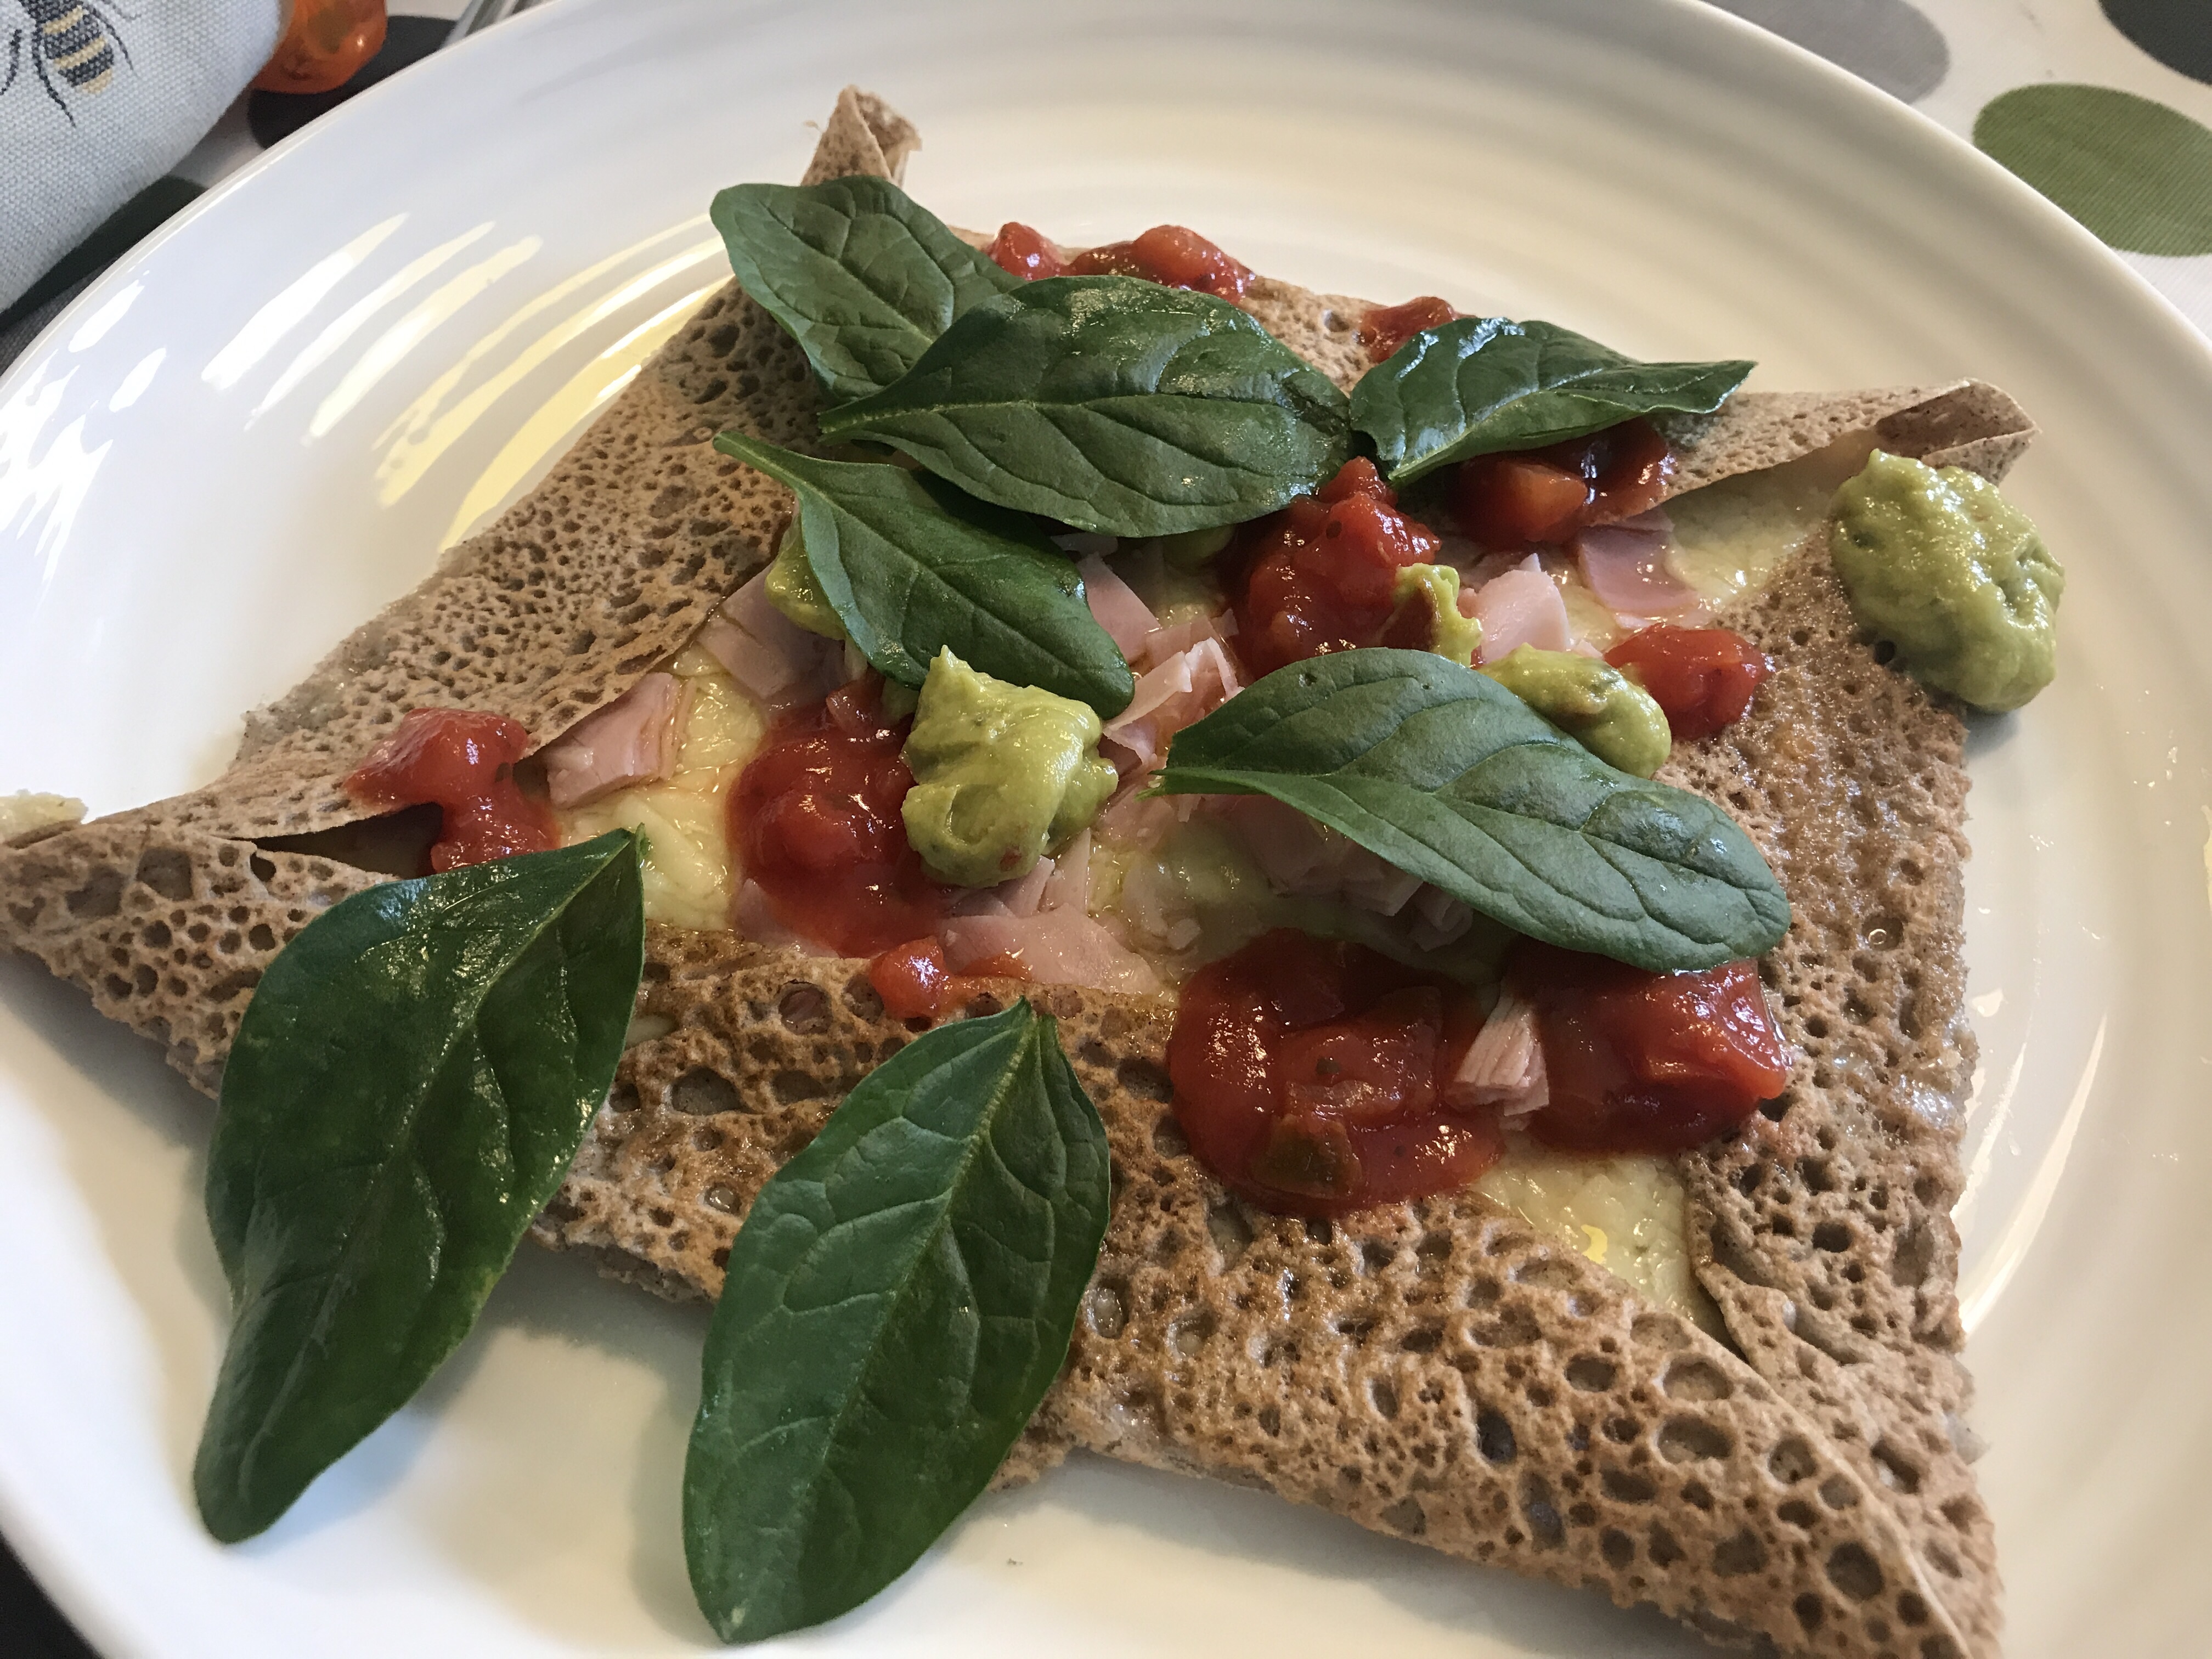
    You can see from the images that the underside has a lovely lattice effect, which you’ll get when the pan is hot enough. It might take a few goes to get this right. As with all pancakes, the first one is often a bit funny.

    I cooked all mine in a batch last night and just stacked them and covered in cling film over night, but you can leave the cooked pancake in the pan and put the toppings straight on. We’ve used grated Cheddar cheese and ham. Once the cheese has melted, fold in the sides to make a square shape and slide onto a plate. The kids had theirs with beans, but the grown ups went for a bit of left over salsa and guacamole that was in the fridge.

    For tea, we’ll be making some filled crispy pancakes. We’d better go on our daily walk to work up an appetite.

    Thanks to Paulette and Ellie at BBC Radio Sheffield for inviting me on this morning to talk about all things pancakes.

  • Smoky ribs

    Smoky ribs

    We’ve been missing eating out during lockdown, and I feel like I’ve been cooking so much. I try to mix it up a bit so we have a lot of variety and I’ve subjected the family to all sorts of new recipes. Some have worked brilliantly, and some consigned to the ‘never again, mum!’ bin. This is one of the former and frankly, I regret not trying to make this sooner, as it was so easy!

    For the ribs, I bought 4 racks of ribs that had about 6-7 ribs on each, and one rack each was plenty for a main course with some sides. There are various recipes out there for smoky marinade, but I figured it’s pretty much the same as shop-bought BBQ sauce, so I just used a bit of Sweet Baby Ray’s BBQ sauce. I also use it for making pulled pork. These two dishes are the best things the slow cooker has ever produced.

    Run a small amount of oil around your slow cooker pan, pop in the ribs one rack at a time, and brush a bit of sauce on each. I had to overlap the ribs in a bit of a stack. Then cook on low for 7-9 hours or high for 3-5 hours. The time might depend a bit on your slow cooker, but mine is reasonably new and comes to temperature quite fast (considering it’s a slow cooker!) so it generally takes the lower amount of time.

    Once cooked, lift each rack carefully onto an oven tray, baste with more BBQ sauce and grill (or BBQ?) until they start to char a bit round the edges. 

    For the smoky beans, I use a fairly quick vegan recipe:

    • 1 shallot
    • 1/2 tsp cumin
    • 1/4 tsp smoked paprika
    • 1/2 tsp celery salt (I’m not sure you’d notice if this wasn’t in it?)
    • 1 tbsp tomato puree
    • 1 400g tin cannellini beans (or any beans)
    • 1 tsp maple syrup
    • 100ml tomato passata

    Soften the shallot in a bit of oil for 5 minutes. Add the spices and allow them to cook out for a minute before adding the tomato puree. Cook 2 more minutes then pop in the beans and the rest of the ingredients with some seasoning. Simmer until the sauce is the desired consistency. Add water if necessary.

    The slaw is a barbeque staple in our house, just shredded cabbage and carrot with full fat mayonnaise and a bit of seasoning.

    For the corn cobs, I like them best cooked on the BBQ but the weather wasn’t great, so we just cooked them in simmering water for ten minutes. 

    Enjoy! 

  • Gluten free sausagefest

    Gluten free sausagefest

    Inspired by the (not GF) bangers and mash ‘your way’ menu option at a recent pub visit, we had a crack at our own, gluten free version when we had a house full of family the other week.

    There are tonnes of gluten free sausages available in the supermarkets these days, including many own brands. Sadly, I’ve rarely found gluten free sausages in the butchers, but there are still plenty to choose from.

    I’ve tried quite a few brands, and the Black Farmer sausages are always a favourite, but I can usually only get their plain pork ones. I was over the moon to find these Jolly Hog sausages with gluten free black pudding and apple. It’s not too difficult to come across GF black pudding, but in a sausage! The Porky Blacks were fab, and even a hit with people who aren’t into ‘neat’ (?) black pudding. Tonnes of flavour.

    So we cooked three kinds of sausage (baked in the oven). Alongside the Jolly Hog Porky Blacks, we had Jolly Hog with caramelised red onion, and plenty of Black Farmer pork and herb for the less adventurous.
    We cooked a big pan of regular mashed potato and another of carrot and sweet potato mash. Top tips for making mash for a crowd:

    1. I used an electric whisk to do the mashing – this gave a great texture.
    2. For the sweet potato and carrot mash, chop the carrots much smaller than the sweet potato as it takes longer to cook.
    3. Plenty of butter and cream in the potato mash, but just butter in the carrot and sweet potato.
    4. Don’t be shy with the seasoning.

    While the potatoes were boiling and the sausages were cooking, we made two sauces – onion gravy and cheese sauce.

    When there’s no meat juices to add, I make an onion gravy by caramelising finely sliced onions in oil and butter, with a touch of sugar. Stir in some flour to soak up the oil, then add beef stock, a generous glug of red wine and plenty of Hendo’s. Bubble away until the desired thickness is achieved.
    For the cheese sauce, I melt butter in a pan, then stir in some gluten free plain flour to soak it up. Add cold milk, whisking all the time, then plenty of grated cheese. Once the cheese is added, don’t let it boil, otherwise it will split.

    Feel free to ask in the comments if you’re interested in a more detailed recipe for any of this, but I’m not generally one for much measuring!

    We served the bangers on a big platter, the mash in two big dishes, and the sauces in two gravy jugs, and let people help themselves. It was grand.

  • Garlic bread!

    Garlic bread!

    We love a bit of garlic bread with lasagne. And I’ve found that the Schar ciabatta rolls make perfect individual sized portions. Which is great in our family as it means the kids can’t snaffle it all before I get to the table.

    I think the best way to make garlic butter so it doesn’t taste raw is to bake a few garlic cloves in their skins for a about ten minutes minutes at 180C. They don’t take long to cook through, just until they are soft and before they explode (!) like one of mine did. I’ve read that you can cook them in a foil pouch, which would take more like 40 mins but is much lower risk.

    Once cool enough to handle, chop the end off the clove and squeeze out the soft garlic. Then mash them with a pestle and mortar into some soft butter with a sprinkling of Italian herbs. 

    Slice down into the rolls but without cutting all the way through – five cuts in each roll gave six decent sized pieces. Then spread a generous amount of the garlic butter in each.

    Schar’s instructions suggest baking the rolls at 180C for 5-7 minutes, but I cooked them a bit longer to give a bit of crunch.

    Most supermarkets sell gluten free lasagne sheets, which I use with a home-made bolognese sauce and a simple bechemel sauce, and plenty of parmesan on the top. I make that using a butter and gluten free plain flour roux, milk and a bay leaf.  I like to hide a bit of finely grated carrot and courgette in the bolognese, to sneak in a bit of extra veg to the meal – nobody’s ever noticed. 🙂

  • Tiramisu

    Tiramisu

    It’s January – who doesn’t need a bit of a pick-me-up? Last weekend I made one of our favourite desserts to take to a party. Italian trifle made with decadent whipped mascarpone, with sponge fingers dipped in coffee and rum.

    To make tiramisu you can get gluten free savoiardi (sponge finger) biscuits from Schar, although I’ve never come across any. A supermarket with an extensive free from aisle would be a good bet, or order online. However, I’ve stopped looking really, as it turns out they’re not too difficult to make at home. You need a piping bag with a 1.5-2cm round nozzle.

    Last time I made this, I tested out a couple of different recipes for the biscuits (only because the first wasn’t any good) but eventually settled on this. It’s pretty much the same as a regular recipe, but it works using GF flour as the biscuits’ structure comes from the whipped egg whites.

    These quantities make about 45 biscuits about 2 x 8cm. Enough for a big 12 person, party size tiramisu. It can easily be halved but, well, just make a big one. 🙂

    Savoiardi
    4 eggs
    100g caster sugar
    126g gluten free plain flour
    60g icing sugar

    img_7040

    • Separate the eggs. Whisk the whites until they form stiff peaks.
    • Add the caster sugar and beat until they turn stiff and glossy.
    • Whisk the yolks and fold in to the whites.
    • Sift the flour and fold into the egg until just combined.
    • Pipe using a 2cm nozzle onto 2 baking trays lined with baking paper. This doesn’t need to be particularly neat, as you won’t see the biscuits once they’re in the trifle.
    • Dust half the icing sugar onto the biscuits, then after a few minutes, dust on the rest.
    • Bake the biscuits for 15 mins at 175C, until they are light brown and puffed up, then turn down the oven to 120C for a further 10-20 minutes to make them crisp.
    • Leave to cool on a wire rack while you make the tiramisu.

    img_7042

    For the tiramisu:
    6 large egg yolks
    4 large egg whites
    100g caster sugar
    500g mascarpone
    45 savoiardi biscuits
    300ml espresso
    6tbsp dark rum
    2 tbsp coffee liqueur (Tia Maria / Kahlua)
    100g dark chocolate (GF – I use 70% Green & Black’s)

    • Whisk the egg yolks and sugar for roughly 3 minutes, until they have become a pale, light mousse.
    • In a separate bowl, stir the mascarpone to loosen it, then gradually beat in the egg yolk mix.
    • In another bowl, whisk the egg whites to soft peaks, then fold those carefully into the mascarpone mix. It’s easiest if you fold in a third of the egg whites first, then add the rest.
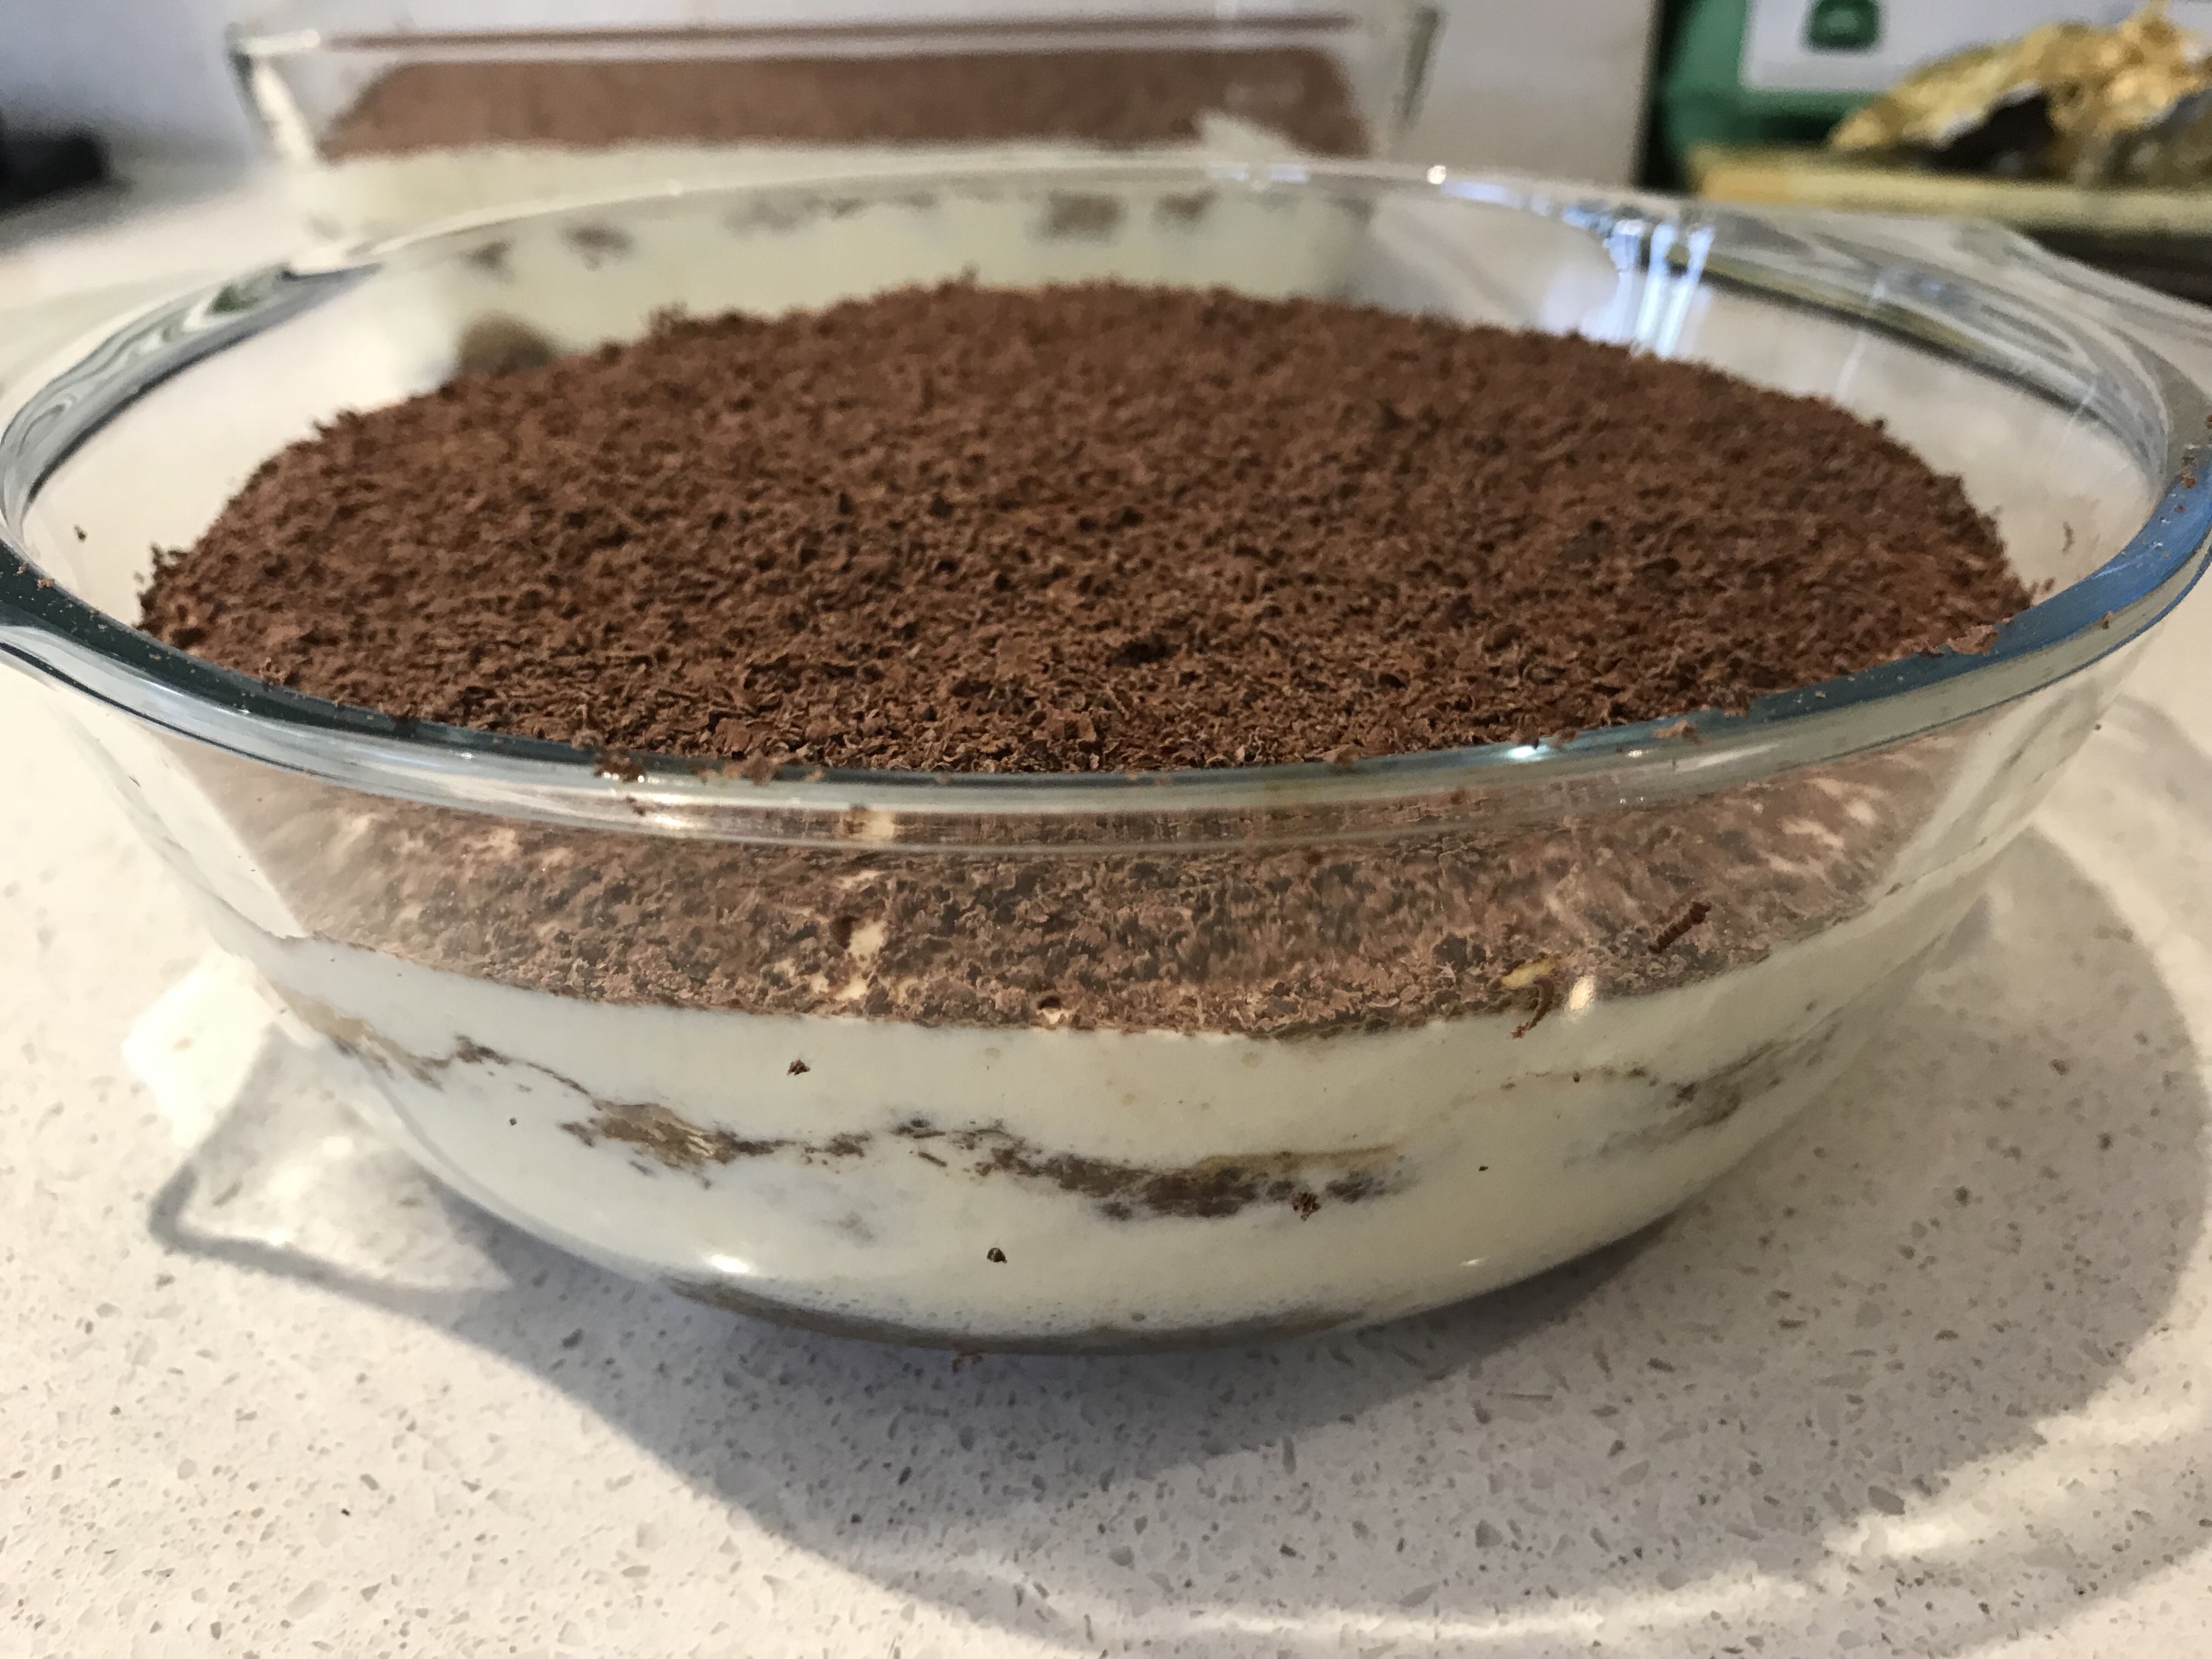
    • Combine the (cooled) coffee, rum and coffee liqueur in a bowl. Dip the biscuits into the liquid and use them to make the first layer of the cake in the bottom of your serving dish. (I used two glass dishes, as I didn’t have one big enough.) Next, pour in half the mascarpone mix, then sprinkle on half the grated chocolate.
    • Repeat with the remaining biscuits, mascarpone and chocolate to make a second layer.
    • Leave to set in the fridge for a couple of hours. It maybe tastes better on day 2.


  • The hot mackerel bap – featuring Genius soft white rolls

    The hot mackerel bap – featuring Genius soft white rolls

    We all know that making butties can be a pain with gluten free bread – sliced loaves are generally crumbly, so only good for toast. I often use sandwich thins, particularly for nine year old’s packed lunches, as they are a sensible size.

    I came across these Genius soft white rolls in Sainsbury’s a few weeks ago – are they new? I don’t remember seeing them before. I was surprised to find that when I gave them a bit of a squeeze, they did indeed feel soft, so I thought I’d give them a try.

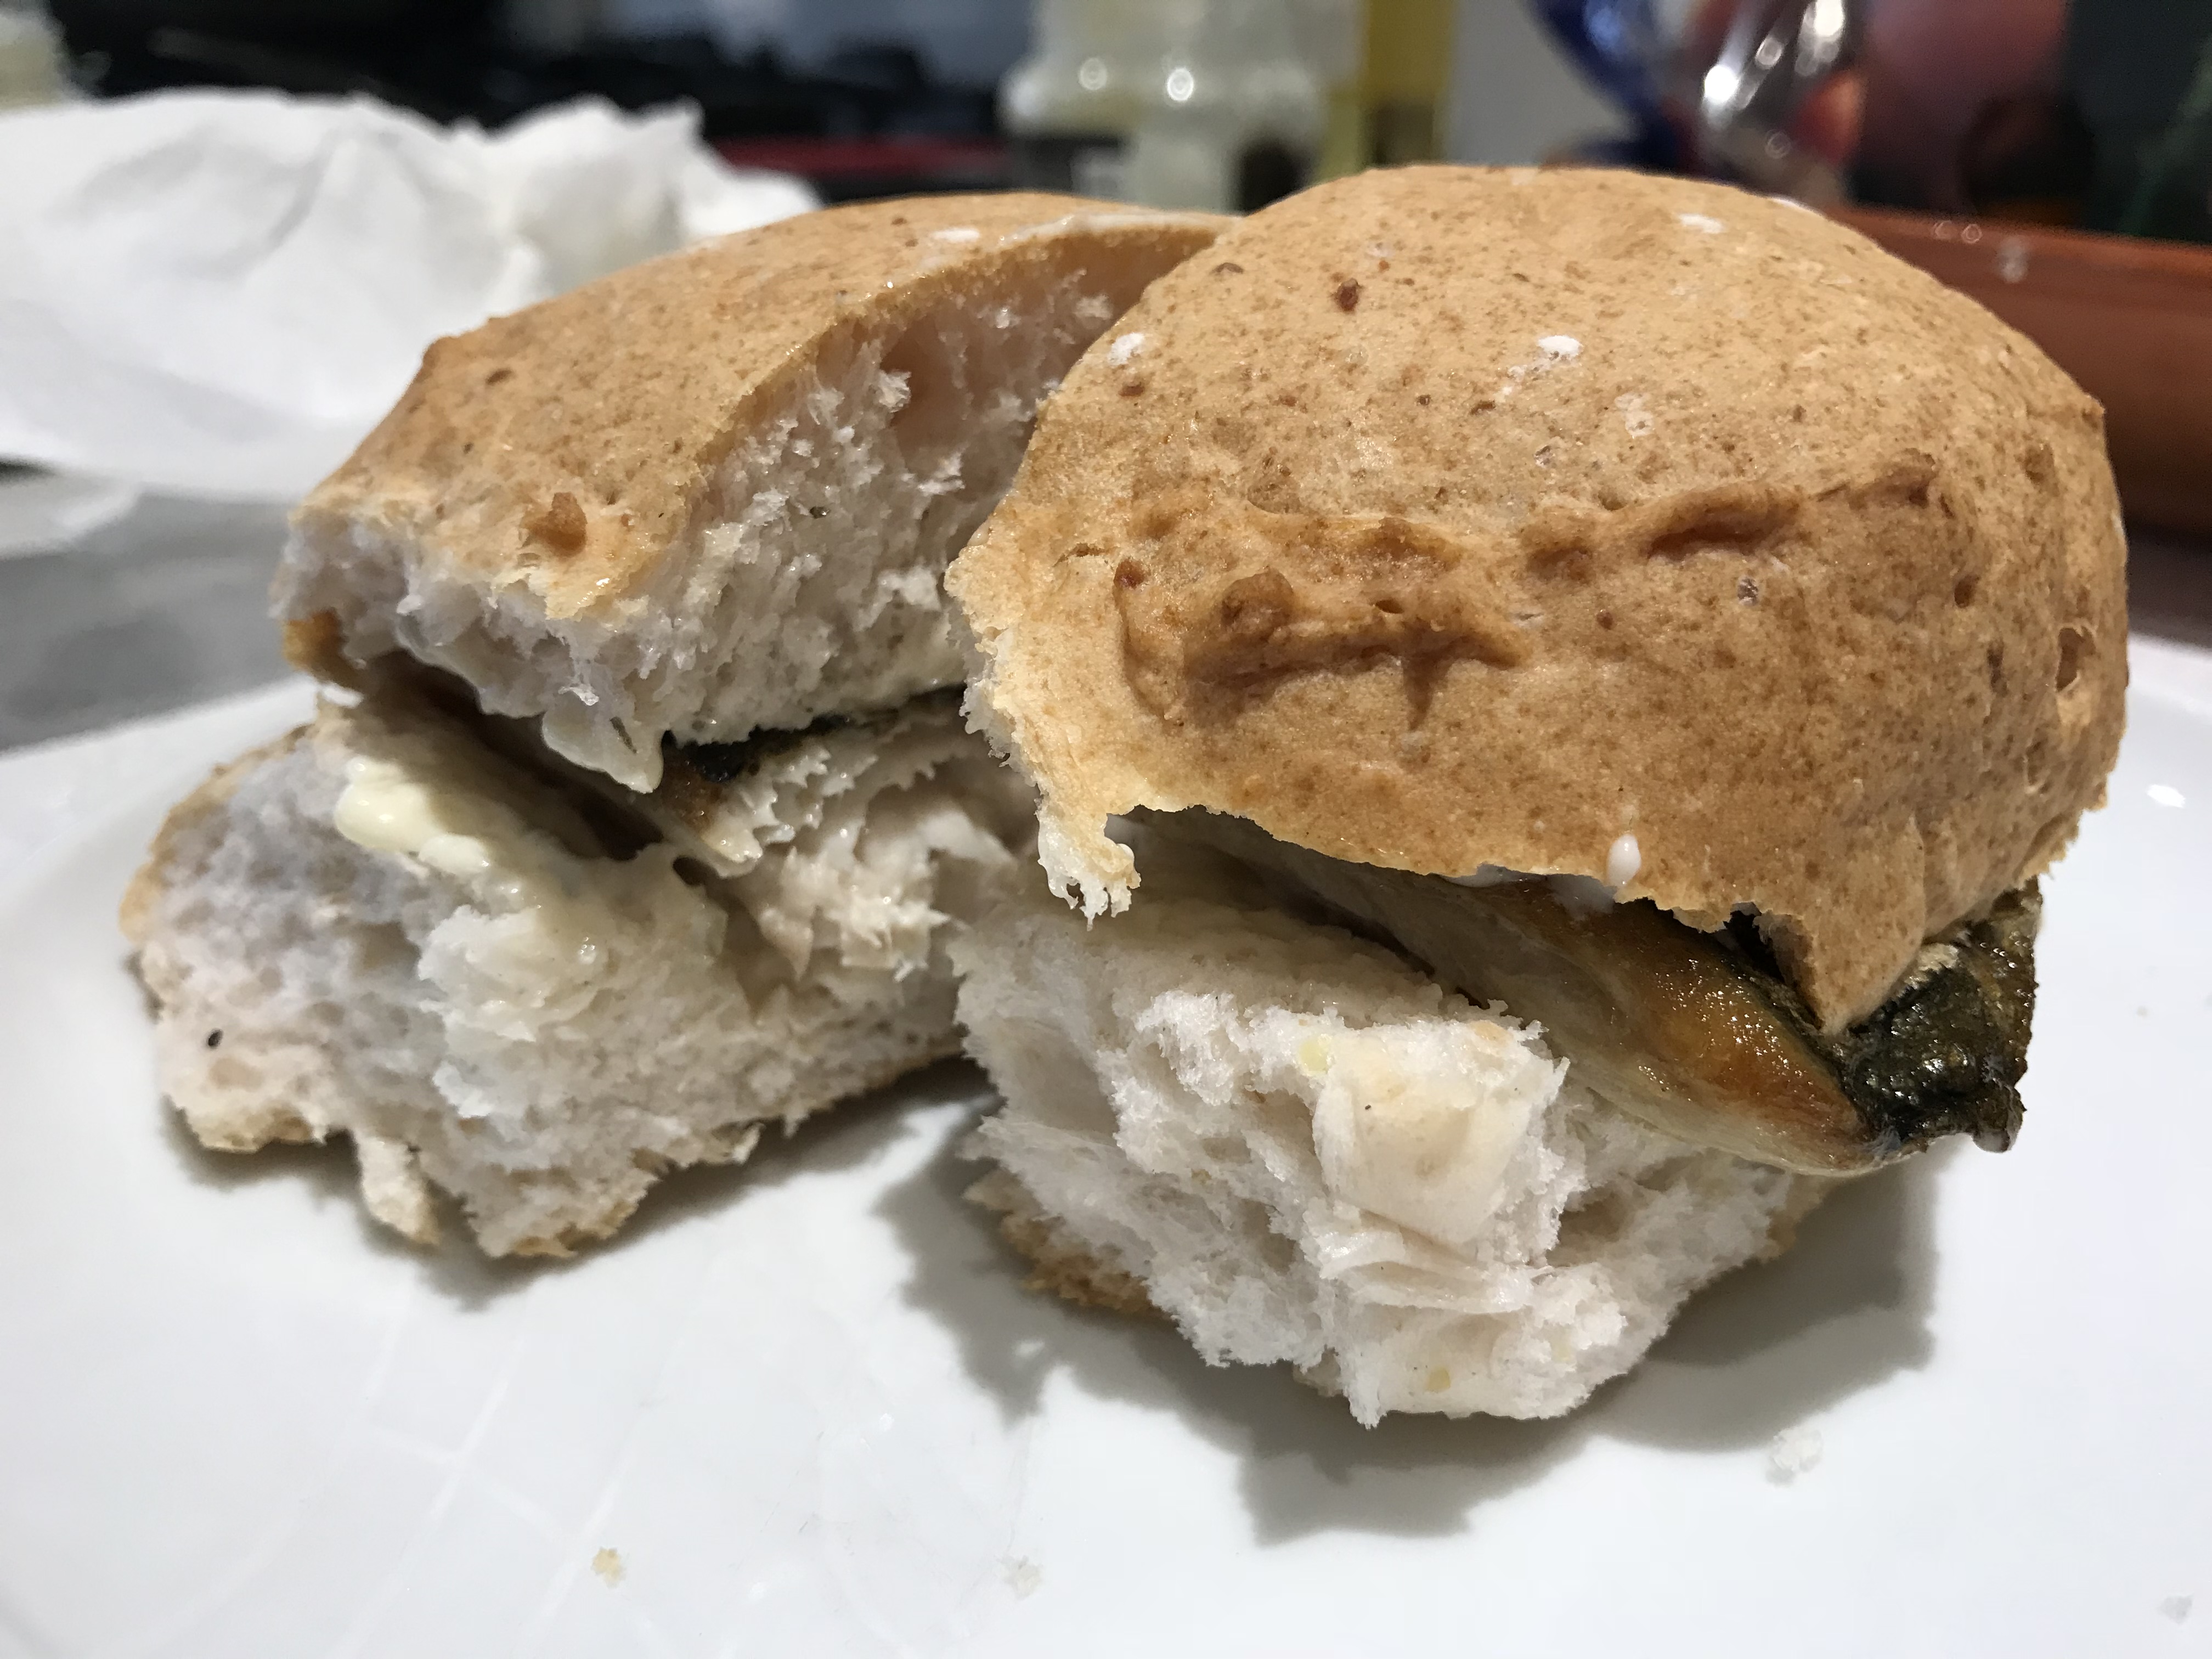
    I  have to say, I was really impressed – I used them to make hot mackerel* baps, which just wouldn’t be right on a sandwich thin. They are super easy to make, once you’ve tweezed all the bones out from the mackerel fillets. The fish just needs to be pan fried for a few minutes each side in a little oil, until the skin is crispy and the fish cooked through.

    The kids loved them, although they had to ask what a bap was! Fresh cooked mackerel is so soft and sweet, it’s delicious – and a great way of getting an extra portion of oily fish with it’s omega 3 oils. We ate them with lashings of tartare sauce and the kids had ketchup on theirs. The bread held together really well and had a good texture.

    I don’t tend to buy many Genius products as their sliced loaves are frequently full of holes – although their spicy fruit loaf is excellent and never really has holes in. So I don’t know if Genius have changed their recipe, but I will definitely buy these again.


    *Without wanting to be preachy, please ensure your mackerel is from a sustainable source by buying fish with the Marine Stewardship Council certification. This page has good information about which supermarkets are sourcing the most sustainable fish.

  • Gluten free mince pies and Christmas ice cream

    Gluten free mince pies and Christmas ice cream

    It was great to meet the lovely Paulette Edwards at Radio Sheffield today, as well as Richard Setchell from the British Oak Ale House in Mosborough. We were talking about gluten free cooking at Christmas, and you can listen to the show here. It’s about 2 hours in, after Rod Stewart! I promised to share the recipe for my gluten free mince pies, so here it is:

    Gluten free mince pies with macaroon topping

    This year I’ve tried a new recipe for the pastry, which is much easier to work with than my previous one. It’s from Leiths, and uses xanthan gum to replace the gluten. You can find the pastry recipe here. I used all butter instead of half margarine and it worked fine. You do need to make sure you refrigerate the pastry as suggested. This is the first time I’ve been able to make pretty mince pies with scalloped edges because I didn’t have to wrestle with the pastry putting it in the tin!

    After refrigerating the pastry in the bun tray, I filled the pies with some nice shop-bought mince meat, and topped them with the macaroon mix, which is made as follows:

    2 egg whites
    100g ground almonds
    100g caster sugar
    1tsp cornflour
    2tsp water
    1/2 tsp vanilla essence
    Flaked almonds

    Lightly beat the egg whites. Fold in the caster sugar and ground almonds. Stir in the cornflour blended with water and vanilla essence. This is easy – just don’t over-whip the egg white! This mixture tops about 12 regular sized mince pies.

    Spoon the mixture on each of the mince pies instead of using a pastry top. Pop a few almond slices on each mince pie, and pop them in the oven at 190C for about 20 mins. They rise into beautiful little domes and go lovely and brown.

    Cool the pies on a wire rack. They freeze nicely and can be defrosted either at room temperature or in the oven.

    I have no idea of the origins of this recipe, but it’s become a firm family favourite.

    Another alternative to a pastry top is to cover the mince meat with a sprinkling of the flaked almonds. This worked out nicely when I had more pastry than topping, and it’s a tiny bit healthier – not that that’s the aim!

    Christmas ice cream

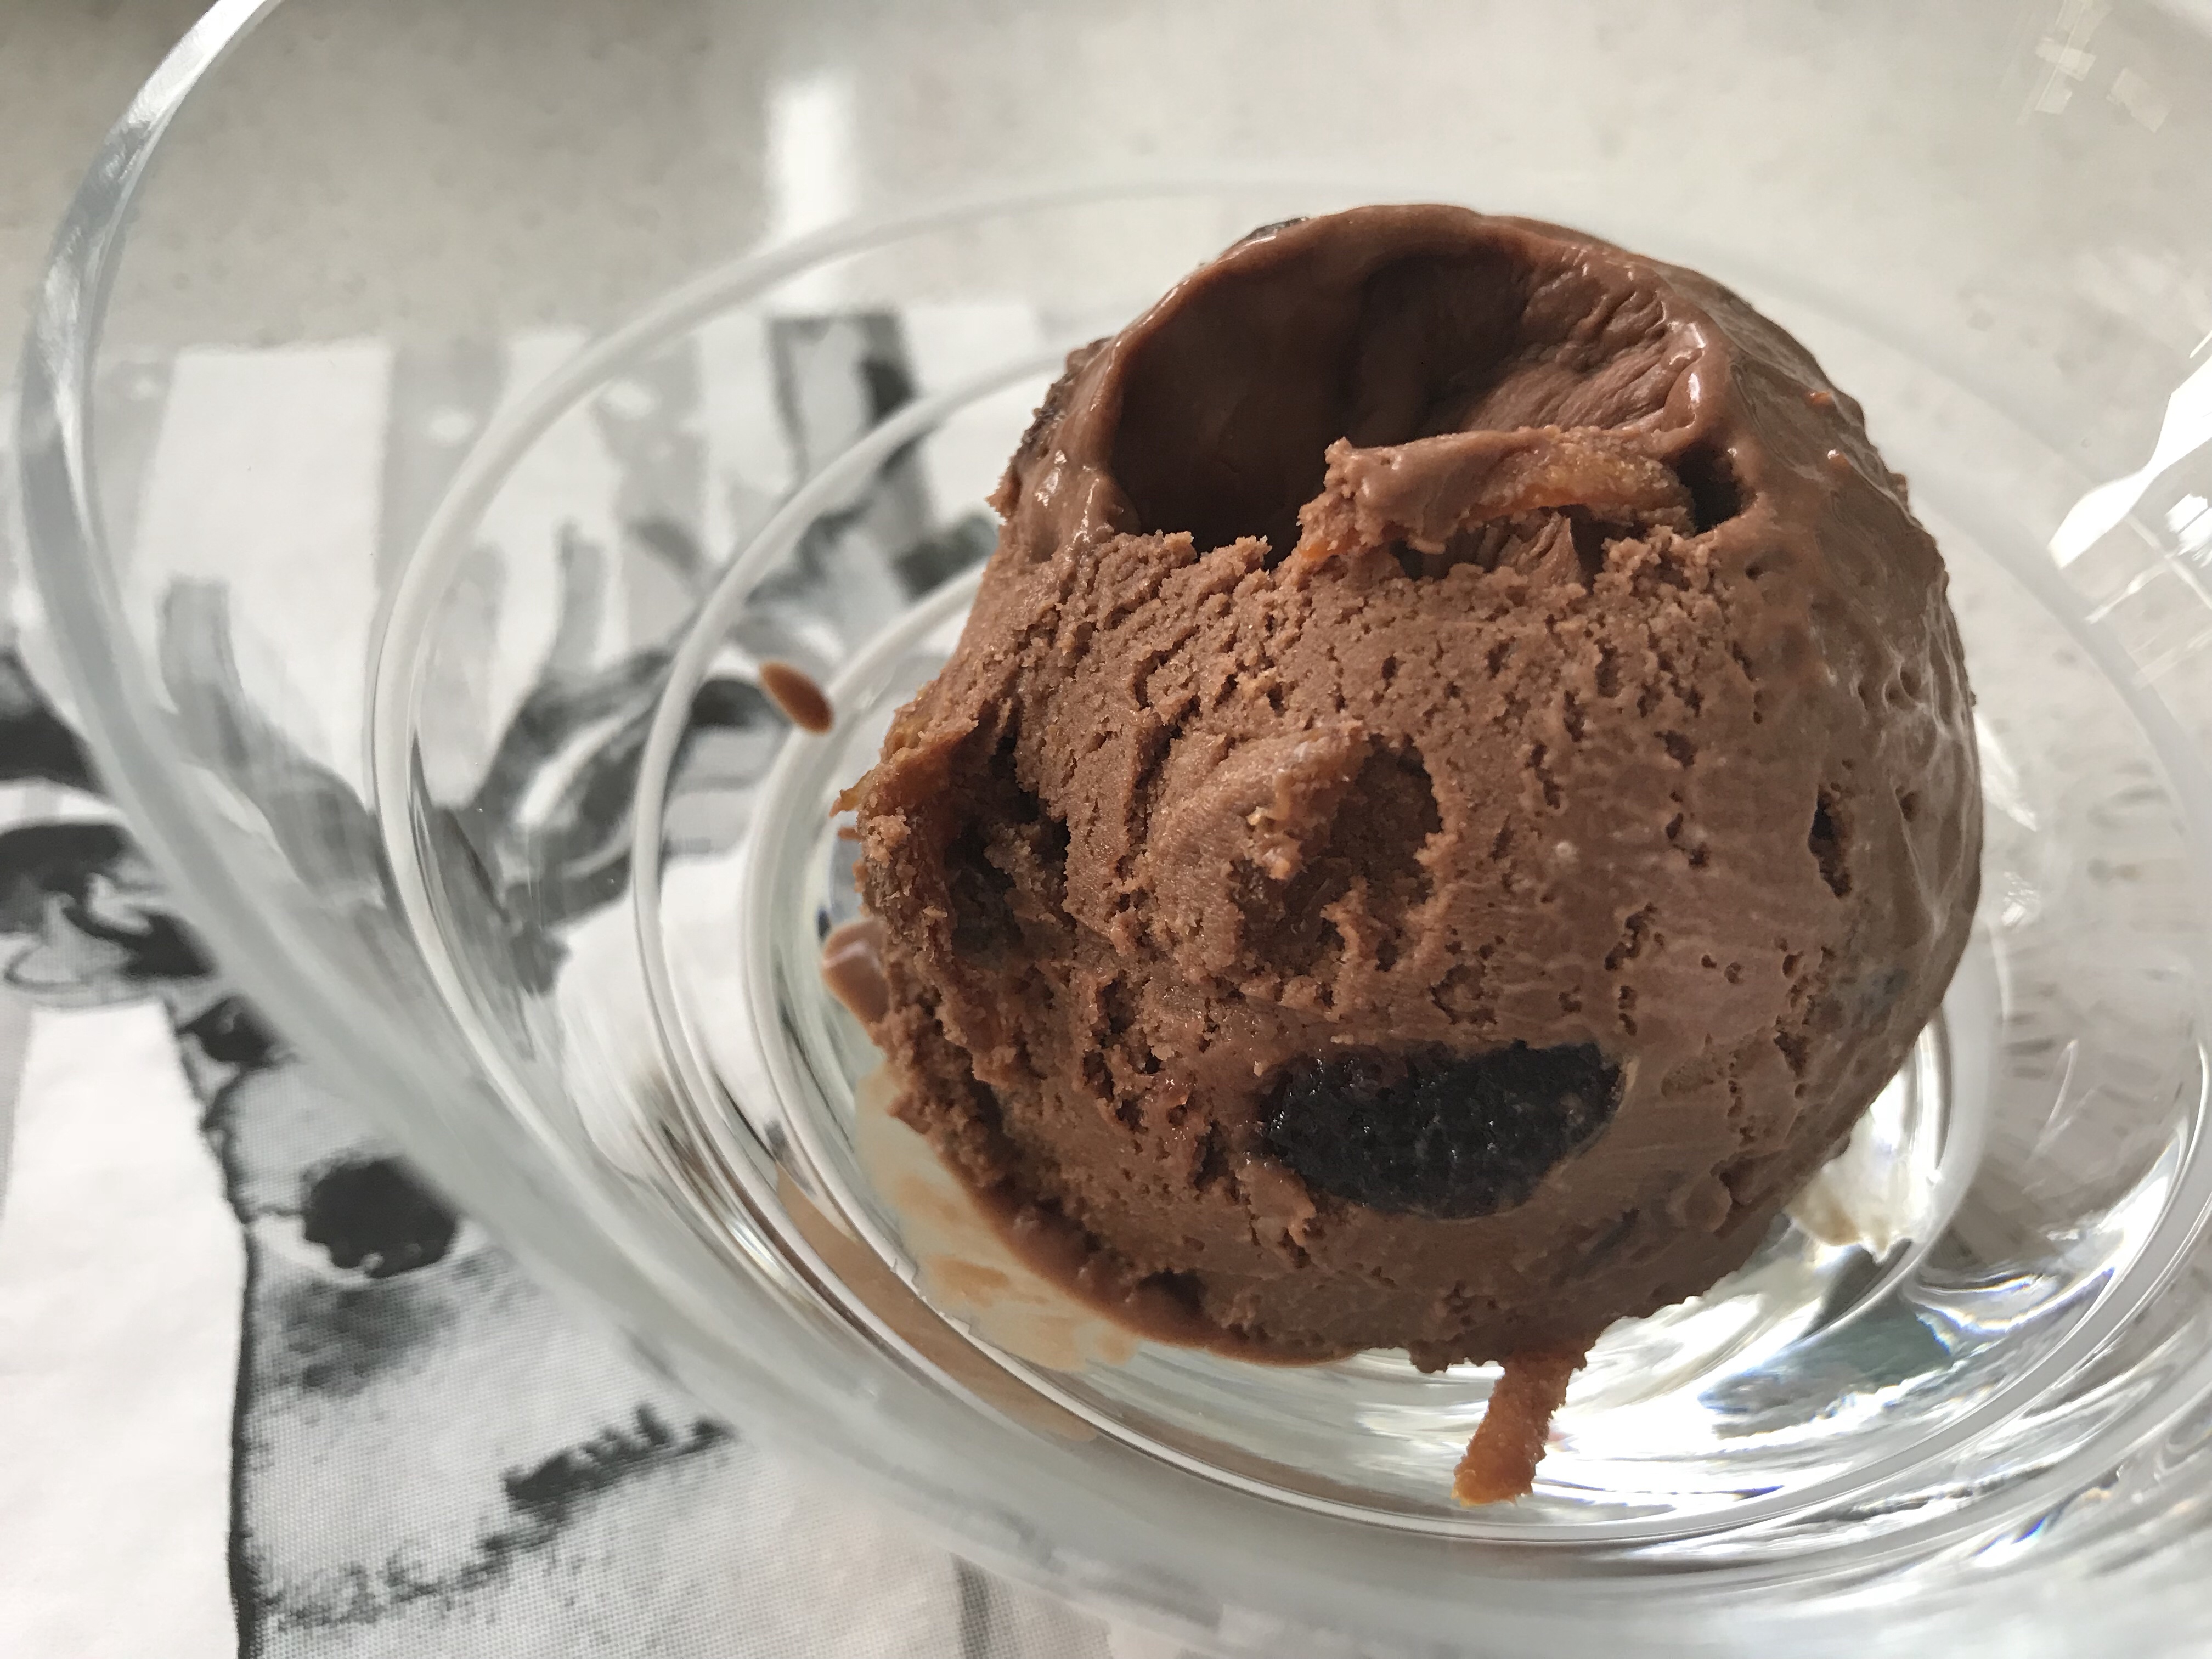
    This is one of our family favourites, that we’ve been enjoying for a long time before any of us were coeliac. I’m not so much into Christmas pudding so this is our usual Christmas dinner dessert.

    It doesn’t take very long to make, and you don’t need an ice cream maker (I’ve never allowed myself one!) You just have to remember to give it a good stir every couple of hours or so as it freezes. So don’t make it in the evening.

    I have no idea where to attribute this recipe – it’s one of those that was passed down on a scrap of paper!

    2oz sultanas
    2oz raisins
    2oz glacé cherries – chopped
    2tbsp Cointreau
    Zest & juice of 1 orange
    5 egg yolks
    5oz caster sugar
    1/2 pint each single & double cream
    6oz plain chocolate

    • Place the dried fruit in a bowl and pour over Cointreau, orange juice & zest.
    • Put egg yolks and sugar in separate bowl & whisk well.
    • Heat single cream gently until almost boiling and pour over yolks. Stir well and return to pan. Heat until it thickens then remove from the heat and add the chocolate. Stir until melted then leave to cool.
    • Whip double cream until thick and add to mixture with the fruits and liquid. Pour into a tub and freeze. Stir every couple of hours until frozen.
    • (Use the egg whites to make meringues or the macaroon topping for mince pies above!)
  • Packed lunch

    Packed lunch

    I often get bored with making packed lunches. I tend not to have sandwiches so usually I try to leave some leftovers from an evening meal or soup to make things easy. Even though I always make the boy’s packed lunch in the evening, it’s not unusual to find me in the kitchen in the morning trying to concoct something at the last minute for myself!

    A frequent choice for me is a slice of Unearthed Spanish omelette with some veg sticks. If I’m really short on time I occasionally grab a pack of beans and a bit of bread for toast – which I brown in a Toastabag in the work toaster. (These only cost a couple of pounds, and they last for ages, but they enable you to avoid cross contamination.)

    Yesterday and today’s effort for lunch was actually a rather good one, not least because I made two days’ worth in one morning.

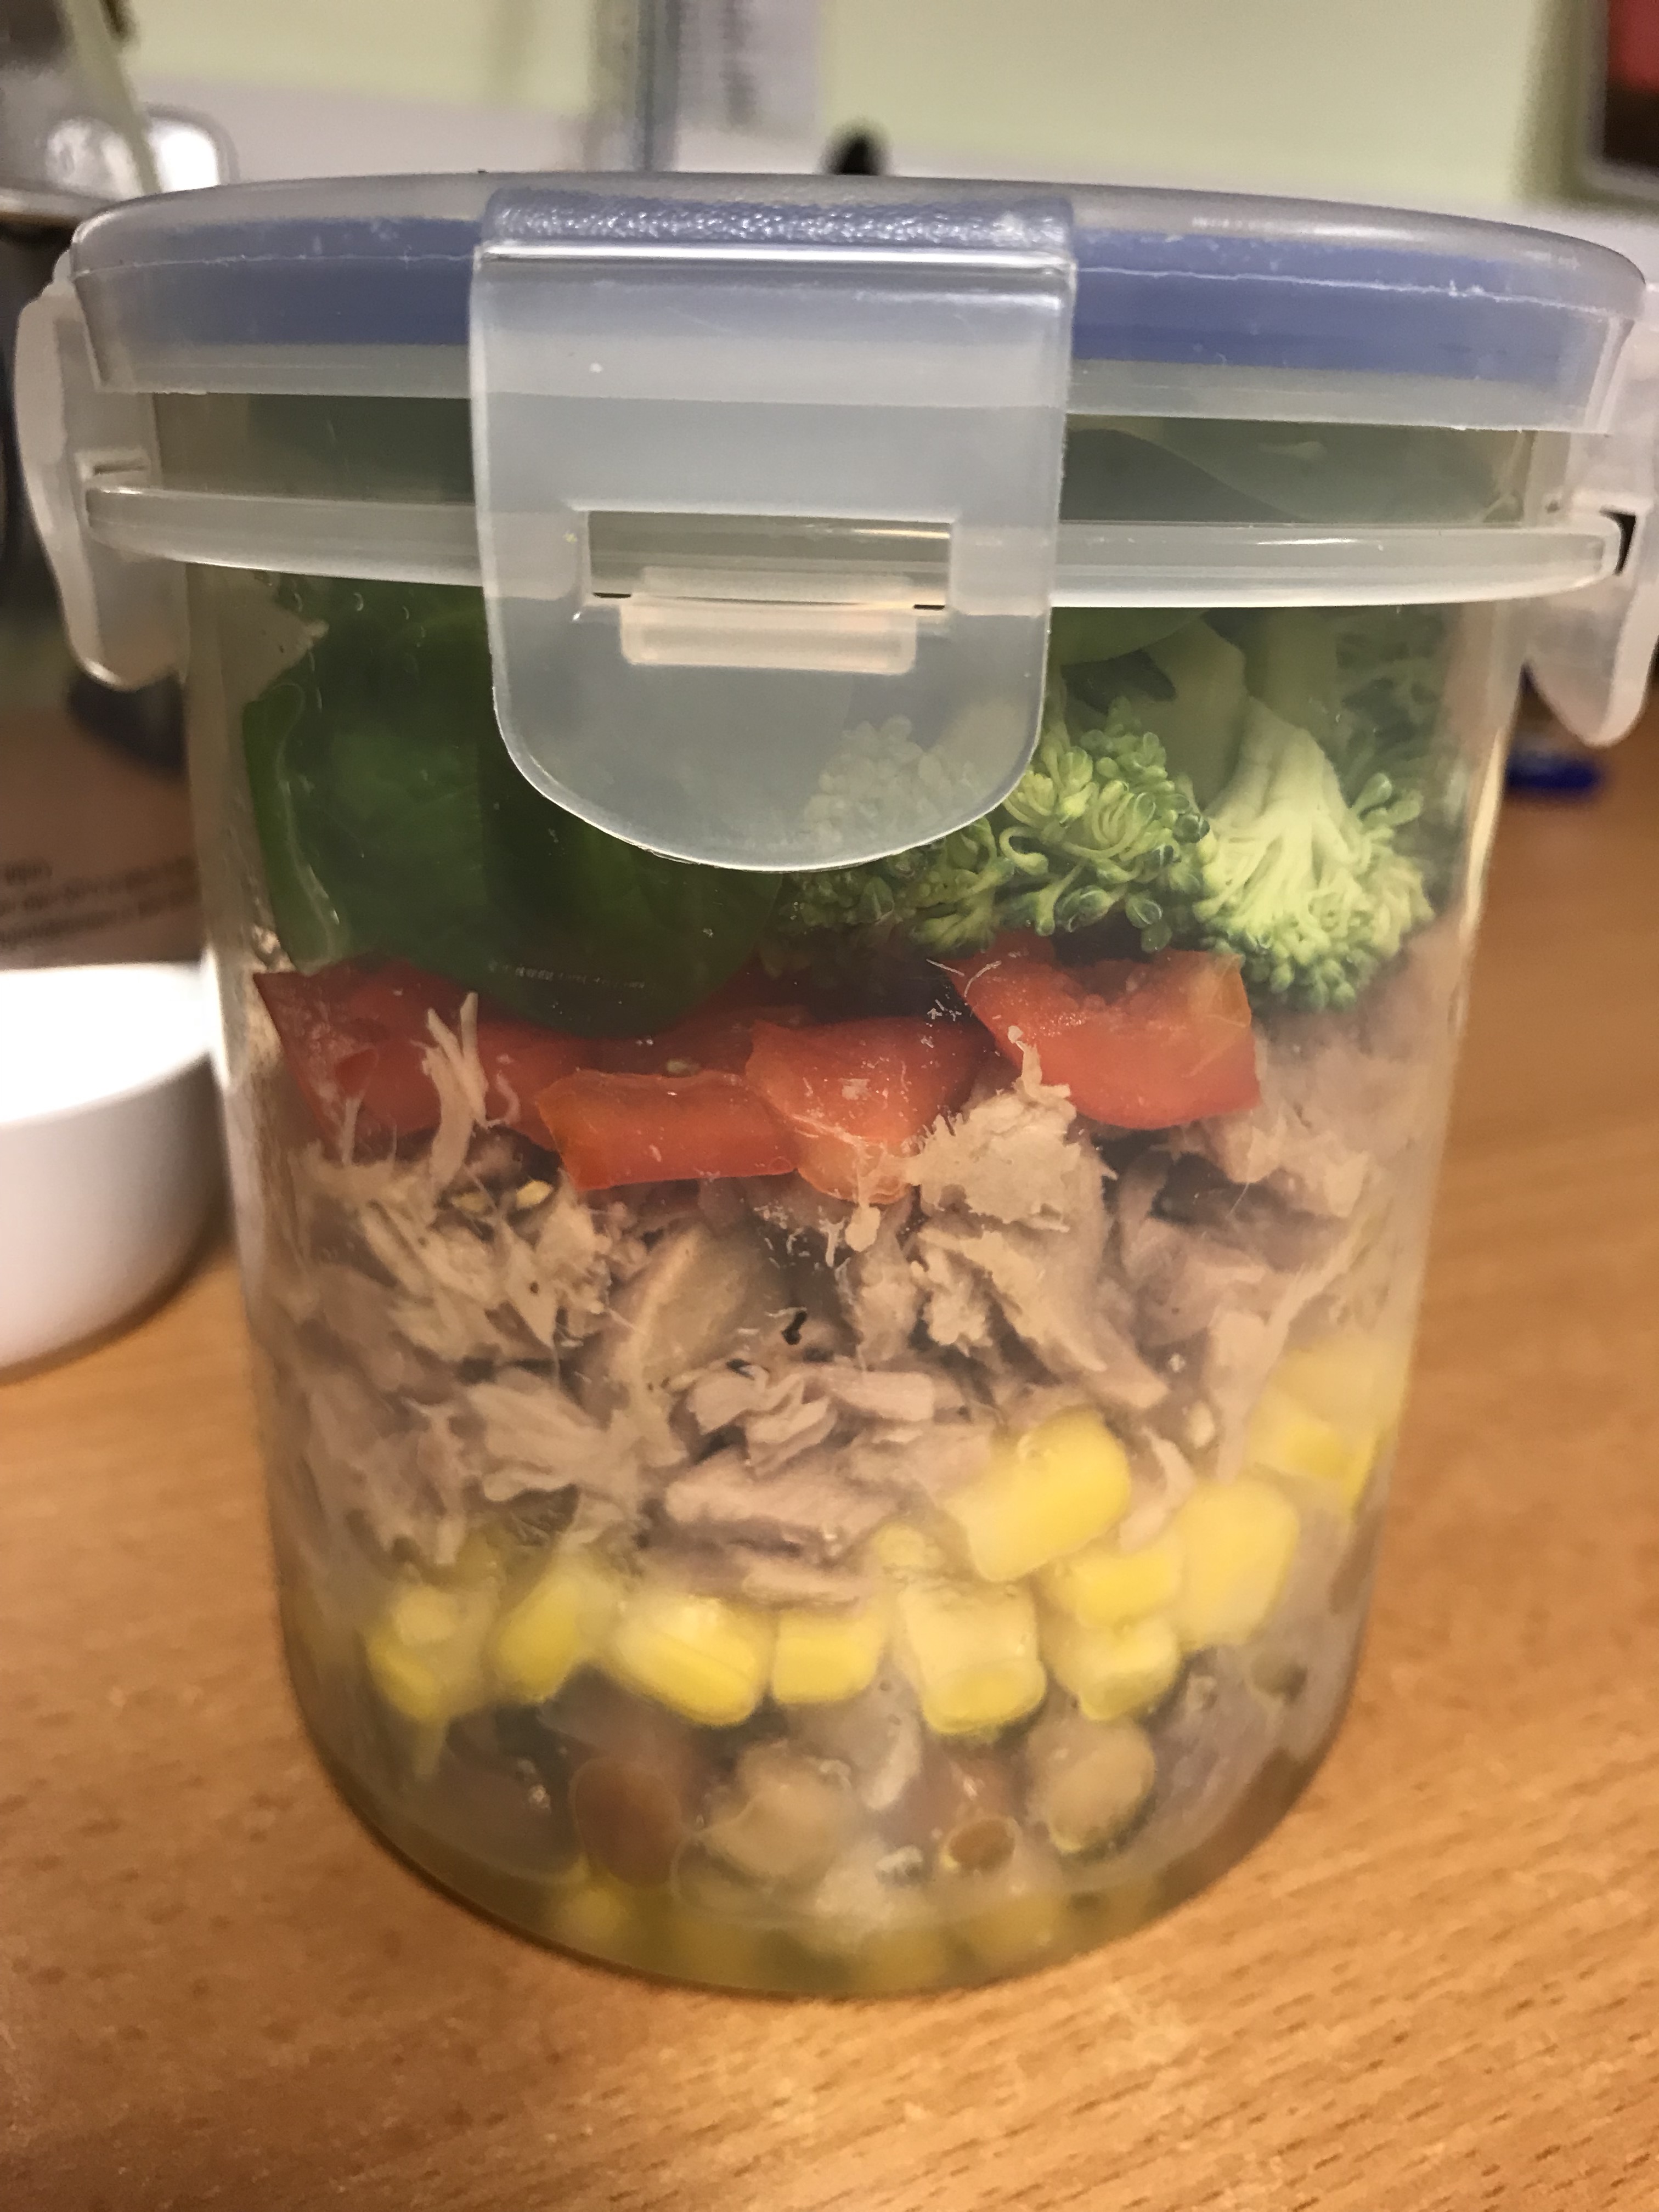
    These layered tubs of salad were all the rage in summer, and I saw many stylish versions in cute Kilner jars. Mine’s a more functional version, but at least the tub is round so it still looks vaguely appealing. And the tub was a bit bigger than it possibly should be, giving me a hearty Yorkshire portion!

    The trick is to layer the crunchy and non-squashable items in the bottom of the container, add a dressing, then put the softer leaves and things at the top. That way, you avoid soggy salad leaves by the time you get round to eating it.

    I went for quite a filling mix of tinned beans, sweetcorn, tuna, red pepper, broccoli and spinach leaves. For a ‘dressing’, I poured in some olive oil and lemon juice – not combined, the car journey does that – and a good grind of black pepper.

    So I felt very virtuous at lunchtime yesterday and today, with a sprinkling of smugness this morning for not needing to prep anything. I have nothing planned for tomorrow, so I may be back to the beans…

  • Toad in the hole!

    Toad in the hole!

    Having been coeliac for several years now, toad in the hole was something I’ve never been able to get right. I always seemed to end up with stodgy, un-risen batter, even when using a recipe that works for mini Yorkshire puddings.

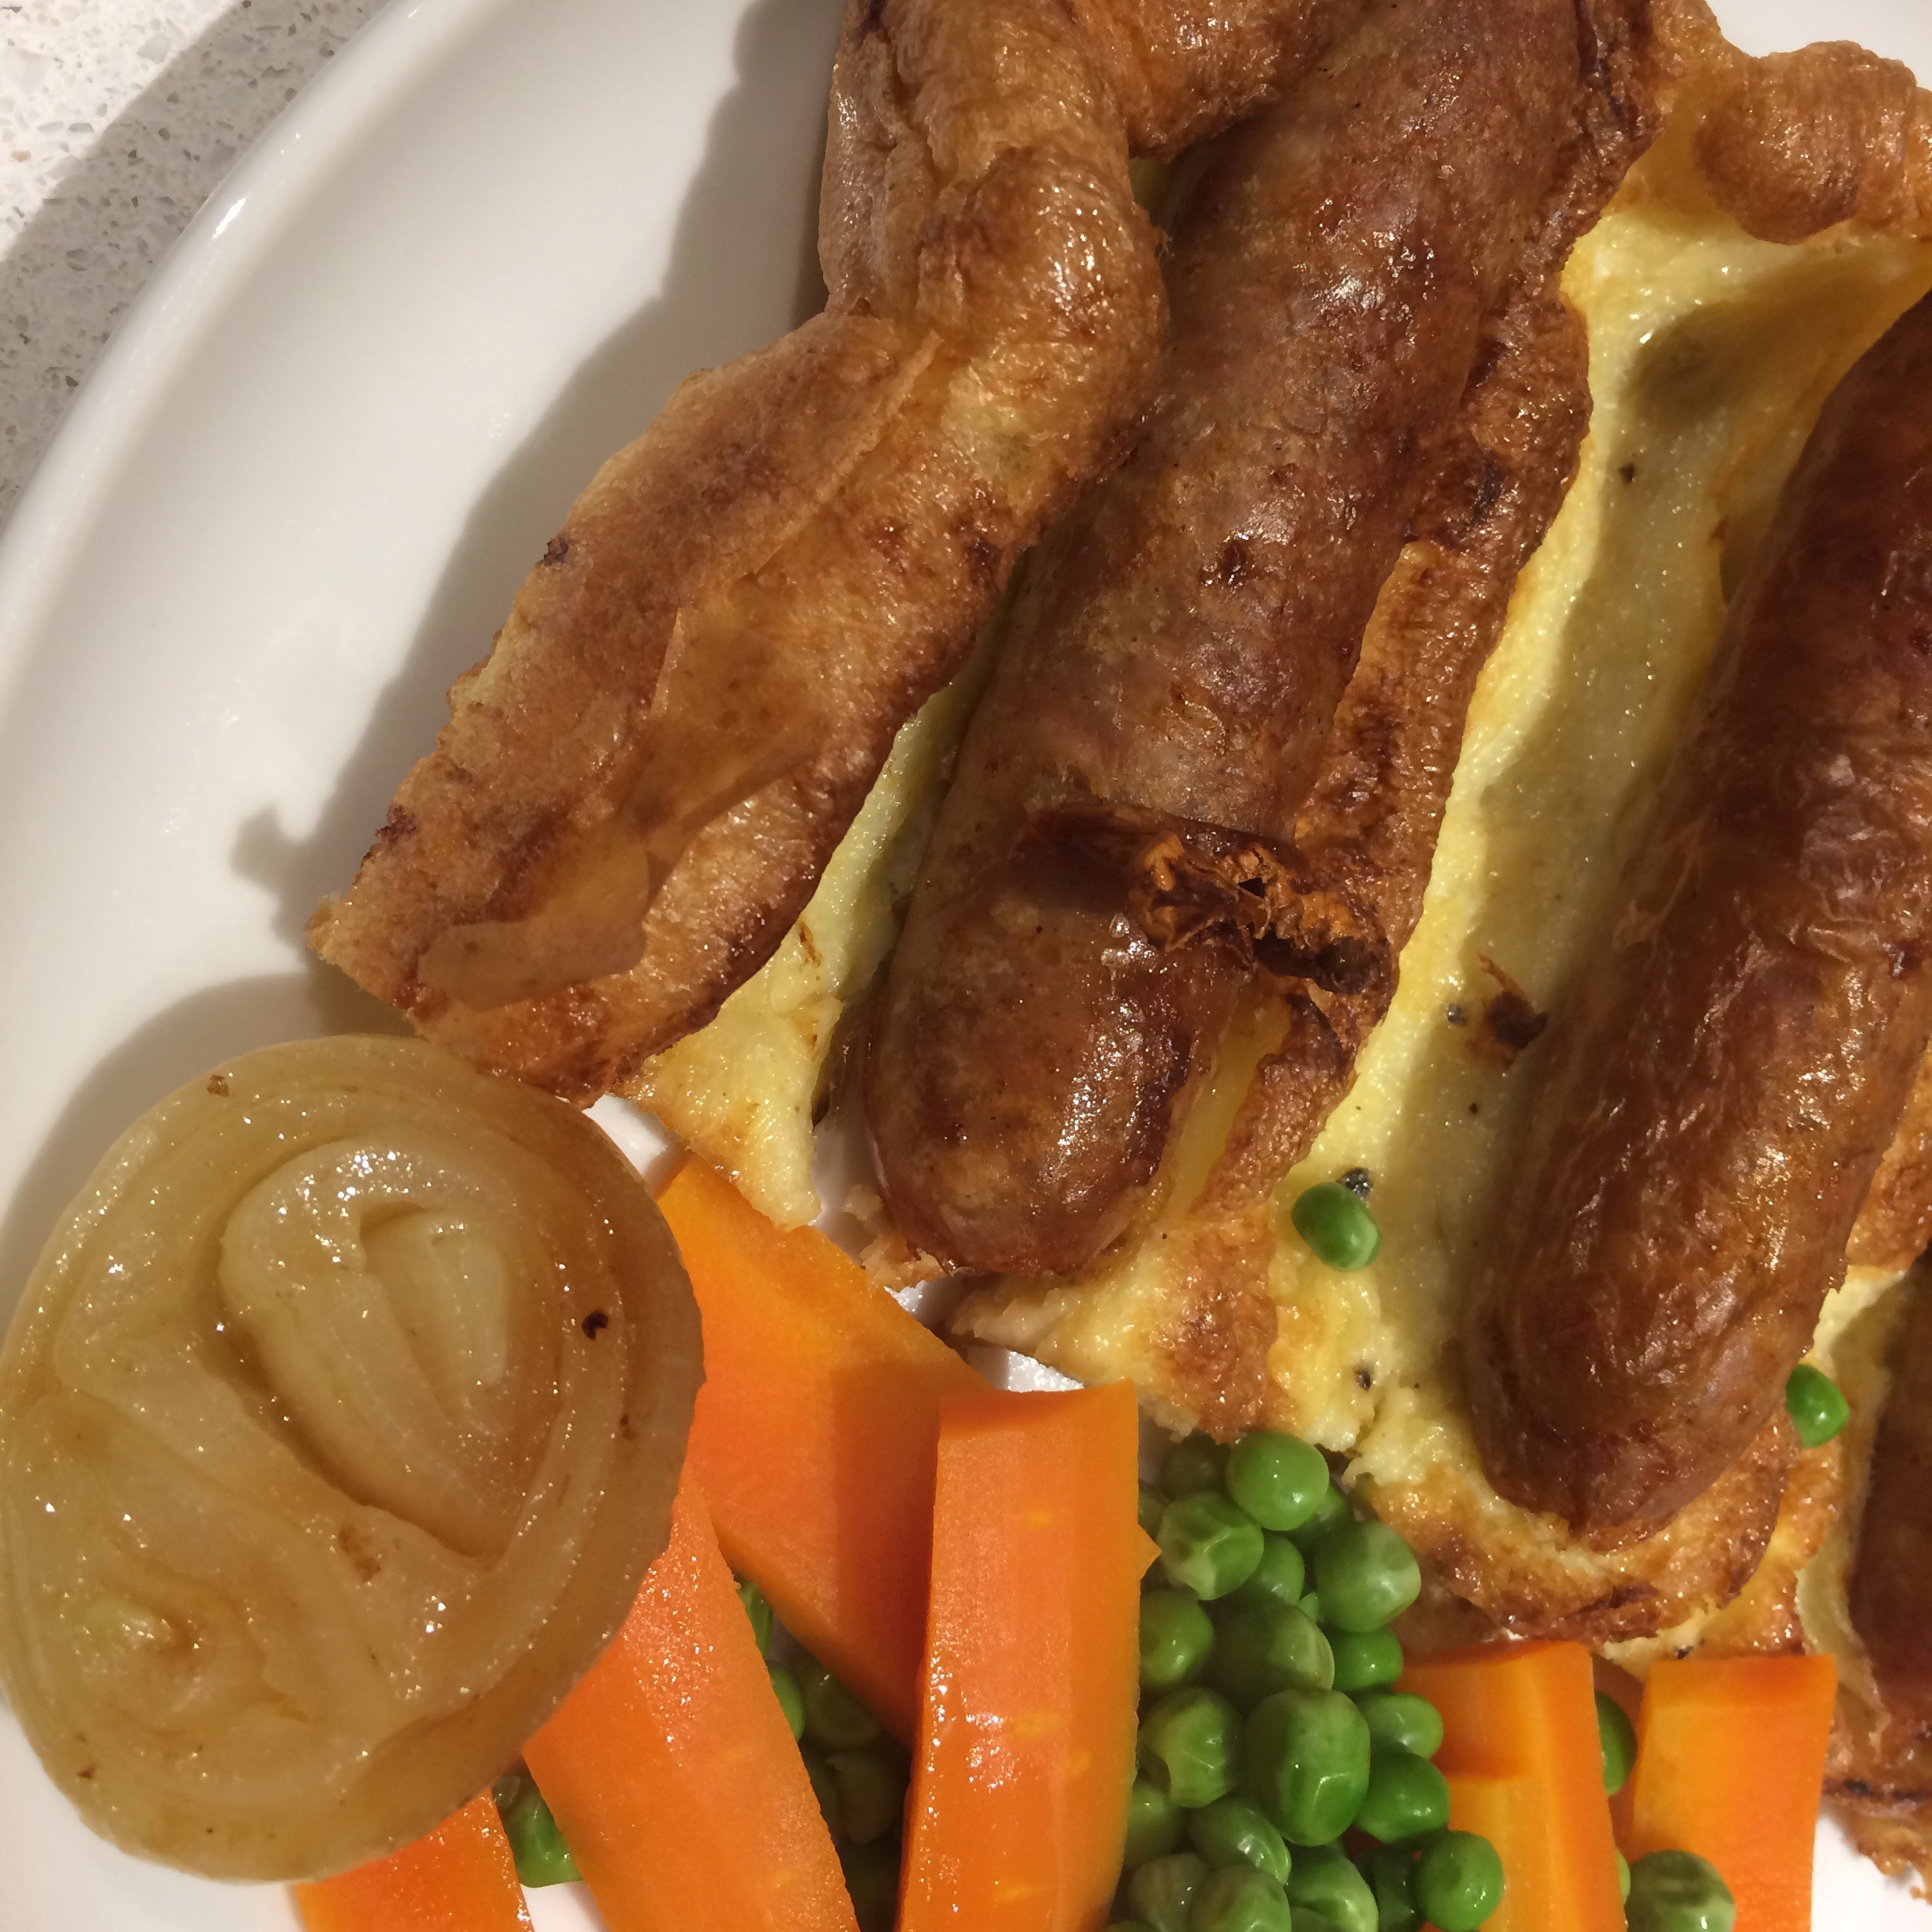
    Yesterday, however, I cracked it! I made the best one yet, using some lovely local GF sausages from Moss Valley Fine Meats, and a fantastic Yorkshire pud recipe from blogger Coeliac Sanctuary, which can be found here.

    The batter uses just cornflour, egg and milk, but there are a couple of tricks you need to know to make this work. Firstly, rest the batter in the fridge for an hour before using. I found it started to separate out a bit, so it needed a good mix before adding to the pan.

    Secondly, when the batter and sausages look ready, turn off the oven and leave them in there for another five minutes, to help make sure the Yorkshire pudding batter is cooked through and doesn’t collapse when you take it out of the oven.

    The recipe is also obviously great for doing regular Yorkies in a muffin tin.

    My gravy was left over from our Sunday roast and it went really well with the toad in the hole.

    img_6413

    Now I just need to solve croissants and malt loaf, and we’re there…