Category: Sugar free

  • Banana bread 

    Banana bread 

    Bananas generally get scoffed in our house. I like them a bit under-ripe, so they have a bit of bite, then there’s usually a window of opportunity of a few days when the boys will eat them, before they start to go brown. After that, we usually keep them to make pancakes at the weekend.  Recently, my boys have been asking me to save them to make banana bread instead, so I’ve been experimenting with a few recipes from t’internet.

    Our new fave is this one, from the I Quit Sugar website. I can’t copy the recipe here, unfortunately, but I wanted to share the link because it’s so good and very easy to make.

    The recipe uses dry ingredients and wet ingredients, measured separately, then mixed together. The wet ingredients are 3 bananas, 2 eggs, coconut oil, milk, cider vinegar and vanilla essence.

    The dry ingredients are: buckwheat flour, almond meal (I assumed this meant ground almonds) baking powder & soda, salt and a variety of spices. I used cinnamon, ginger, allspice and nutmeg, as I didn’t fancy the cardamom suggested – it seemed too exotic for banana bread.

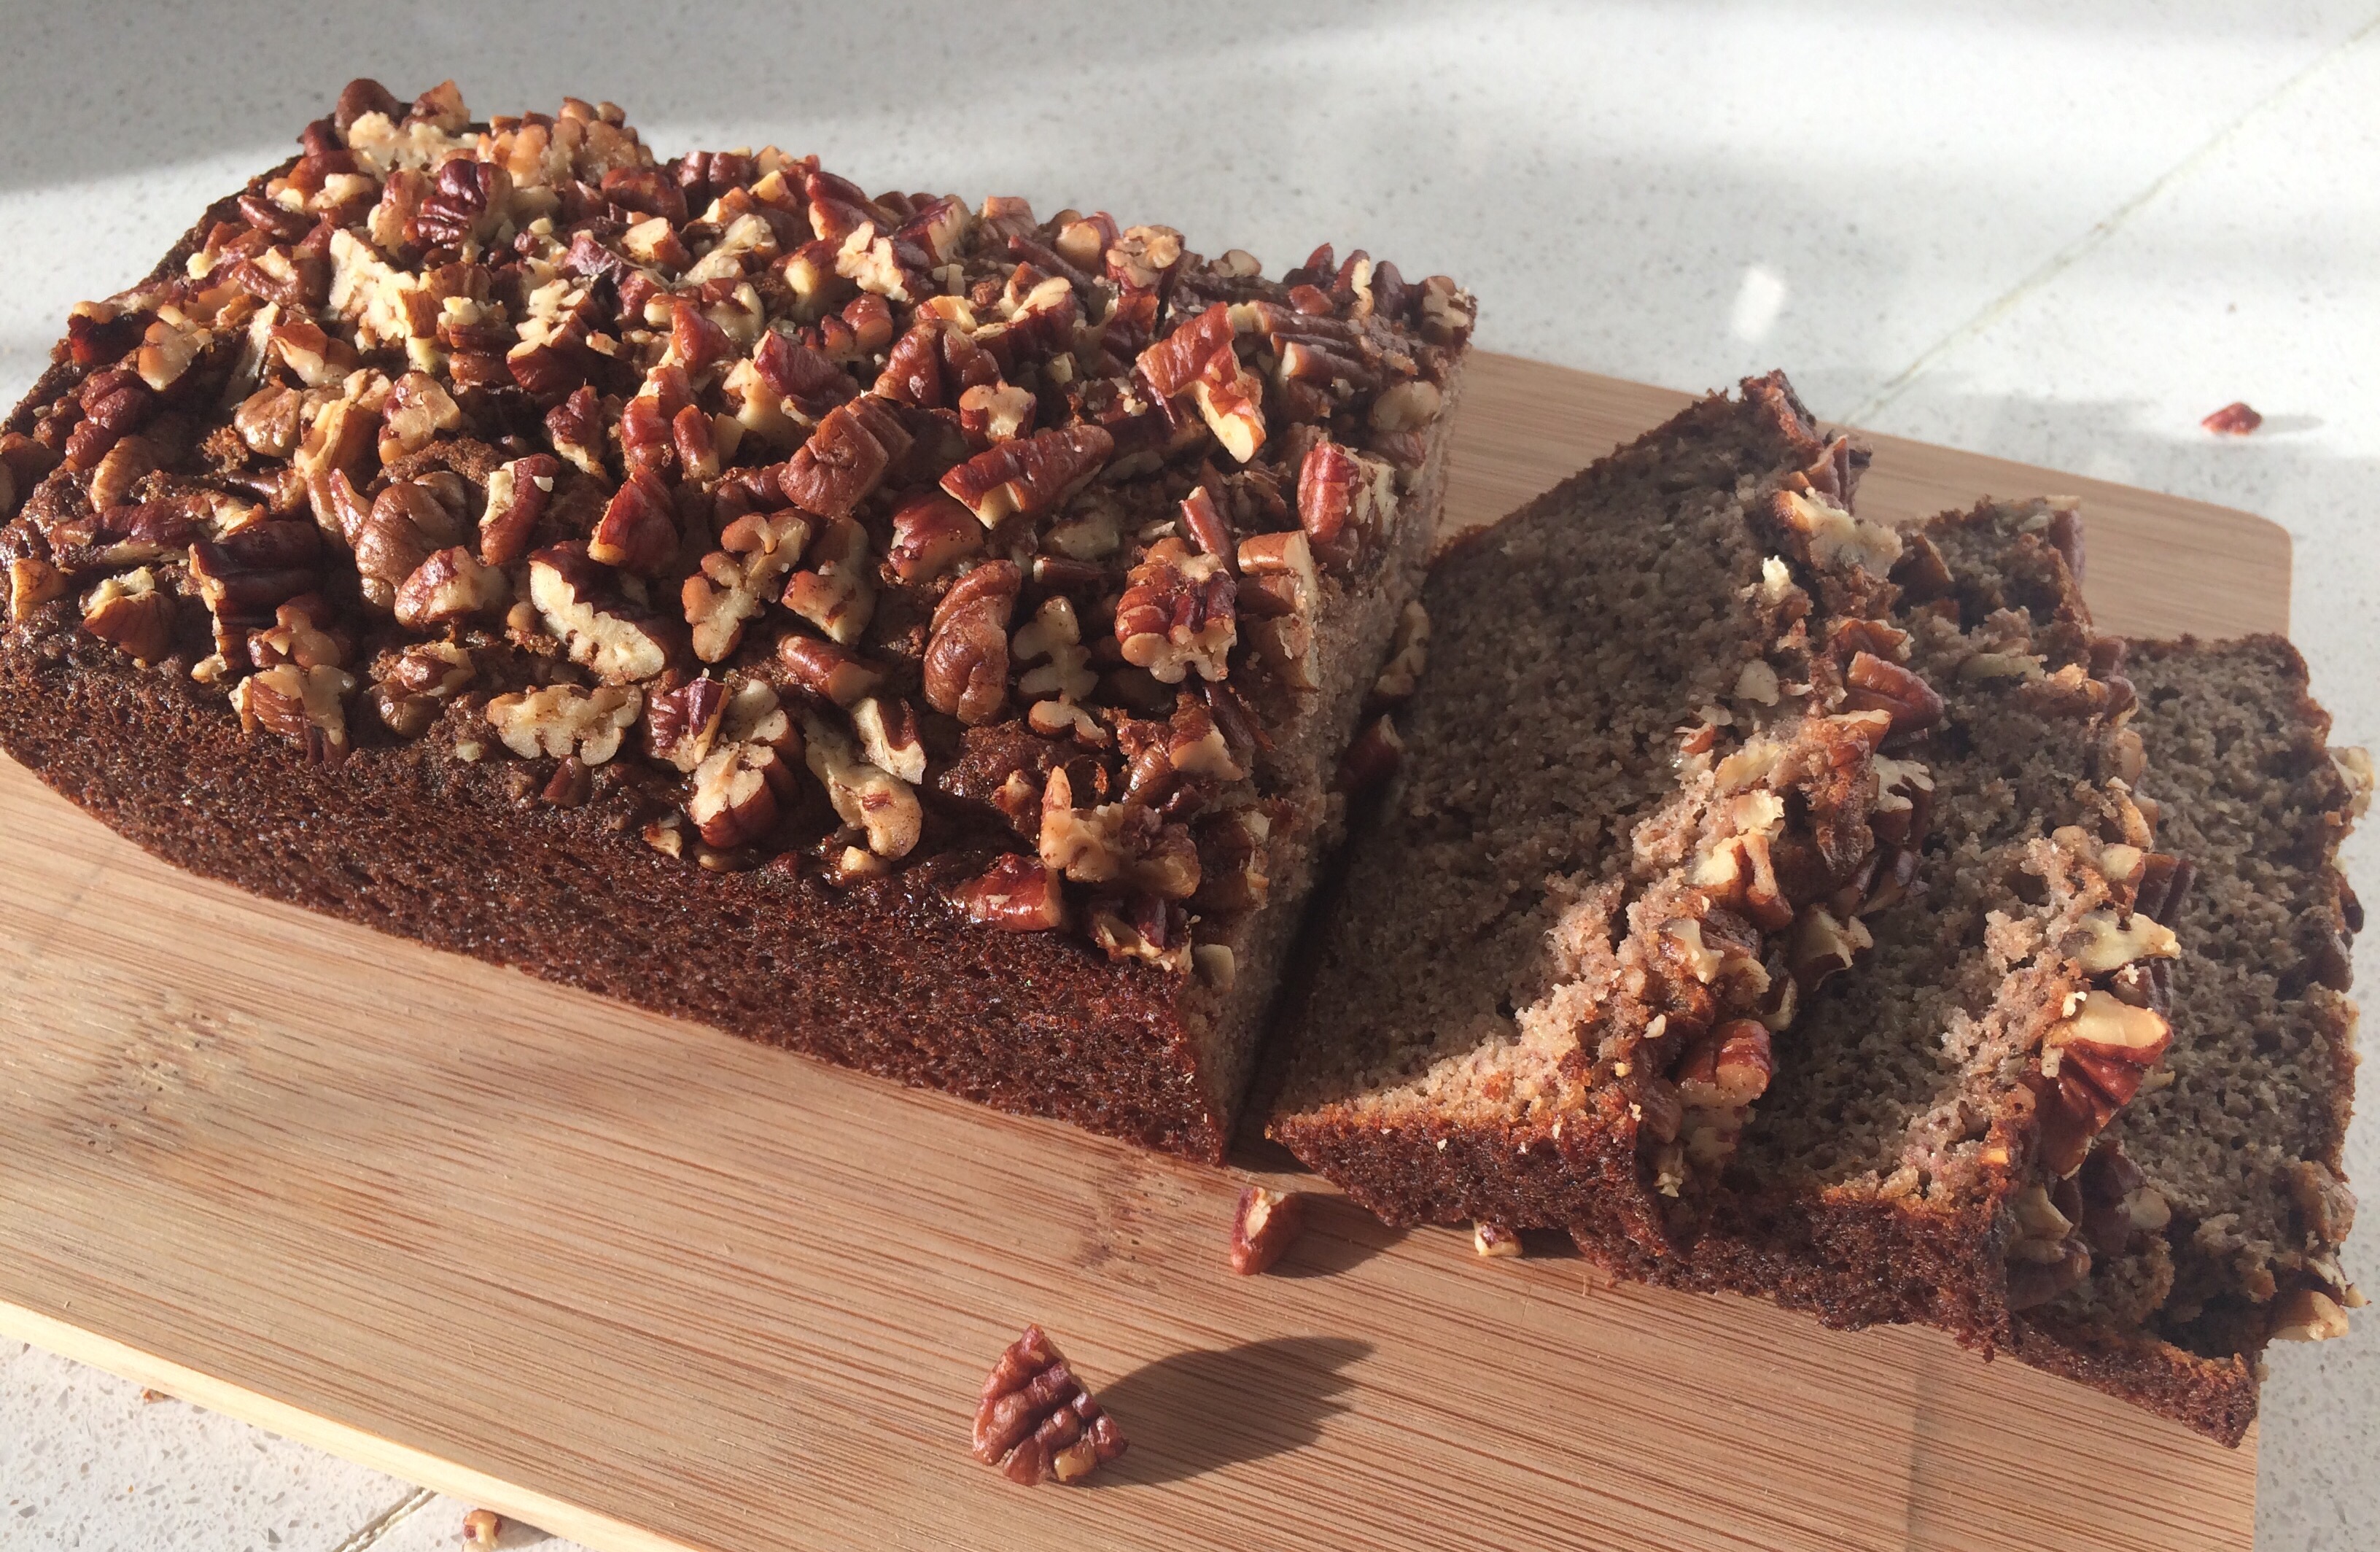
    It also has an interesting topping of pecans drizzled with coconut oil and cinnamon, which we really liked and did the second time I made it. They give it a bit of texture, but soften over a couple of days – unless you eat it quickly, of course. I chopped mine up to make the loaf easier to slice.

    One tip I would give is to grease the loaf tin and pour the mixture in directly, rather than faffing about lining with paper. My loaf tin is fairly old but it is non-stick and it turned out very easily.

    As you’d expect from IQS, there’s no added sugar in the recipe, so it feels very virtuous and the kids think it’s cake. Winner. Best served still warm and slathered with butter.

  • Guilt-free ice cream!

    Guilt-free ice cream!

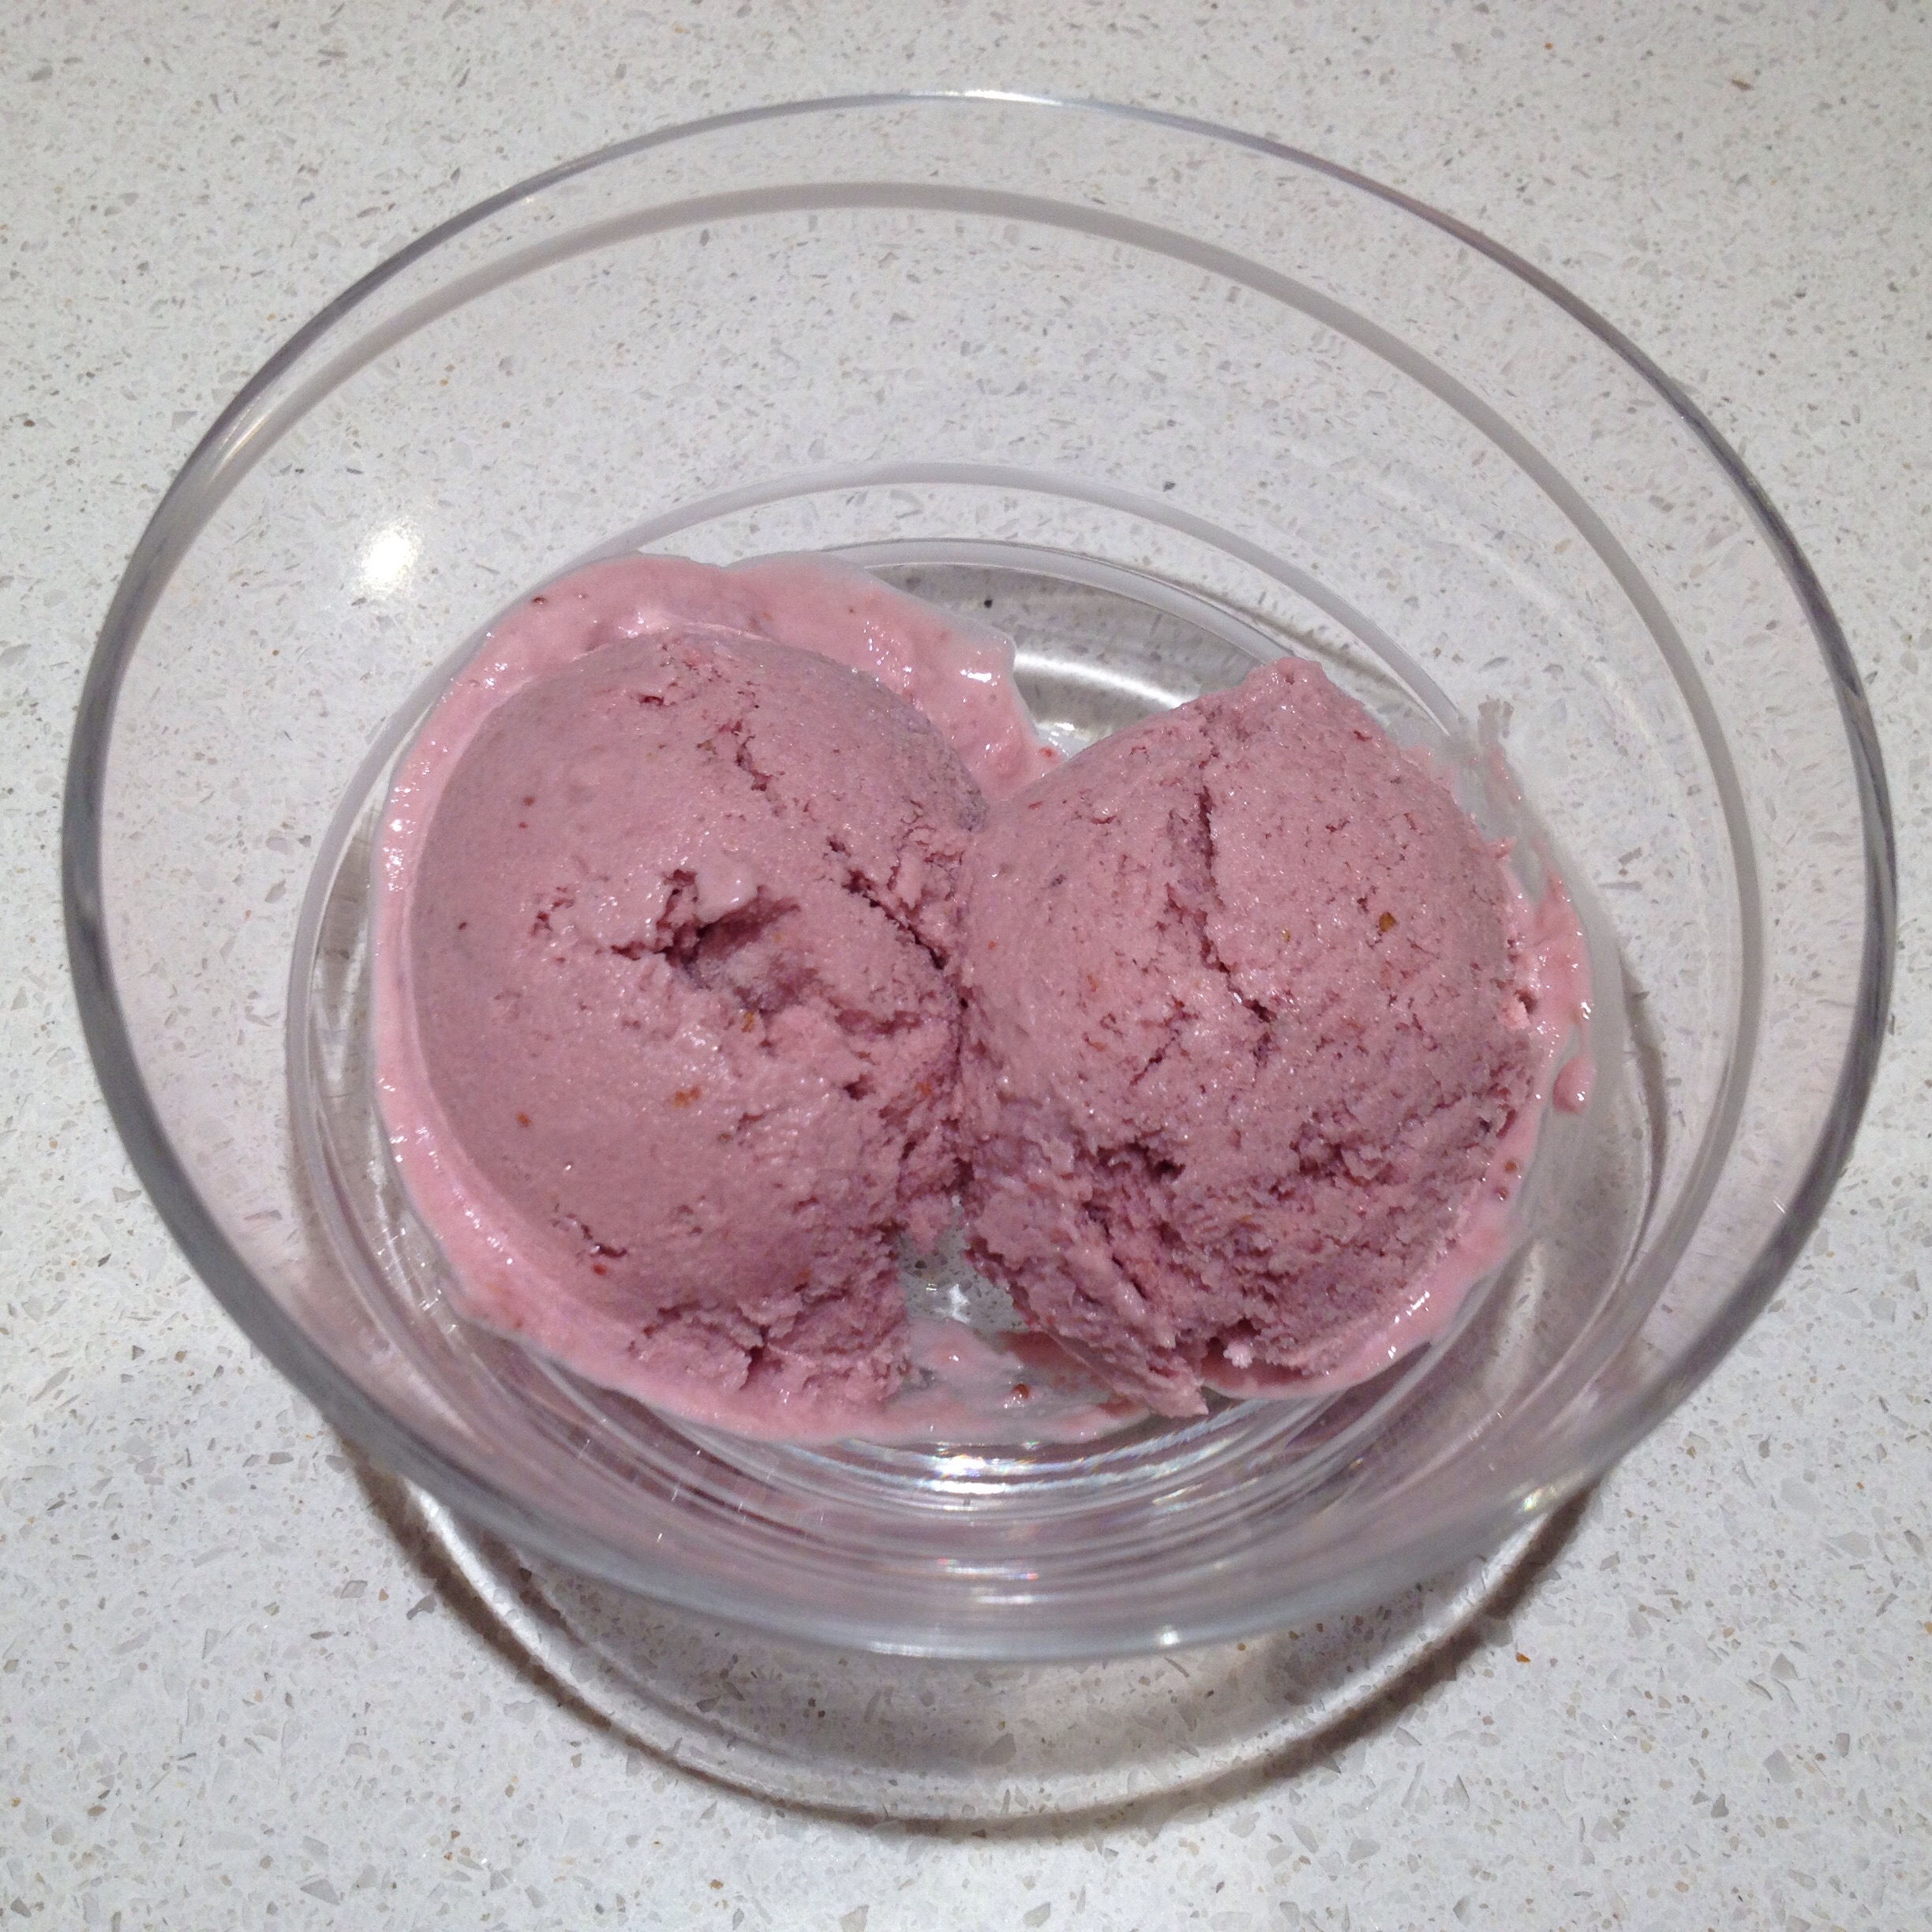
    IMG_2474My recent discovery of nut creams and brief obsession with them has led me to experiment with home made ice creams:

    Cashew and strawberry ice cream

    I blended about 100g cashew nuts with a little water to make as smooth a cream as possible in my mini-whizzer. I then added some strawberries and a bit of agave nectar and blended again. I put it in the freezer in a tupperware and gave it a good stir every couple of hours until it was frozen. (I won’t allow myself to buy an ice cream maker as consumption would go through the roof!) Freezing in a freezer is rather more labour intensive though, and requires stirring every couple of hours to break up the ice crystals and avoid it turning into a massive ice lolly!

    Easy peasy, and it tasted great, although the whizzing did take a good half hour and maybe it could have been a bit smoother…

    So if you decide to make this, ensure you start in the morning or early afternoon! I once started a sorbet too late and had to set my alarm twice in the night to get up and stir it – that’s commitment for you. Or poor organisation. Still, it tasted delicious.

    Pistachio ice creamIMG_2490

    The success of the strawberry & cashew inspired me to try making one of my all time favourite flavours, pistachio. I didn’t want to spend hours with my mini whizzer and risk its demise through over-heating, so this time I blended about 300g pistachios with a bit of water in my friend’s Vitamix high speed blender. This produced a silky smooth pistachio cream in a matter of a few minutes and I added some agave nectar to sweeten it.

    As 300g makes a fair quantity, I split the pistachio cream into 3 batches to experiment with the freezing. The first third went in the freezer as it was, the second, I mixed with plain yoghurt, so it was two thirds pistachio and one third yoghurt, and the final third was mixed with double cream in the same quantities – two thirds/one third.

    I stirred them every few hours and after a while, it became apparent that the ‘naked’ batch was getting rather stodgy and wasn’t going to make good ice cream. So to avoid wasting it, I mixed half of it into each of the yoghurt and cream batches.

    Once frozen, I scooped some of each out with a melon baller, and although you can’t really tell them apart, the ice-cream is on the left of the bowl, and the frozen yoghurt is on the right.

    I thought the ice-cream version was best, but hubby preferred the yoghurt one, which has a slightly tangy taste. I think they make a great guilt free treat in a small portion. My mum, who’s also fairly low-sugar, enjoyed them both, but my Dad has a very sweet tooth and thought both versions needed much more sweetening. You could always drizzle some honey on top.

    I think I’d be most likely to make the cashew and strawberry ice cream again, although all of them tasted lovely. Next time I’ll see if I can make it silky smooth with my friend’s Vitamix, then it’ll be perfect.

  • Banana pancakes

    Banana pancakes

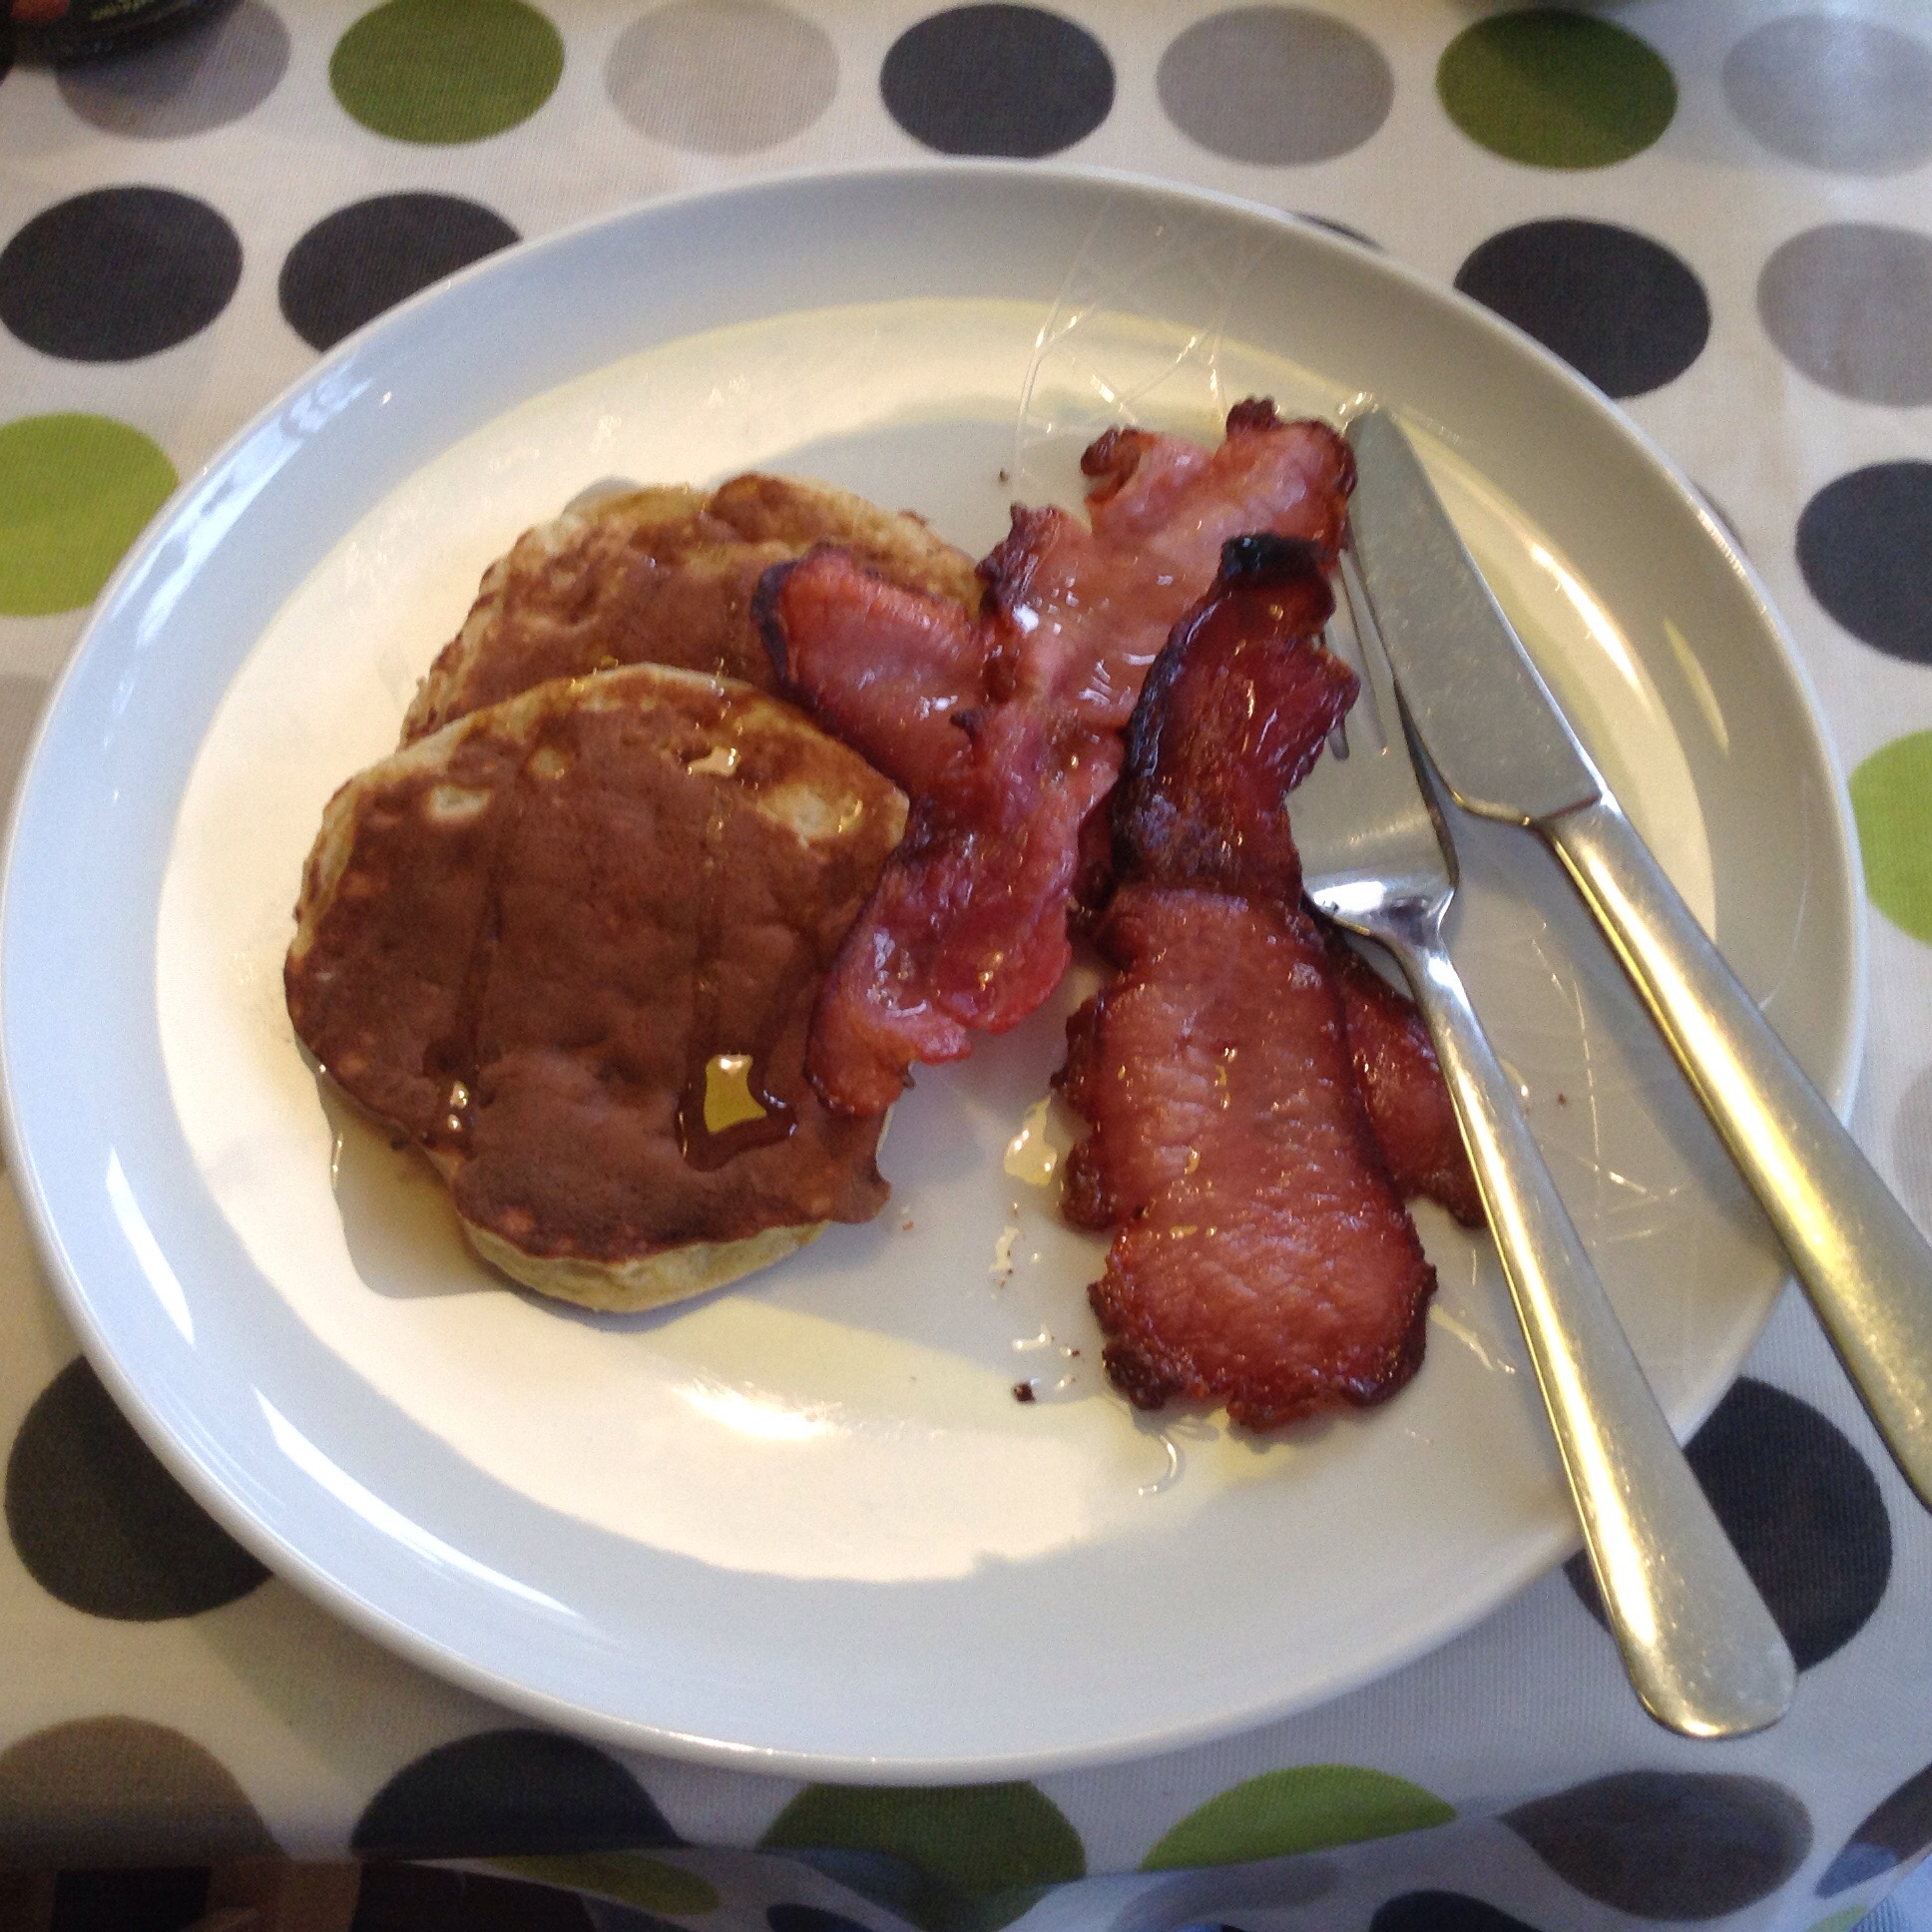
    IMG_0088Breakfast in the week is always such a rush, so we like to make something a bit more special at the weekends. Home made Scotch pancakes with maple syrup & bacon were a big favourite but off the menu now for me, due to the flour, the sugar and the syrup – triple whammy!

    It’s taken a while to find a suitable replacement but these are the clear winner. They are much quicker to cook than the ‘traditional’ ones and contain no refined sugar, but the bananas make them just sweet enough. They’re very light and fluffy, and a surprisingly healthy breakfast if you don’t slather them with jam or syrup!

    Ingredients:
    2 bananas
    4 eggs
    2 heaped tbsp gluten free flour
    generous sprinkling of cinnamon
    generous pinch of baking powder (GF)

    Mash the bananas in a bowl with a fork until most of the lumps are gone. (I’ve made these with incredibly ripe and a-bit-ripe bananas and both seem to turn out ok, but the riper the bananas, the sweeter the pancakes). Break the eggs into the bowl and mix in well. You can stop here and get cooking, but I like to stir in the last three ingredients for texture, flavour and fluffiness respectively.

    I usually get two small frying pans on the go on a lowish heat so I can cook two pancakes at a time. I make a mixture of oil and melted butter to cook them in, and just spread a small amount on each pan with a pastry brush. Pour in a serving spoon’s worth of batter and flip them when you can see the edges are starting to cook. You have to do this confidently, as the top will still be quite wet at this point. They don’t need long on the other side.

    I tend to pile them up on a plate in a very low oven until they’re all done so we can all sit down and enjoy them together. I think I got 13 out of this morning’s mixture, which fed the four of us with a couple of slices of bacon. I added a dribble of agave nectar to mine, just for old times’ sake…

  • 48 hours later…

    48 hours later…

    IMG_0006.JPGWasn’t that a film title? I’m sure I remember watching something with a name like that.

    Anyhow, I’ve been on a no sugar regime for a couple of months and I’ve seen quite a lot of improvement. It’s the hardest thing I’ve ever tried cutting out. Sugar is just everywhere. And I’m not just talking about added sugar, here – this is serious, I’m really going for it to see how much improvement I can get: so fruit, honey and anything ending in -ose is out. The intention is to cut it out as far as possible to begin with, then maybe I’ll be able to find a level of intake that is ok.

    I find it quite ridiculous that I need to avoid fruit and dried fruit to make myself better – things that I’d always known to be healthy are now off limits! It seems irrational and I still can’t get my head around the fact that fruit can be bad for my body.

    It’s been quite revealing to see how much sugar I was consuming. I didn’t think I was eating that much to start off with – I don’t really drink fruit juice as I tend to have water or fizzy water, and puddings are generally a treat in our house. But I was having fruit yoghurt or granola for breakfast – both packed with sugar. A snack might be dried fruit: raisins, dates, prunes, apricots. But we’d often have a bit of chocolate in the evening and as well as drinking wine, I’m rather partial to a gin and tonic or a Pimms and lemonade in the summer.

    And what I’ve noticed since I’ve been sugar free is that barely a week passes without it being somebody’s birthday (almost obligatory to eat cake) or people come for Sunday lunch so I’d make a dessert.

    So I cut it all out, and began to reap the benefits. But sometimes I slip a bit, particularly at weekends – it’s just not Friday night in my book without a glass of wine! But sometimes that one glass would turn into 2 or 3 and I’ve accidentally had a load of sugar. Or somebody at work brings some gluten free treats just for me and I feel obliged to have one (I’m not ready to tell my colleagues I’m off sugar as well as gluten – I can’t face the inevitable questions).

    Eventually I began to notice something. I found out that when I have something sugary, it actually takes 48 hours for it to show up in my skin. Two days later, I get a breakout. That’s quite a long time. But I had a look online and I’m not alone! members.irosacea.org

    Also, I find it strange that sugar isn’t featured on any of the rosacea support lists of food to avoid: www.rosacea.org

    I bet there must be other people out there who haven’t yet discovered that sugar is their skin’s nemesis, and the fact it sneakily takes 48h to show up only makes it harder to figure out. If you know anyone suffering with rosacea or acne, please ask if they’ve considered sugar as a trigger – it was only by chance that I figured it out and I’ll be forever grateful to the lovely lady who suggested it to me.

  • Raw brownie

    Raw brownie

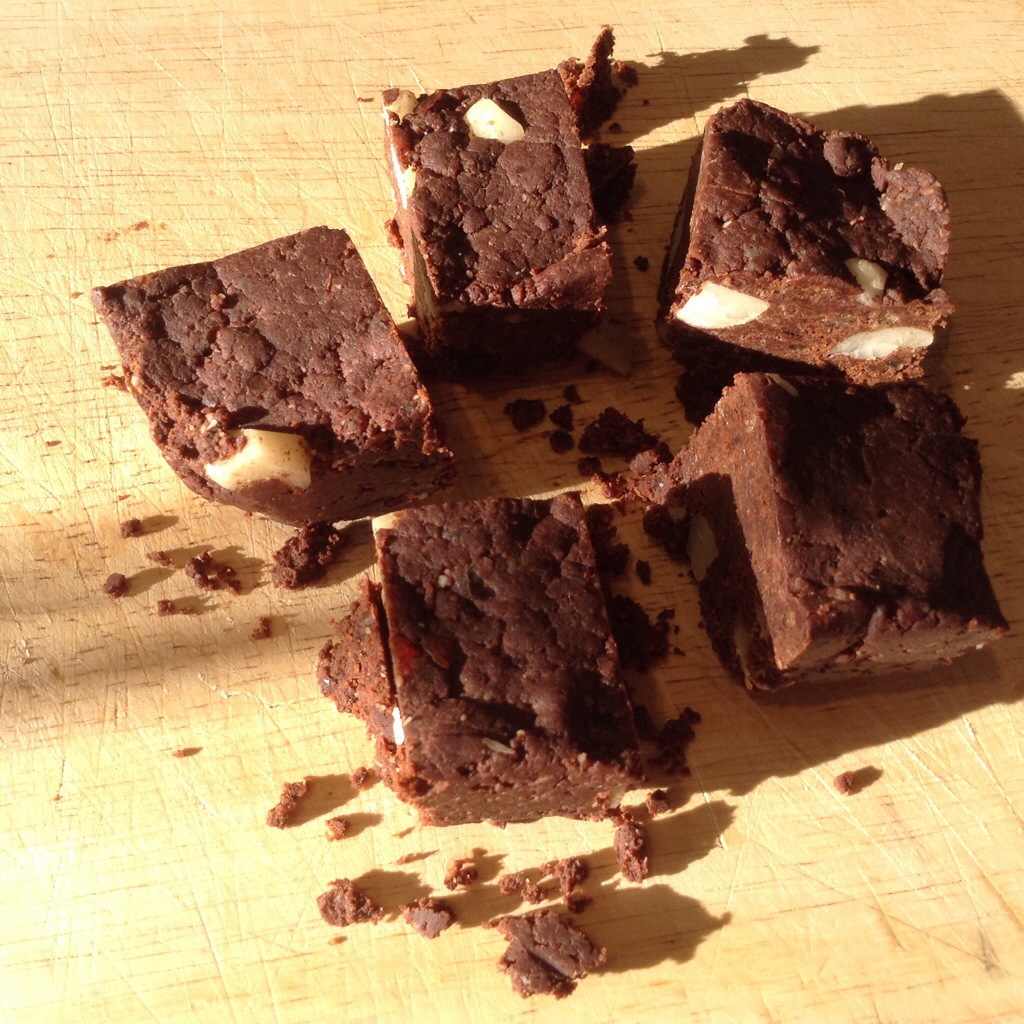
    20140707-174522-63922799.jpgLooking for a sugar free pudding for some friends coming to tea, I stumbled across this truly fabulous recipe for a raw brownie. I’m not particularly into raw – I have enough dietary restrictions as it is – but this has certainly made me think about raw food a bit more.

    My two boys think it’s a massive treat to get a piece of this. I have to be a bit careful as the dates contain a lot of sugar – but I treat myself to a piece every now and then.

    I played around with the recipe a bit – here it is:

    Raw brownie:

    2 cups whole walnuts
    2 1/2 cups Medjool dates
    1 cup raw cacao (Sheffielders can get this from Zed’s on Nether Edge Rd)
    1/4 tsp sea salt
    3/4 cup macadamia nuts, roughly chopped

    1. Food process the walnuts on high until finely ground
    2. Add the cacao and salt – pulse to combine
    3. Add the dates one at a time through the feed tube. The mix should appear like cake crumbs but when pressed will easily stick together. If it doesn’t, add a few more dates
    4. Take the mix out of the whizzer and mix in the chopped macadamias
    5. Press into a lined mould – Tupperware or similar clippy plastic boxes work well
    6. Store in the fridge until ready to serve, then cut into pieces

    They last a few weeks in an airtight container in the fridge – well they might if you keep them a secret! Enjoy…