Category: Recipes

  • Adventures in broadcasting

    Adventures in broadcasting

    So, I had a fascinating Saturday morning, taking part in the Radio Sheffield breakfast show with Kat Cowan and guest chef, Lee Vintin (from the Chequers Inn), which was all about gluten free food. It was a frenzy of cooking activity for an hour, punctuated by discussion about all things coeliac in between the records and bulletins.

    You can listen on catch up for a few weeks here from 2h 6mins.

    I found the process as interesting as the discussion, observing the professionals busy at their work. I was fascinated watching Kat do her broadcast, having to listen to the producer over the headphones, briefing us and setting up the next section during records and jingles, and bursting into radio speak at just the right time to make what I imagine was a fairly seamless show.

    I was equally impressed with the amount of cooking I watched Lee cram into the hour alongside being interviewed. He cooked a crumble, buckwheat pancakes and three different types of Scotch egg! And all I did was stand by and chip in the odd opinion. And for anybody who listened, I must apologise for having to describe my body’s reaction to gluten live on the radio – and at breakfast time.

    I hope the show was useful to help people understand what it’s like to be coeliac and also give things to think about if you are cooking for somebody who needs to eat safe, gluten free food.

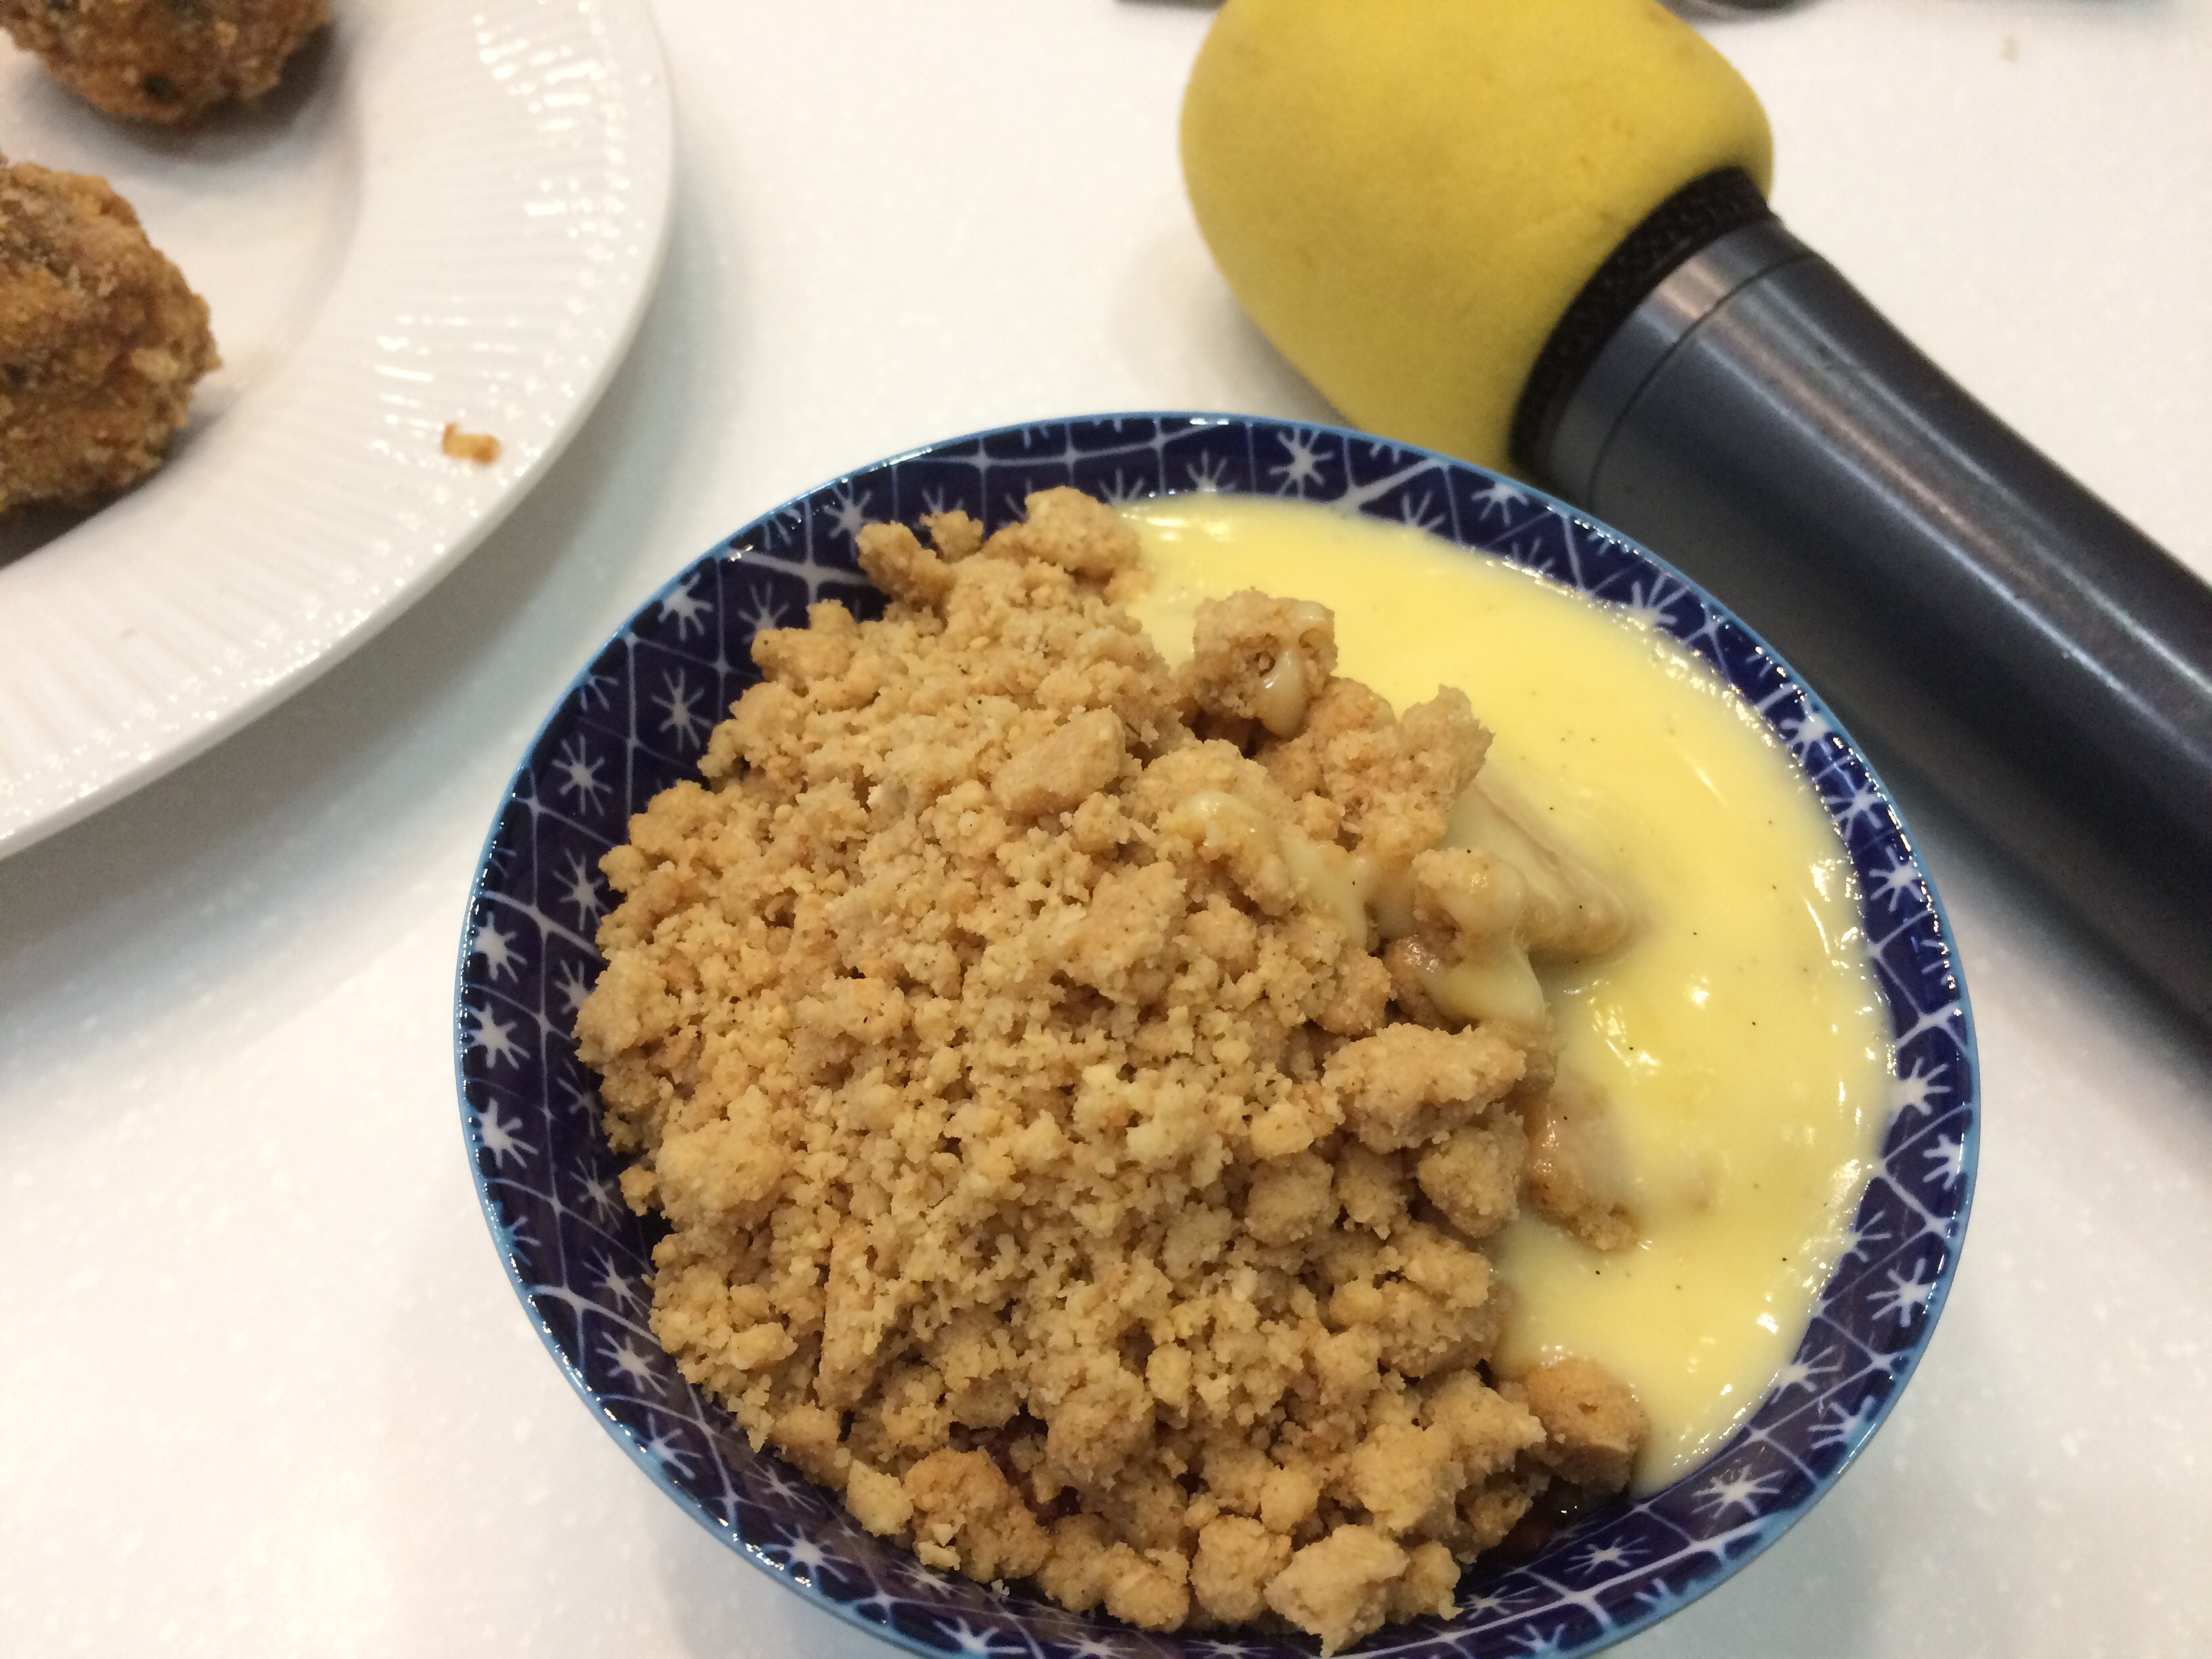
    So on to the cooking: First was the crumble. This was lovely and crunchy. The main tip Lee gave us for this recipe was to cook the crumble separately and add it at the end, so it keeps its crunch. It also means you can keep the leftovers ready for the next time.

    Crumble topping

    • 100g each rice flour and sugar
    • 50g each gf porridge oats and ground almonds
    • 100g butter
    • pinch cinnamon

    Rub the ingredients together or mix in a food processor, then bake at 170C for half an hour, turning regularly. You can use the mixture to top stewed fruit and custard or even just sprinkle on yoghurt.

    Lee also cooked us a breakfast buckwheat pancake.  Buckwheat is naturally gluten free but is frequently cross contaminated, so you would need to buy carefully.

    Buckwheat pancake batter

    • 50g buckwheat flour
    • 25g plain flour
    • 1 egg
    • 125ml milk.

    Mix well to make a batter then fry as a normal pancake. Ours was filled with cheese, ham and mushrooms whilst still on the heat, so it was all melty and lovely.

    Finally, and rather amazingly, Lee treated us to three different kinds of Scotch egg! These take a bit more preparation, but were absolutely delicious.

    Classic Scotch egg

    • Quails eggs
    • gluten free sausage meat
    • gluten free flour
    • egg wash made with egg and milk
    • breadcrumbs made from gluten free bread

    First, cook the eggs in boiling water for 2 minutes, then plunge into cold water to stop them from cooking, and peel the shells off. Wrap the egg in sausage meat, then coat in the flour, the egg wash and the breadcrumbs. Cook in a deep fat fryer at 180C for 5-8 minutes. Bear in mind you’d need to use a clean fryer and un-contaminated oil.

    Chicken and tarragon Scotch egg

    In this recipe, the sausage meat was replaced with roughly blended chicken thighs, mushroom, tarragon and seasoning. Instead of breadcrumbs, Lee used crushed gluten free oatcakes, which gave a different texture

    Kedgeree style Scotch egg

    This one was my absolute favourite. Instead of meat, Lee wrapped the eggs in a smoked haddock risotto, made slightly stickier than normal and with loads of parmesan. After the flour and egg wash, these were dipped in crushed poppadoms before frying, instead of breadcrumbs.
     

  • Chocolate popcorn crispies 

    Chocolate popcorn crispies 

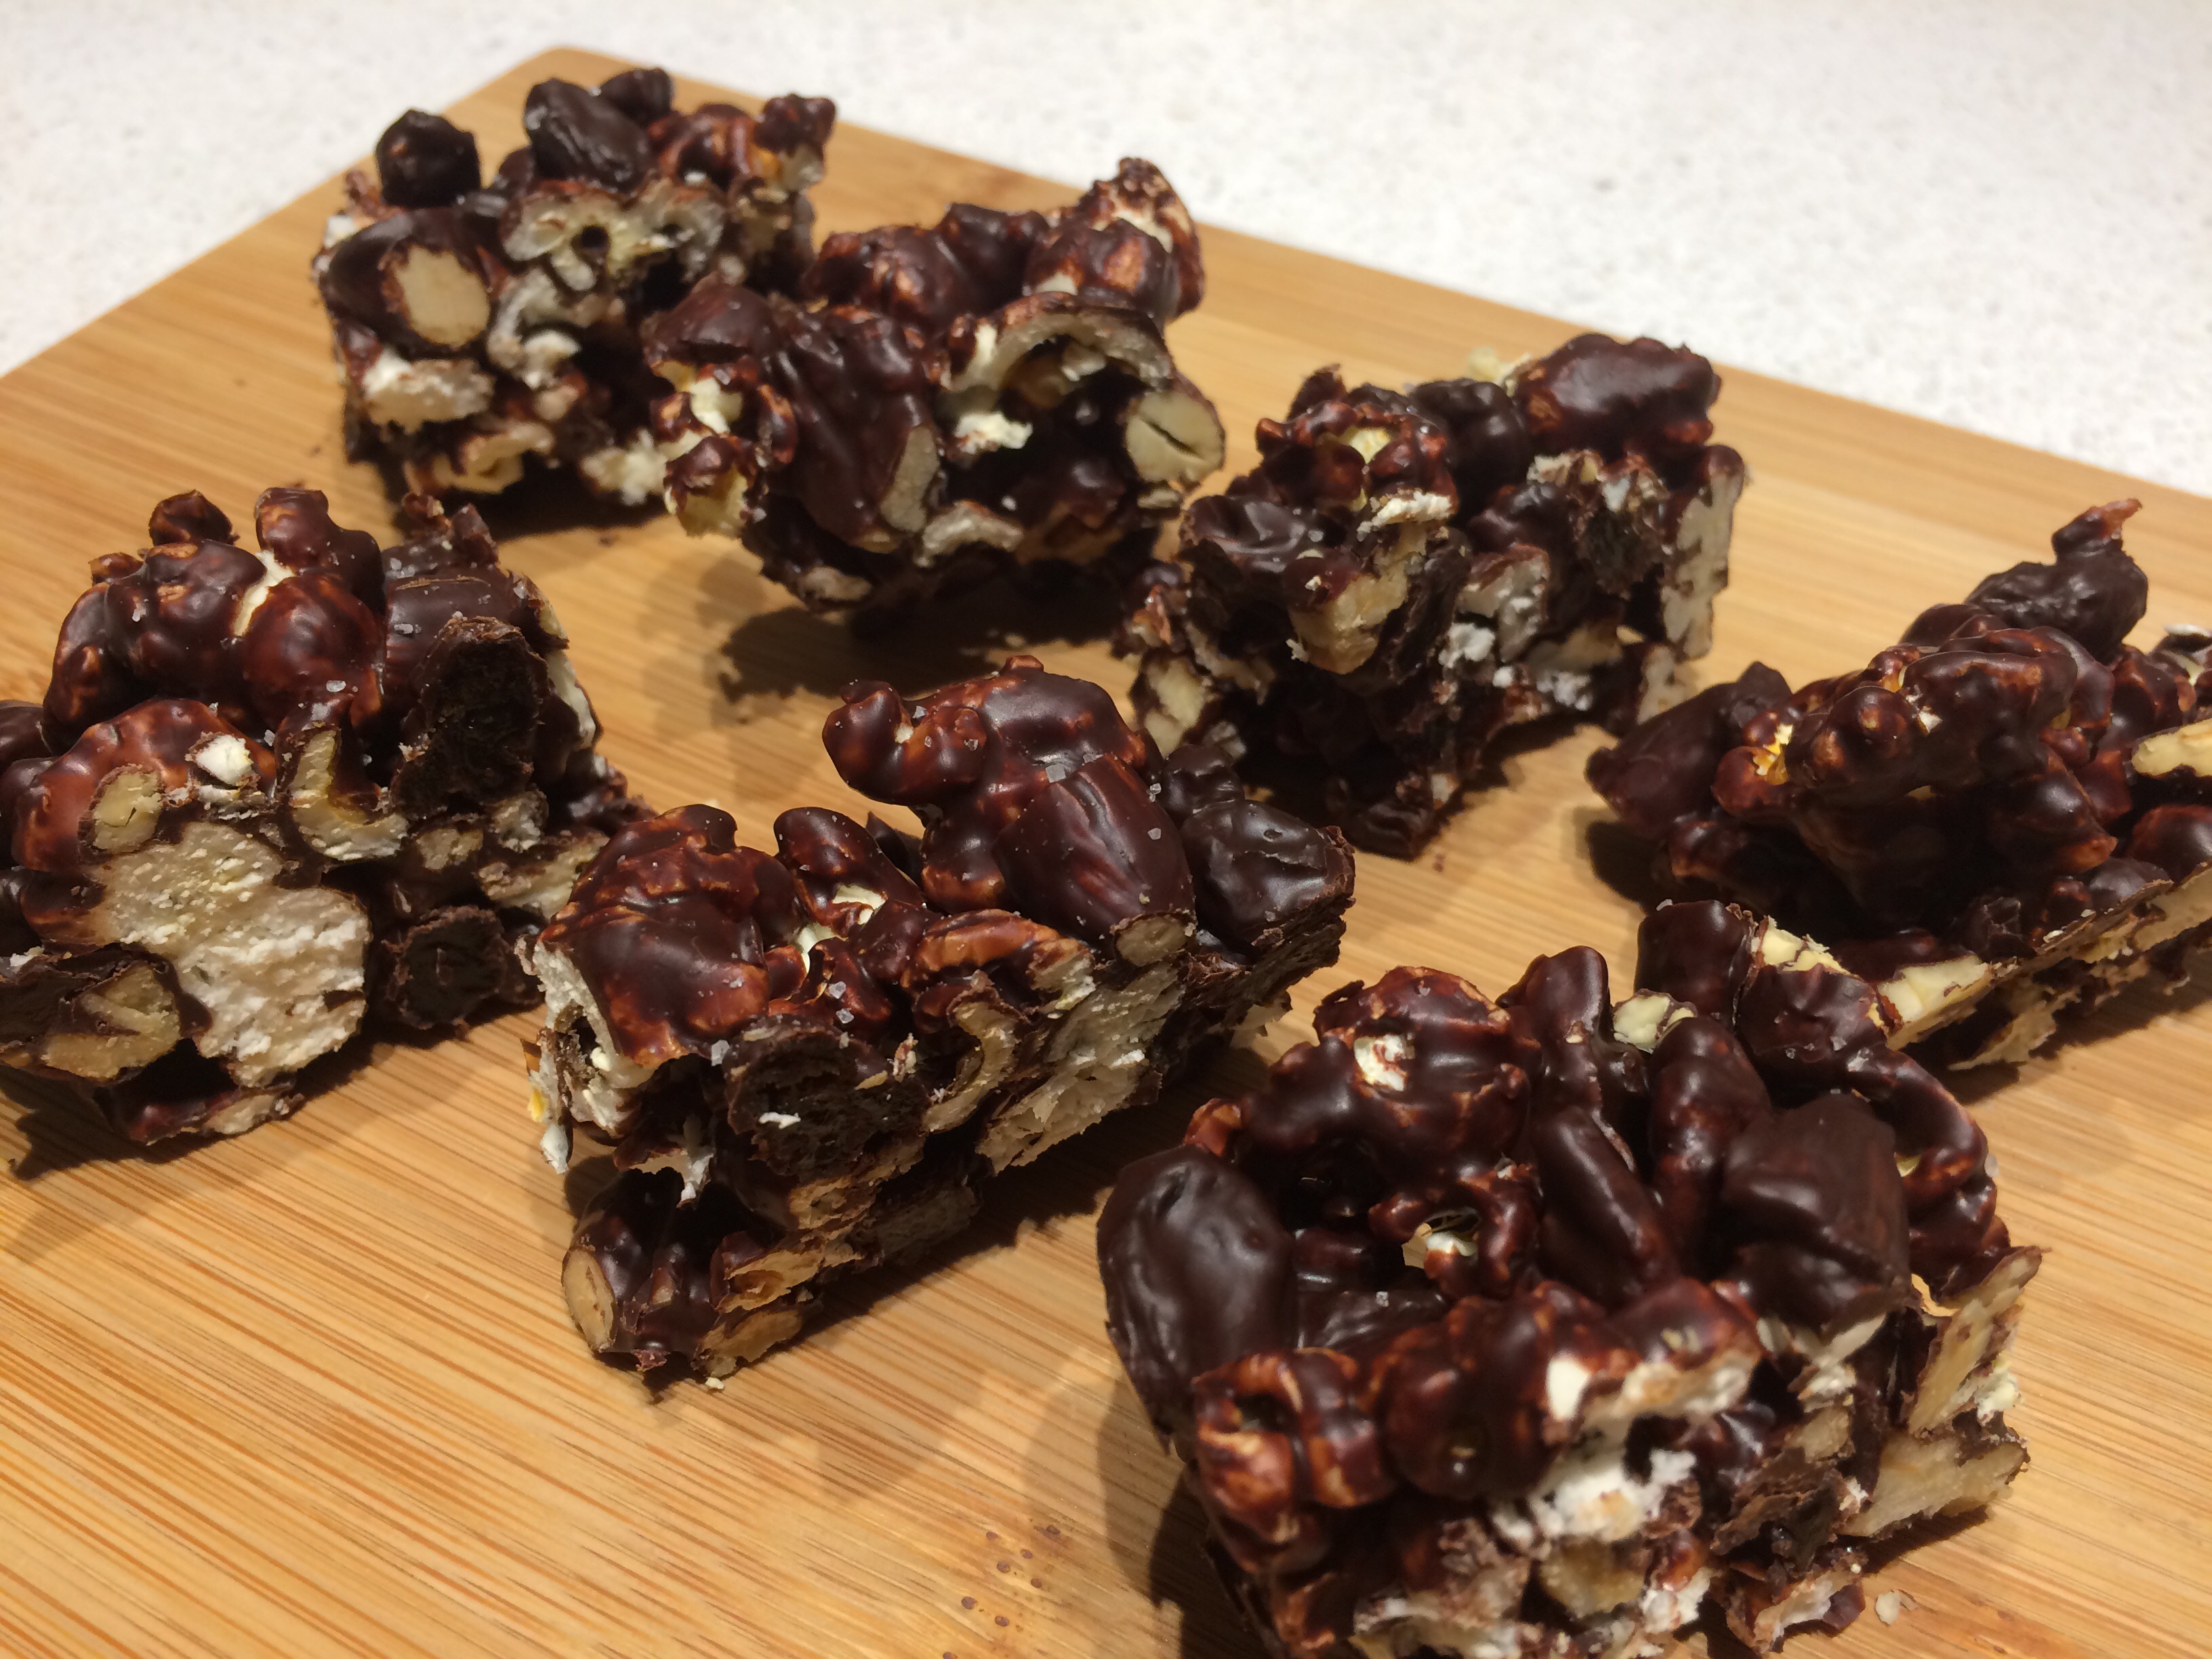
    I have surpassed myself! Very pleased with this little invention and only minutes to make. Fantastic little gluten free treat that’s also pretty low in sugar.

    I have been in love with the Eat Natural Peanut and Popcorn bar since I discovered it a few months ago. Last night I was inspired to make my own version using salted popcorn for a salty and sweet flavour.

    I mixed in a bowl (and these are approximate amounts):

    • 25g salted popcorn
    • 30g raisins (for a bit of squish)
    • 25g pecans & 25g almonds (baked for a few mins at 180C then very roughly chopped)

    I then melted some Green & Black’s 70% chocolate (about 16 pieces so roughly 50g?) and stirred it into the mix before packing it into a container to set. I also added an extra grind of salt on the top because I couldn’t resist.

    10 mins or so in the fridge and it was ready to cut into pieces. I cut it into 8, which I calculate to have 4g sugar per piece. Over half of that is from the raisins so I think it’s rather virtuous…

    img_5810


  • Mini puds

    Mini puds

    We had some friends round for tea a few weeks ago and I fancied doing some mini desserts to nibble at in the evening. After a lot of wasted time looking through recipe books and failing to find quite what I wanted, I managed to get some better inspiration from the good old web.

    img_5416I made a couple of simple but effective mini-puds, as well as a third I’ve not included, that was very much edible, but not as good and much more faff.

    The easiest was strawberries (I know, not quite in season) dipped in a mixture of melted dark and milk chocolate. I use Green and Black’s as a default, which is deemed safe by Coeliac UK. I rolled the dipped strawberries in either chopped pistachios for a bit of colour, or popping candy for a fizzy crunch! (I was very pleased with myself for thinking that up.) These went down rather well with the kids. 🙂

    Next was something I’ve been intending to try making for ages, peanut butter cups. Frustratingly, I only took photos of the finished article, so you can’t see the stages of how they were made, but it was very simple.

    I followed this Martha Stewart recipe, which involves making alternate layers of melted dark chocolate and a mixture of peanut butter with melted white chocolate. Again, I used Green and Black’s white and the dark 70%.

    I used petit four cases (unfortunately I could only find brown ones) in a mini cake tray and topped them with unsalted peanuts, which I chopped and baked to give a bit of colour and crunch. You need to get the nuts on quickly while the chocolate on top is still wet, so they stick.

    Both of these are easy crowd pleasers. I need to come up with a third to go with them though. Suggestions on a postcard… or rather in the comments.

    Ironically the other day, somebody on Twitter suggested an even quicker version of peanut butter cups, which is to dip a square of dark chocolate in some peanut butter. I immediately regretted finding out about about this possibility, as I went straight to try it out. A very good return for next to no effort, but definitely something I kind of wish I could un-know.


  • Cannelloni 

    Cannelloni 

    Pre-coeliac diagnosis, I used to make cannelloni using either the dried pasta tubes you can buy, or latterly by rolling them up in fresh lasagne sheets. Neither of these were totally satisfactory as the tubes were always too small and fiddly, and the lasagne sheets generally split. So it’s been on my mind for a while to test out the pancake method.

    My favourite cannelloni filling is a spinach and ricotta one I’ve devised myself, but it can also be stuffed with a meaty filling. The method for this is a bit time consuming, and best made in advance, but the joy of having a wonderful pre-prepared comforting dish to simply heat in the oven more than makes up for it.

    img_5365I was cooking for 5, so I made 10 cannelloni. First, I made some gluten free pancakes using the following batter ingredients, beaten together then left to rest for half an hour:

    • 125g plain flour
    • 1 egg
    • 250ml milk

    I made this stretch to 10 small pancakes, but I think next time I’d make them thicker and either make 6 or double the mixture. Once cooked, I separated the pancakes with greaseproof paper to avoid them sticking to each other.

    img_5363Next, the tomato sauce.

    • 1 onion, finely chopped
    • 1 garlic clove, crushed
    • 2 x tins chopped tomatoes
    • generous pinch of stock powder (I use Marigold Bouillon)
    • a good tablespoon of oregano

    I softened the onion and garlic, added the tinned toms, stock and oregano, and let it simmer down until reduced by about half. A bit of seasoning then this went into two Pyrex dishes.

    I also made about a pint of bechemel sauce, by my very simple method of making a roux with plenty of butter and flour, and adding milk to thicken, along with a couple of bay leaves to infuse while the milk heats up. I left this to cool, stirring regularly to avoid it making a skin.

    img_5367For the filling, I used:

    • about 8 shallots, peeled and chopped super-small
    • a handful of pine nuts, chopped
    • a big bag of ready washed spinach, wilted, cooled and water squeezed out by hand, then chopped
    • 750g ricotta cheese

    I mixed all the filling ingredients together in a big bowl then divided it up roughly into 10 portions, to fill the pancakes. A wee bit of origami is involved, as shown by the snaps below:

    When rolled, these were placed in the tomato sauce, ready for a covering of the bechemel sauce and a generous sprinkling of parmesan. To bake straight from the fridge, they took about 35 mins at 180C. They very much lived up to their expectations, and the pancake was very easy to work with, albeit a bit on the thin side.

    img_5382


  • Home made southern fried chicken

    Home made southern fried chicken

    I spend quite a lot of time looking for nutritious recipes to cook for the family, but it’s also nice to make comfort food. I’ve been meaning to try this for a while now as I had some buttermilk in the freezer, but there are hundreds of recipes to choose from online. I chose this recipe by Jenn Segal* (Once Upon a Chef) because it has such great reviews.

    This is a great recipe, and the results were wonderful, with a straight forward substitution of wheat flour for gluten free flour. The buttermilk marinade softens the chicken beautifully, and the spice mix was flavoursome for us without being too challenging for the small boy (who is able to detect the teeniest grind of pepper).

    Marinade

    • 3-4 chicken breasts cut into nuggets or strips
    • 1 cup buttermilk
    • 1-1/2 teaspoons salt
    • 1/4 teaspoon cayenne pepper
    • 1/4 teaspoon garlic powder (mine is smoked)
    • 1/4 teaspoon paprika (also smoked)

    For the Breading / crispy coating

    • 1 1/2 cups all purpose gluten free flour
    • 1 heaped teaspoon salt
    • 3/4 teaspoon black pepper
    • 3/4 teaspoon garlic powder
    • 3/4 teaspoon paprika
    • 1 1/2 teaspoons baking powder
    • 3 tablespoons buttermilk

    For Cooking

    • 3-4 cups vegetable oil

    Instructions

    Combine the chicken breasts with all of the marinade ingredients in a bowl and refrigerate overnight, or at least 4 hours.

    Make the breading by combining the dry ingredients in a large bowl. Whisk until well combined, then add the buttermilk and stir with a fork until mixture is evenly clumpy.

    Line a baking sheet with foil. Remove the chicken from the marinade a few pieces at a time and toss into the flour mixture. Be sure to press the chicken firmly into the breading so clumps adhere to the meat. (Jenn suggests using one hand to remove the tenders from the bag and the other to toss in the breading, but I used tongs.) Set breaded pieces on prepared baking sheet.

    Line another baking sheet with a few layers of paper towels and set aside. Add oil to a large, high-sided pot until the level reaches about 3/4 inch. Heat over high heat until oil is shimmering. (If a cube of bread sizzles when you drop it in, it’s ready.)

    Using tongs, place several chicken pieces in the hot oil without crowding the pan. Cook until golden brown on the bottom side, a few minutes, then flip and cook until second side is also golden, a few minutes more. Set cooked tenders on baking sheet lined with paper towels to drain. Fry remaining pieces in batches. I kept the cooked pieces warm in a low oven whilst I finished cooking the rest.

    It’s hard to tell how golden the chicken is when it’s immersed in the oil. If you’re unsure, simply pull a piece out of the oil and rest it on the paper towels to see the true colour. I also sliced into a few to check they were cooked through.

    So this is a lovely recipe, but one for a weekend when there’s a bit more time to faff about with marinading, breading and frying.

    * Jenn was a chef until she became a mother, and now runs a cooking blog (in the US). She kindly gives permission to reproduce recipes with a credit.

  • Waffle experimentation

    Waffle experimentation

    I was very excited to get a waffle maker for Christmas – I’ve been after one for quite a while as part of my breakfast diversification programme. 😀

    My waffle maker is this Cuisinart one that makes two square waffles at a time. I can’t give the lowdown on any other machines as mine was a gift so I didn’t do the research myself. But I’m very happy with it. It’s easy to use and easy to clean, as the irons can go in the dishwasher.


    The challenge is to find a healthy, gluten free recipe that doesn’t contain too much sugar. That way it doesn’t seem so bad that the boys want to fill all the holes with maple syrup and jam!

    I’ve been trying out this recipe from cookieandkate.com, which uses oat flour.

    I’ve listed below the ingredients to make eight waffles, as once you’ve heated the iron up, it’s easy to just keep making them.

    3 cups oat flour (256g)
    3tsp baking powder
    1 tsp salt
    Good pinch of cinnamon powder
    1 1/2 cups milk
    10 tbsp melted butter
    4 eggs
    2 tsp vanilla extract

    The original recipe has maple syrup too – 4 tbsp for this quantity – but I’ve made them without so far with good results.

    It’s a really simple recipe: You measure out the wet and dry ingredients separately then combine in one bowl. It’s important to sieve the flour so it doesn’t all clump together. And I’ve also had to microwave the wet ingredients for a few seconds because the butter solidified a bit when I spooned it into the cold milk and eggs.

    Once mixed, I spent quite a while using a wooden spoon to get rid of all the lumps. Then about ten mins  or so to let the mixture rest while the waffle iron heats up, which is important.

    My waffle iron takes one full ladle of mixture per waffle and this mixture makes exactly eight waffles. The waffles cook in my iron in about seven minutes. They are very pleasing to make as you just pick the freshly cooked waffle out of the iron and pour in the next ladle of mixture. Hardly any mess and when they’re hot they have a lovely vanilla smell. If you’re lucky, a little bit spills out of the main waffle shape, and you get to snap it off for a sneaky bite!

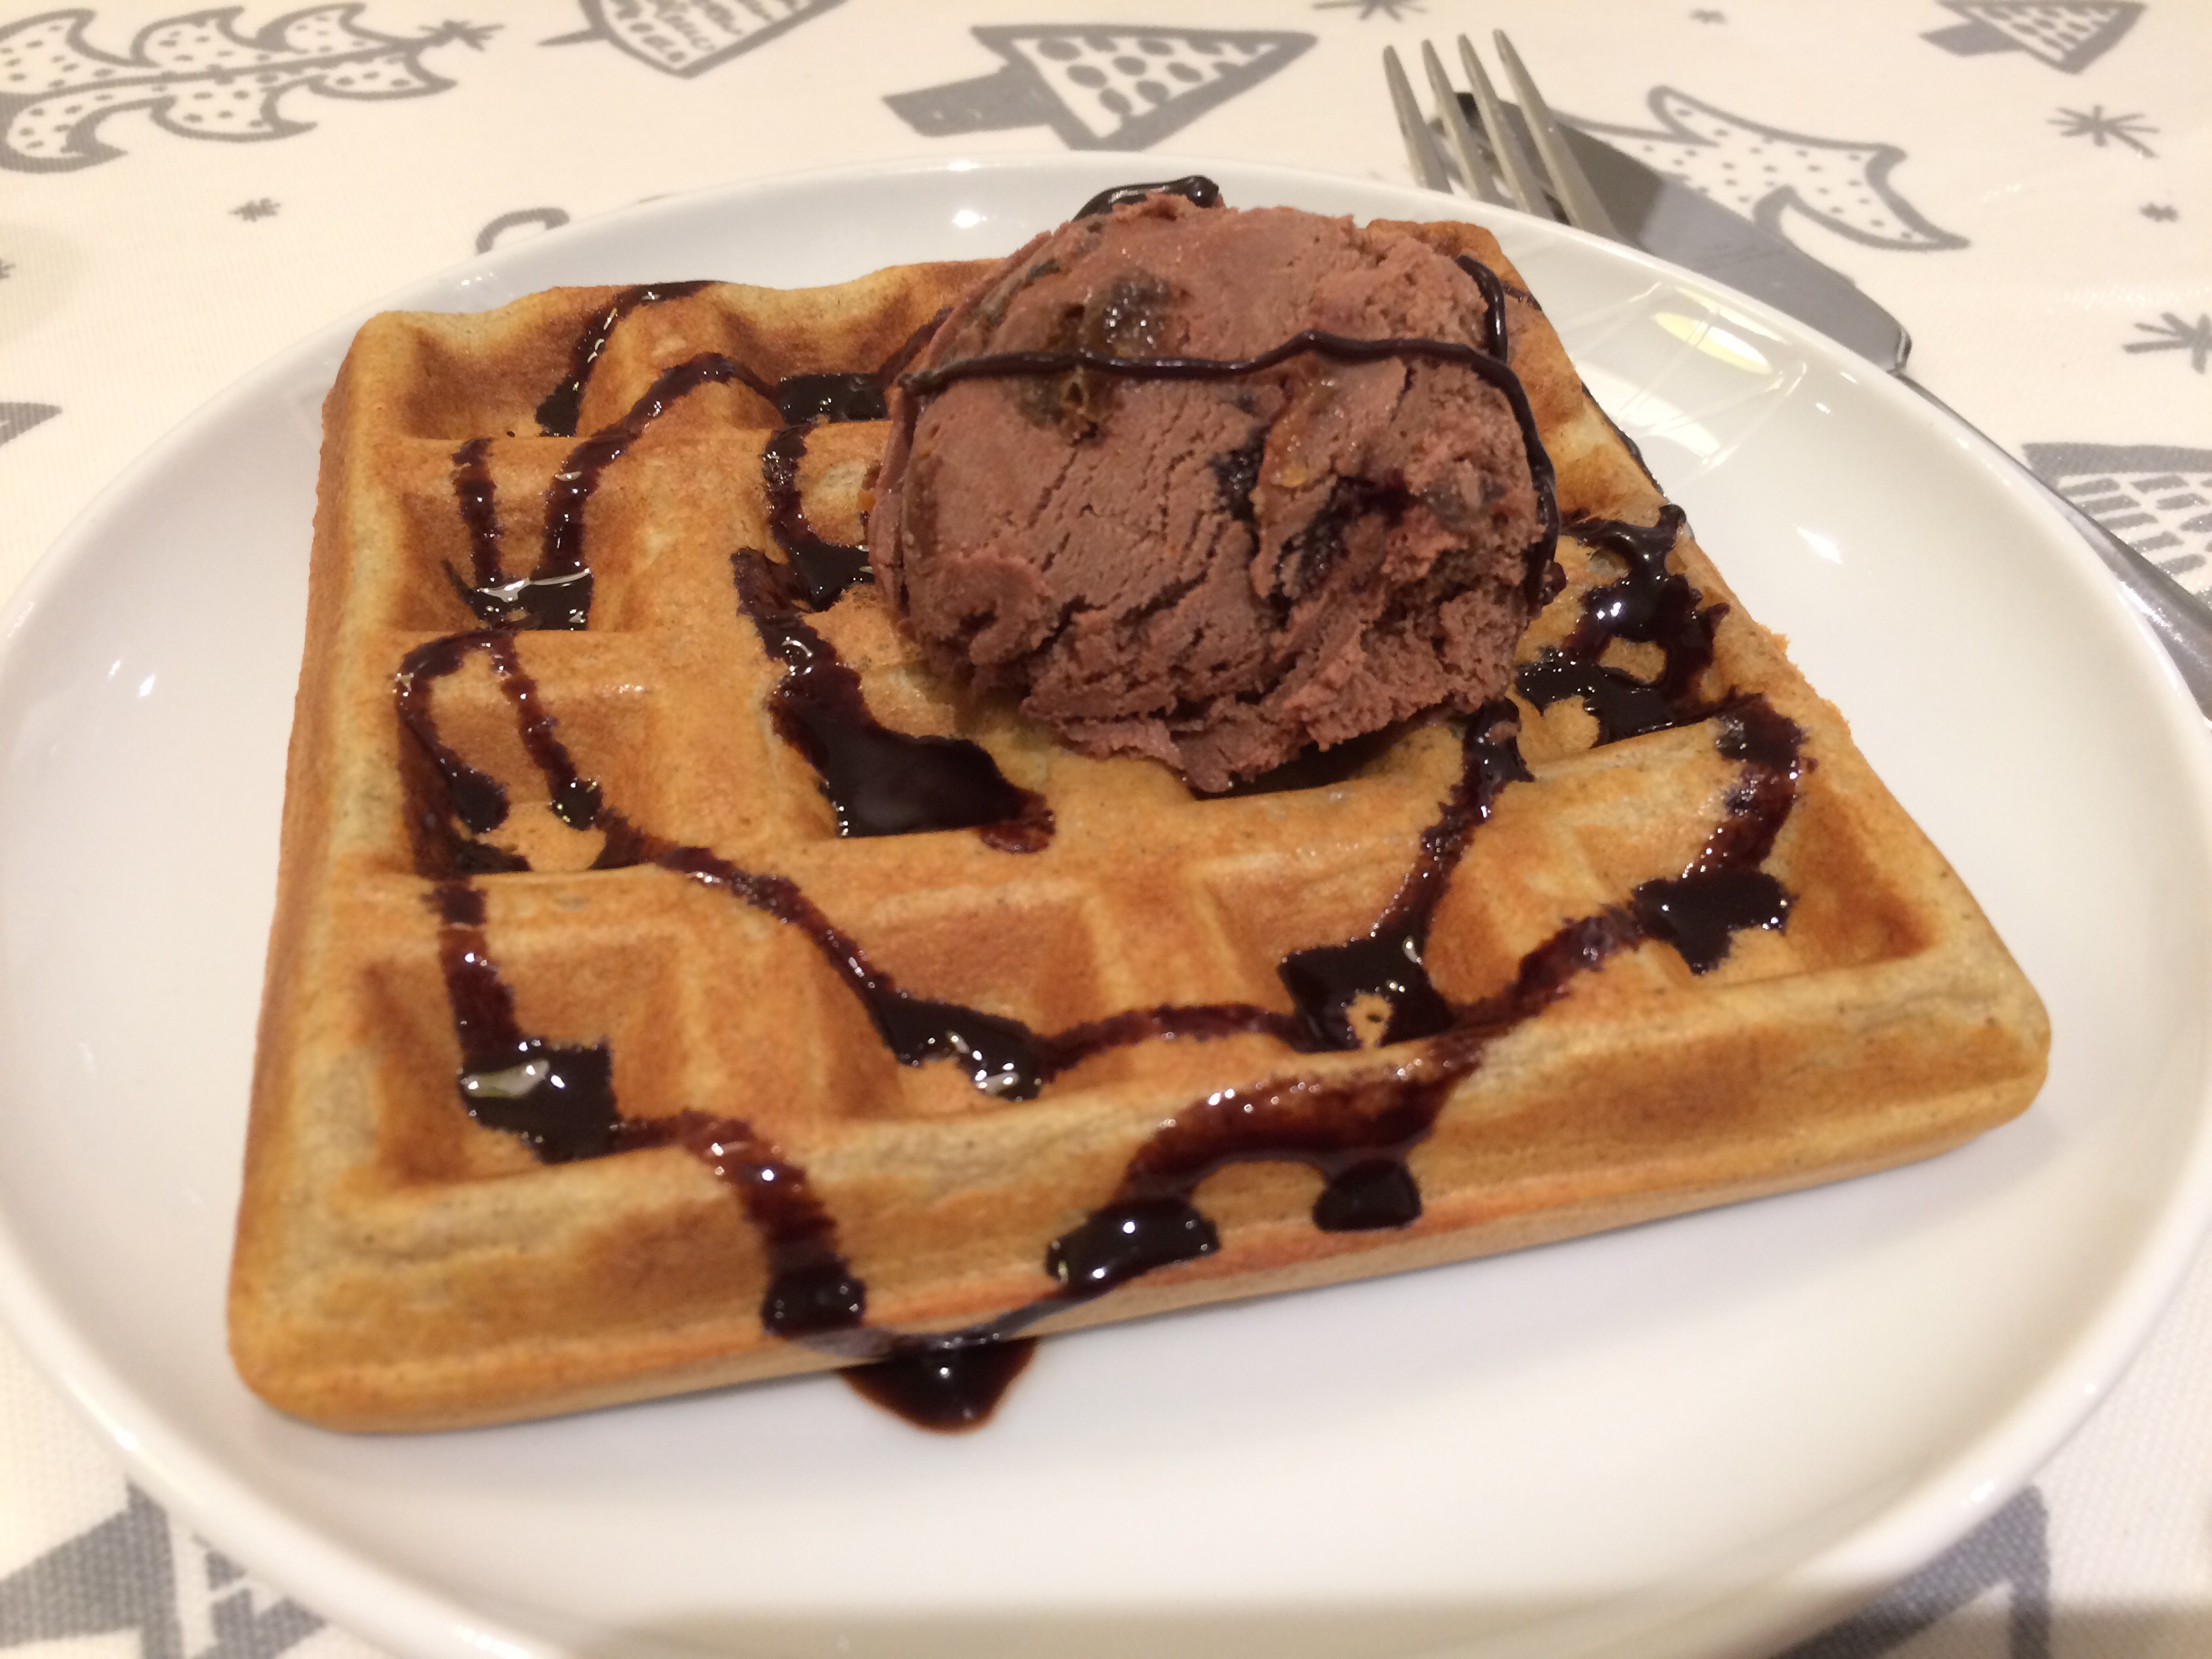
    We enjoyed our first batch of waffles as a pudding, using up the last of my Christmas ice cream. (One for a future post, maybe…) It was absolutely delicious with a really great texture, after a few attempts to get the cooking time right!


    The waffles freeze very well. I put them in a bag, separated with greaseproof paper, and when required, cooked them from frozen under the grill. That makes for a fairly quick, filling breakfast.

    I think the waffles might do well with savoury toppings like egg and beans after being grilled from frozen, as grilling gives them a bit more bite. We tried them with egg and beans straight from the iron and they lost their substance a bit.

    I will probably continue testing out different recipes. You can also add interesting ingredients to the mix for a different flavour. I will try not to become a waffle bore…

  • Buckwheat blini

    Buckwheat blini

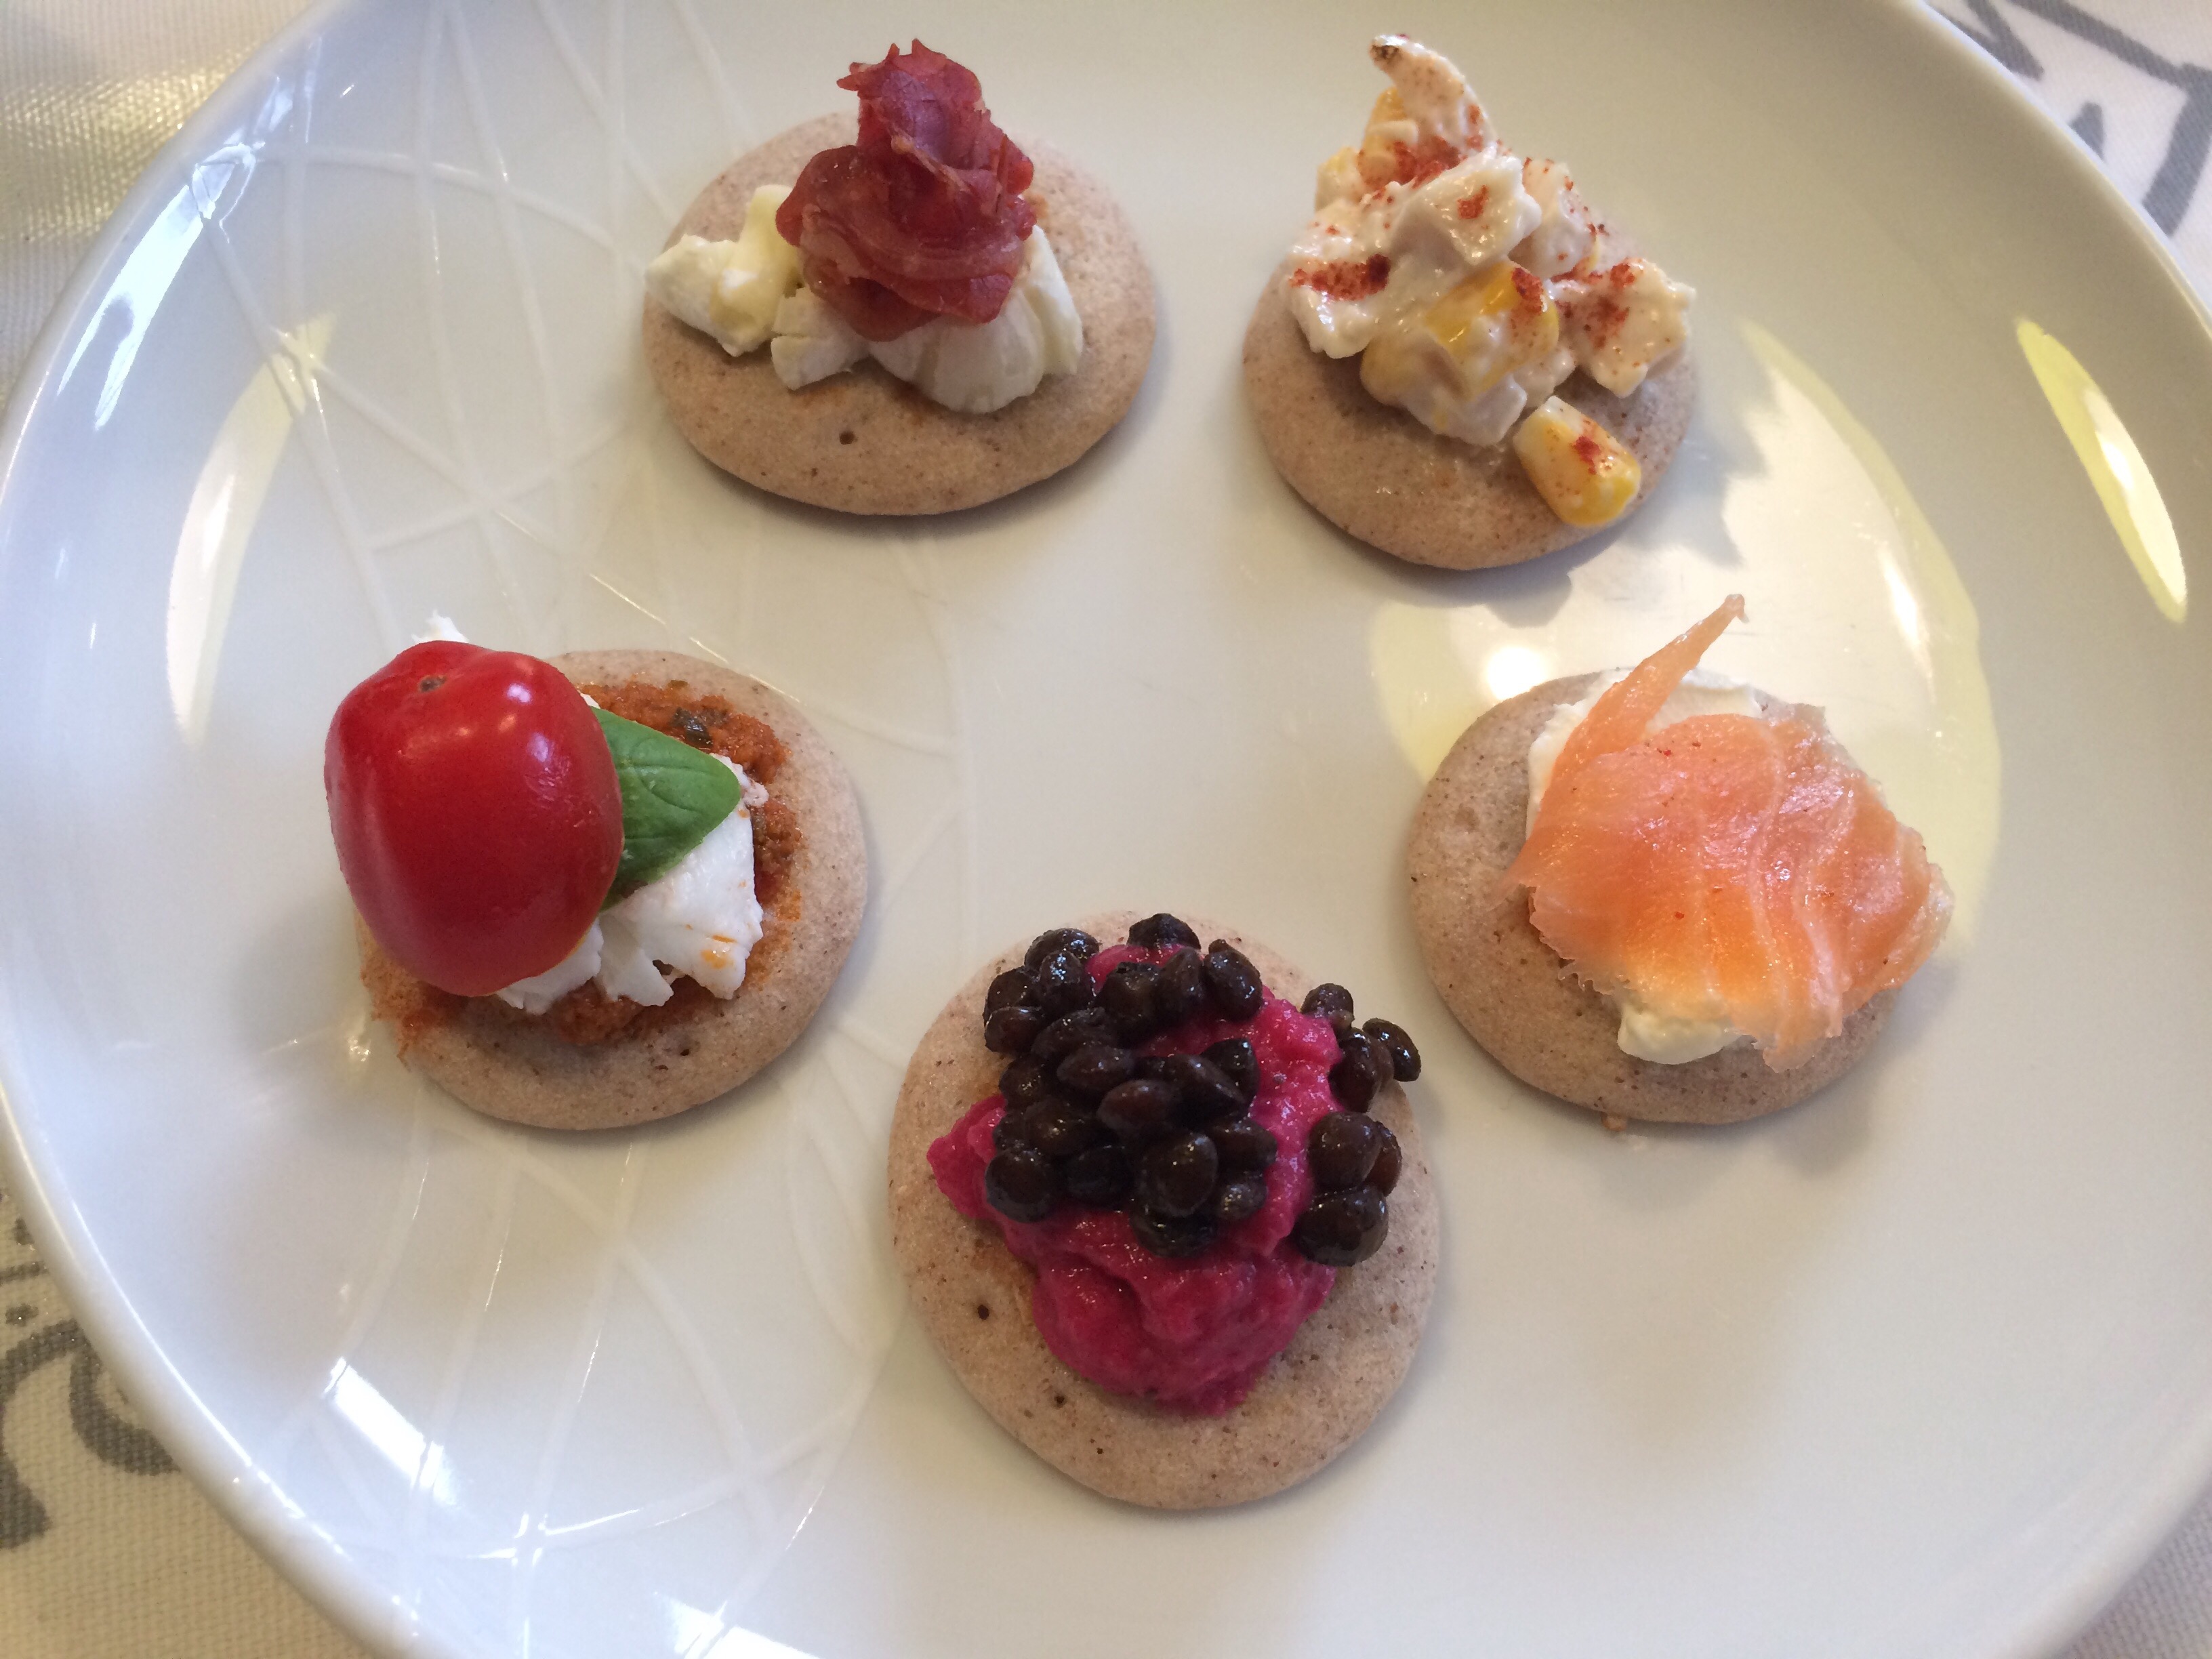
    I’ve been meaning to try making my own blini for a while now, to make the most of buckwheat flour being gluten free. I already use it to make galettes (the French savoury pancakes) but I was really pleased when I came across this easy peasy recipe on the Doves Farm website. Blini are traditionally made with yeast, but these are much simpler and just use a bit of baking powder as a raising agent. Whisking the eggs really well to make them frothy helps give a really light consistency to the batter.

    I was so pleased with them, I made them a second time when we had our mini Christmas family gathering last weekend. They look quite spectacular all together on a platter.

    The ingredients are:

    2 Eggs
    175 g Buckwheat Flour (I used Rude Health sprouted GF buckwheat flour)
    2 tsps Baking Powder
    300 ml Milk
    2 tbsps Oil

    Break the eggs into a mixing bowl and beat with an electric whisk until quite frothy – this takes a few minutes.

    Sieve in the flour and baking powder, then gradually add the milk, continuing to whisk until the batter is smooth but frothy looking.

    Heat a smear of oil on a heavy frying pan and drop in teaspoons of the batter. I found I could cook seven or eight at once on my big pancake pan.

    When the underside is golden and the top looks almost cooked (stopped being shiny) then turn over and cook the other side briefly. Repeat until all the batter is used up. I have made 60-70 from this amount of batter using teaspoonsful.

    Rest the blini on a wire rack to cool, then decorate with whatever toppings you fancy.

    I did, in descending favourite order:

    • brie and baked Parma ham (tear the ham into strips and roll into loose balls, then bake until crispy at 180C – 10 to 15 mins)
    • beetroot and mint dip from the Co-op with some Merchant Gourmet puy lentils (warmed through and seasoned with olive oil, salt and pepper)
    • smoked salmon and cream cheese
    • chicken, sweetcorn and mayonnaise sprinkled with smoked  paprika
    • red pesto, mozzarella, basil & baby tomato

  • Home made gluten free fruity fibre cereal

    Home made gluten free fruity fibre cereal

    Boy no. 1 has been on his gluten free diet for a few months now and is adjusting well. I’ve had to rethink my after work/school weekday teas but there are plenty of things available to replace the old glutenny favourites almost like for like. It’s easy to get hold of gluten free gnocchi, pasta or fish fingers, and regular things made out of meat, fish or vegetables only need the odd tweak.

    Weekday breakfasts have been a bit more trial and error. Cereal is the norm in our house and of course, the obvious choices are packed with evil gluten. In his first gluten free week, we ordered a whole load of boxes of different gluten free cereal, partly to make it fun, but mostly to try to find some new favourites. Unfortunately, we found that most of the gluten free cereal is either a bit bland or full of sugar or chocolate – no surprise there. I ended up having to endure some particularly cardboardy stuff that he understandably rejected.

    His new favourite, non-chocolatey option became Kellogg’s GF Puffed Corn Cereal, which isn’t on their website, so here’s a link to it elsewhere. (In fact, bafflingly, there isn’t even any mention of anything gluten free on the Kellogg’s website, according to the search.)

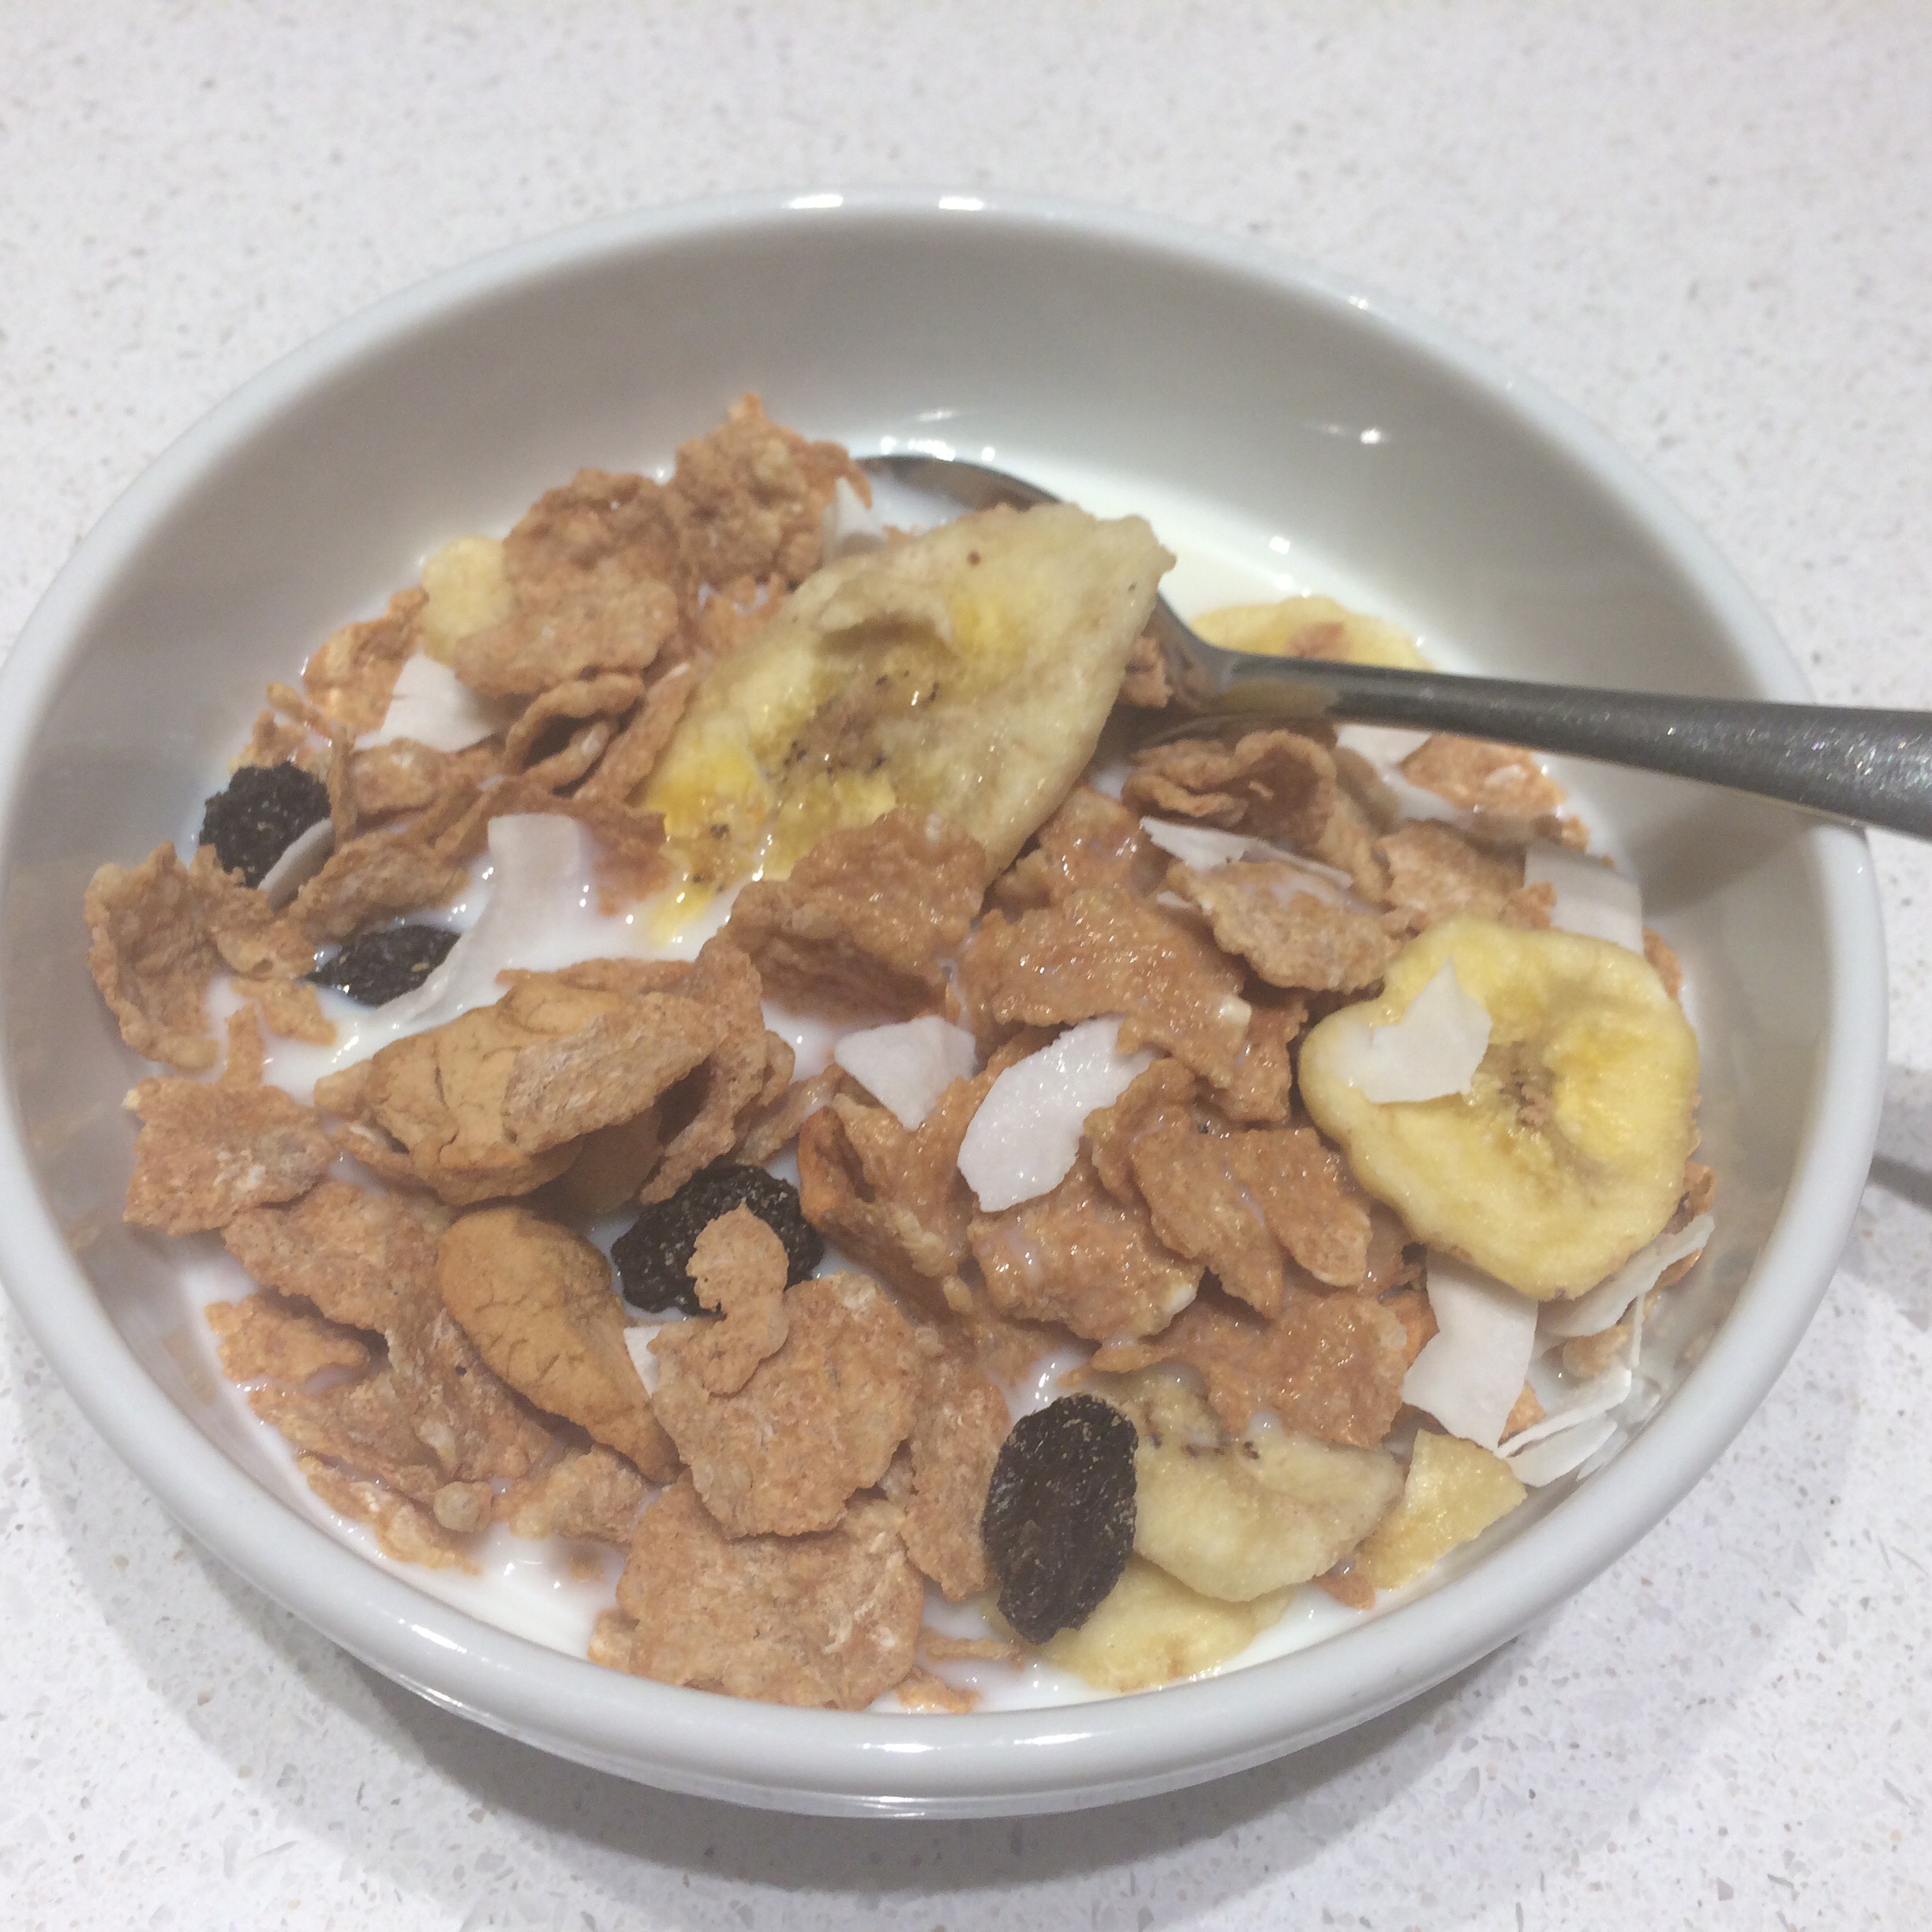
    Unfortunately, the Puffed Corn is coated with sugar syrup and molasses, so whilst it’s a favourite for him, it’s not something I want him filling up on first thing in the morning. But a few weeks ago, I had a bit of a brainwave. I realised that one of my cereals, Dove’s Farm Cereal Flakes, would probably make a rather fine replacement for his old favourite, Fruit and Fibre. So I added a box to the shopping order, along with a new cereal box shaped plastic tub, and a variety of fruity bits to add in:

    banana chips
    flame raisins – the big ones
    coconut shavings
    dried apple

    I mixed a box of Cereal Flakes together with a handful of each of the fruity bits in a large bowl. The dried apple wasn’t quite as dry as I’d have liked and I thought the moisture might make the rest of the mixture soggy, so I put it on a baking tray at 100C in the oven to dry out more, which took about 45 minutes. Once cool, I added them to the mix and transferred the whole thing to the new tub. He was delighted at breakfast time the next morning. He still likes to sprinkle a few Puffed Corns on top but I can live with that.
    I haven’t totted up what this cost, but it’s undoubtedly 2 or 3 times the price of a box of Fruit and Fibre. well, that’s being gluten free for you…

  • Yorkshire puds

    Yorkshire puds

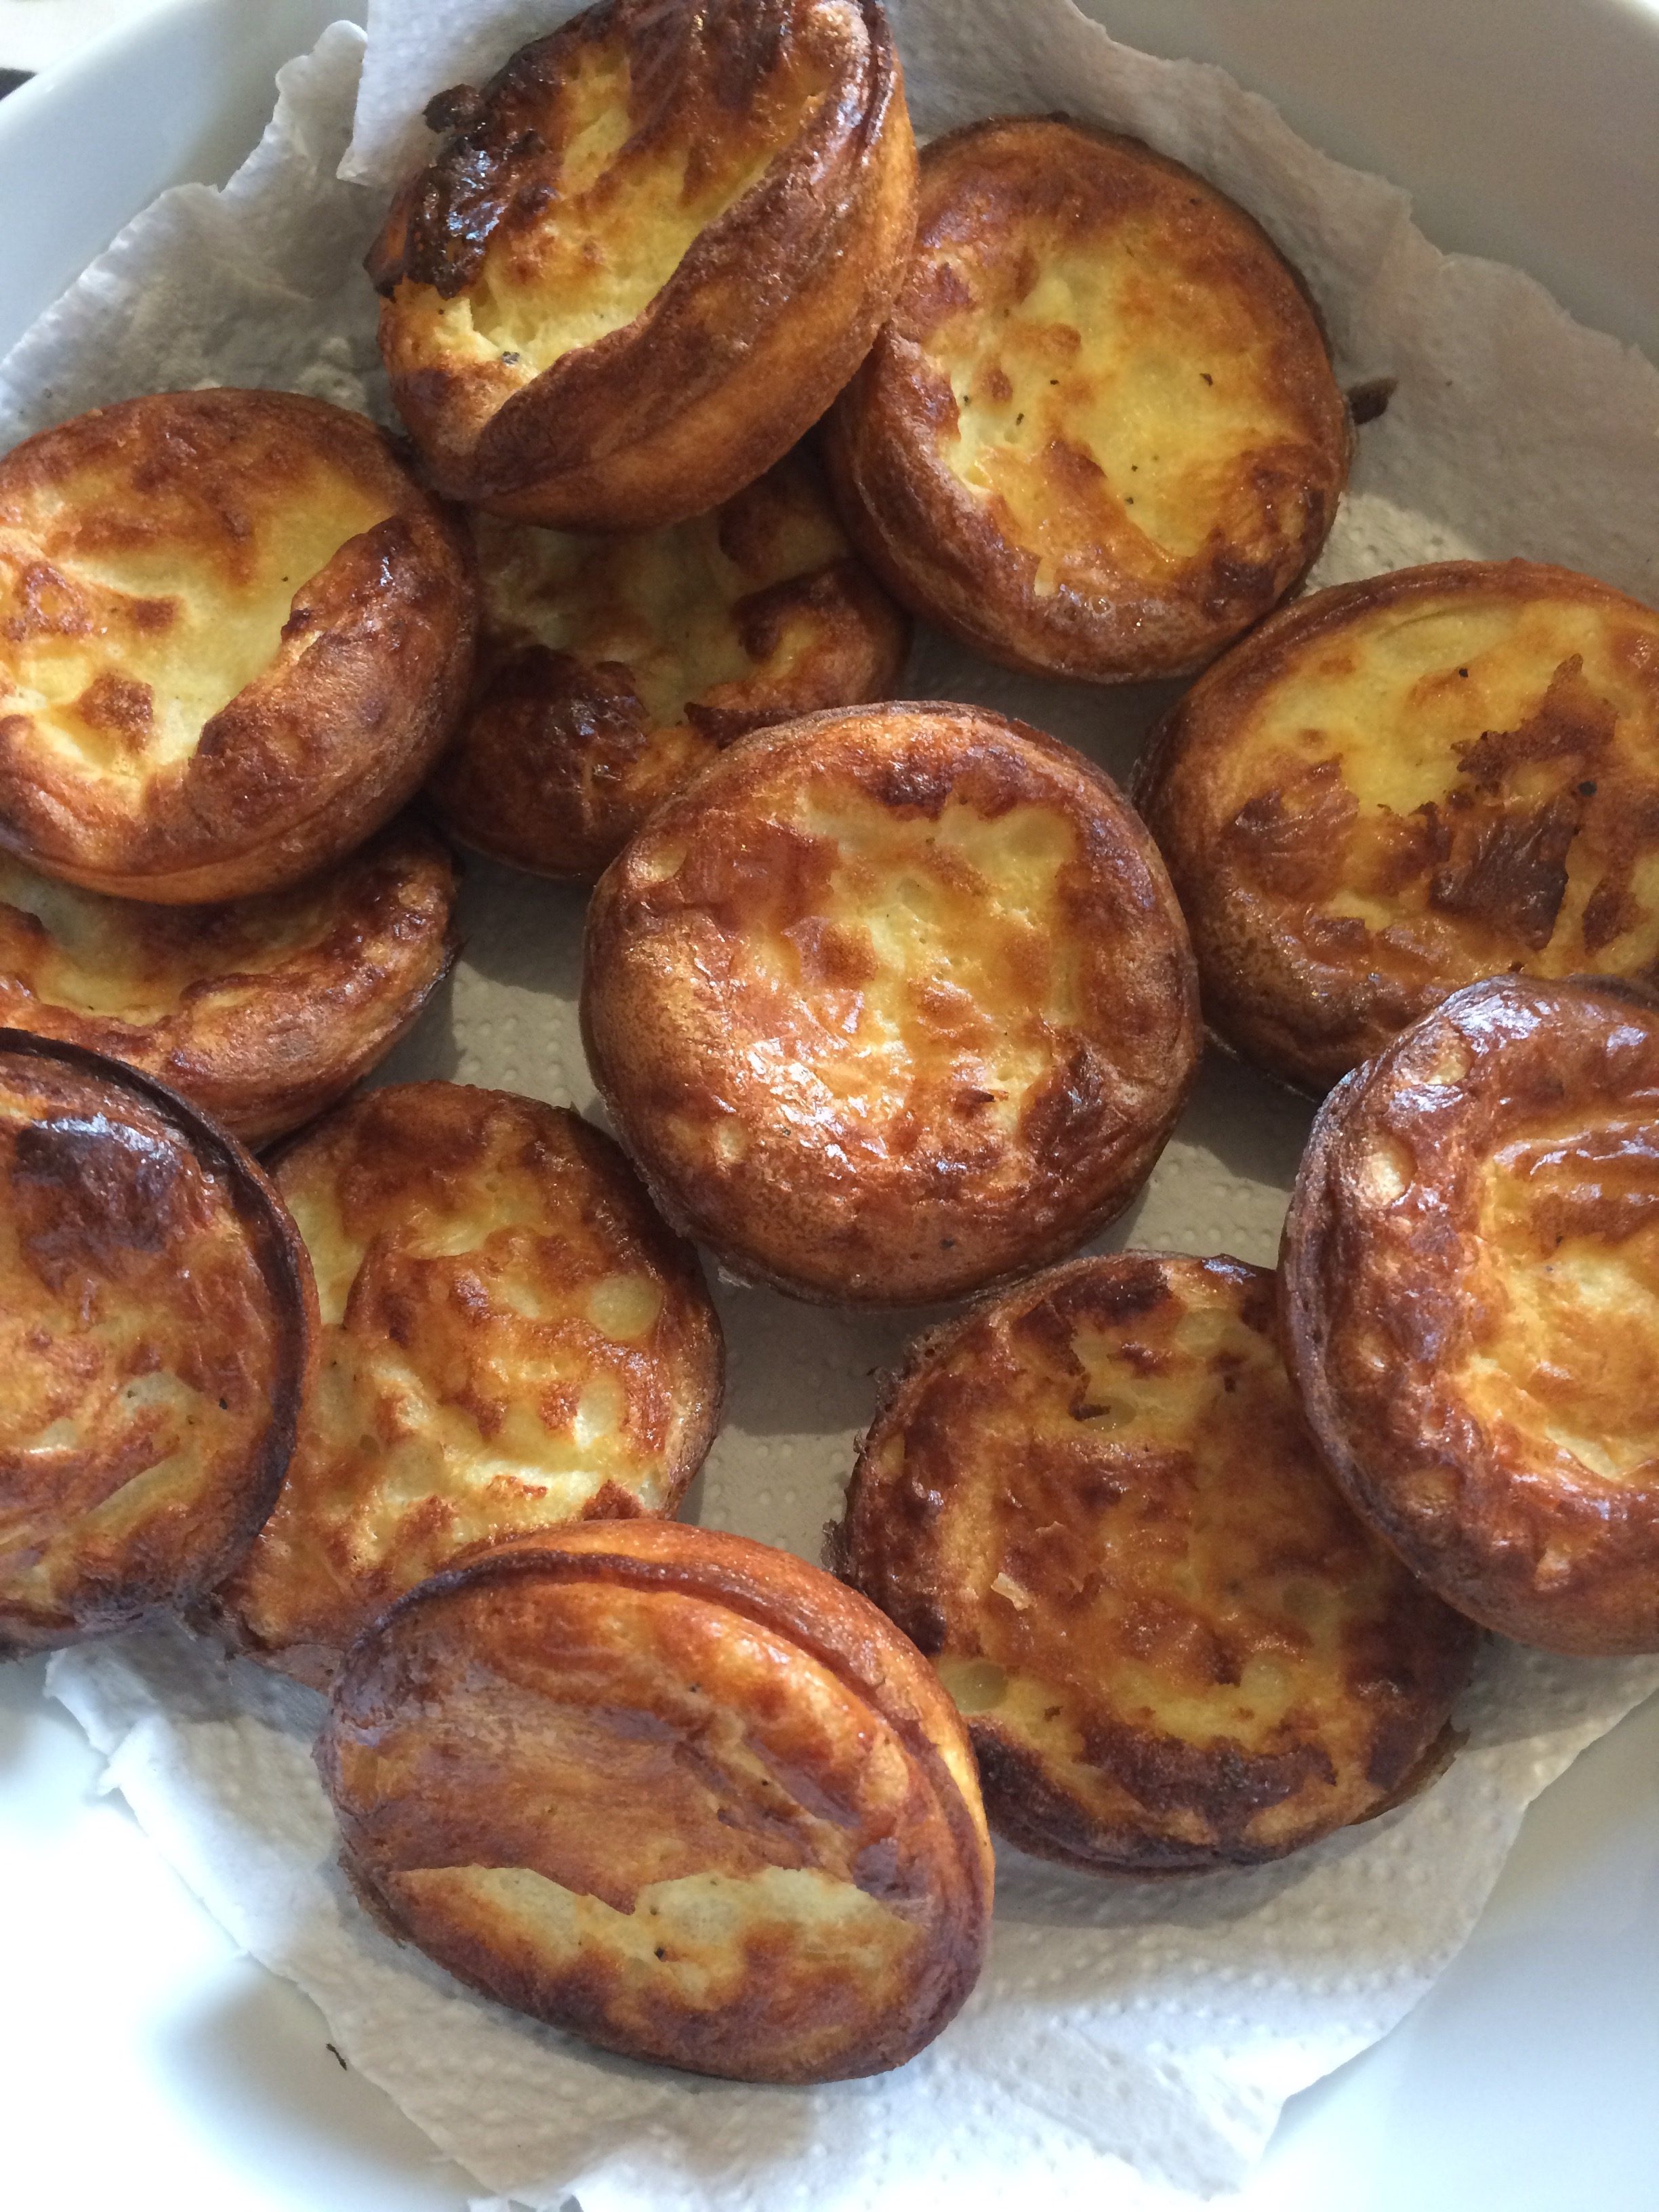
    I’ve been experimenting with a recipe for gluten free Yorkshire puddings and managed to create a recipe that I think replicates the texture very well, albeit without much of a rise. They look a bit more like concave buns but they taste great.
    They’re really simple to make because you just lob all of the ingredients in a blender. Give them a good whizz together and pour the batter into smoking hot oil – I use groundnut. The mixture yields 12 puds made in a bun tin. I have plans to test it out as toad in the hole…

    35g Gram flour
    35g Rice flour
    30g Corn flour
    1 egg
    200ml milk

    Bake for 20 mins or so at 230C.


  • Sweetcorn fritters

    Sweetcorn fritters

    Now one of the boys is gluten free as well as me, I’m having to go back to the drawing board a bit on weekday tea ideas. Previously, I was able to persuade them both to have a hot meal at school a few times a week so I could make something quick and light for tea –  like omelette or egg & beans. But now that packed lunches are every day, I’m having to think of five quick hot meals per week. With a few of my glutenny staples now out of the window, I’m in need of new ideas. 

    In a flash of inspiration on Friday afternoon, I had a look for recipes for sweetcorn fritters, which sounded like good comfort food to me. 

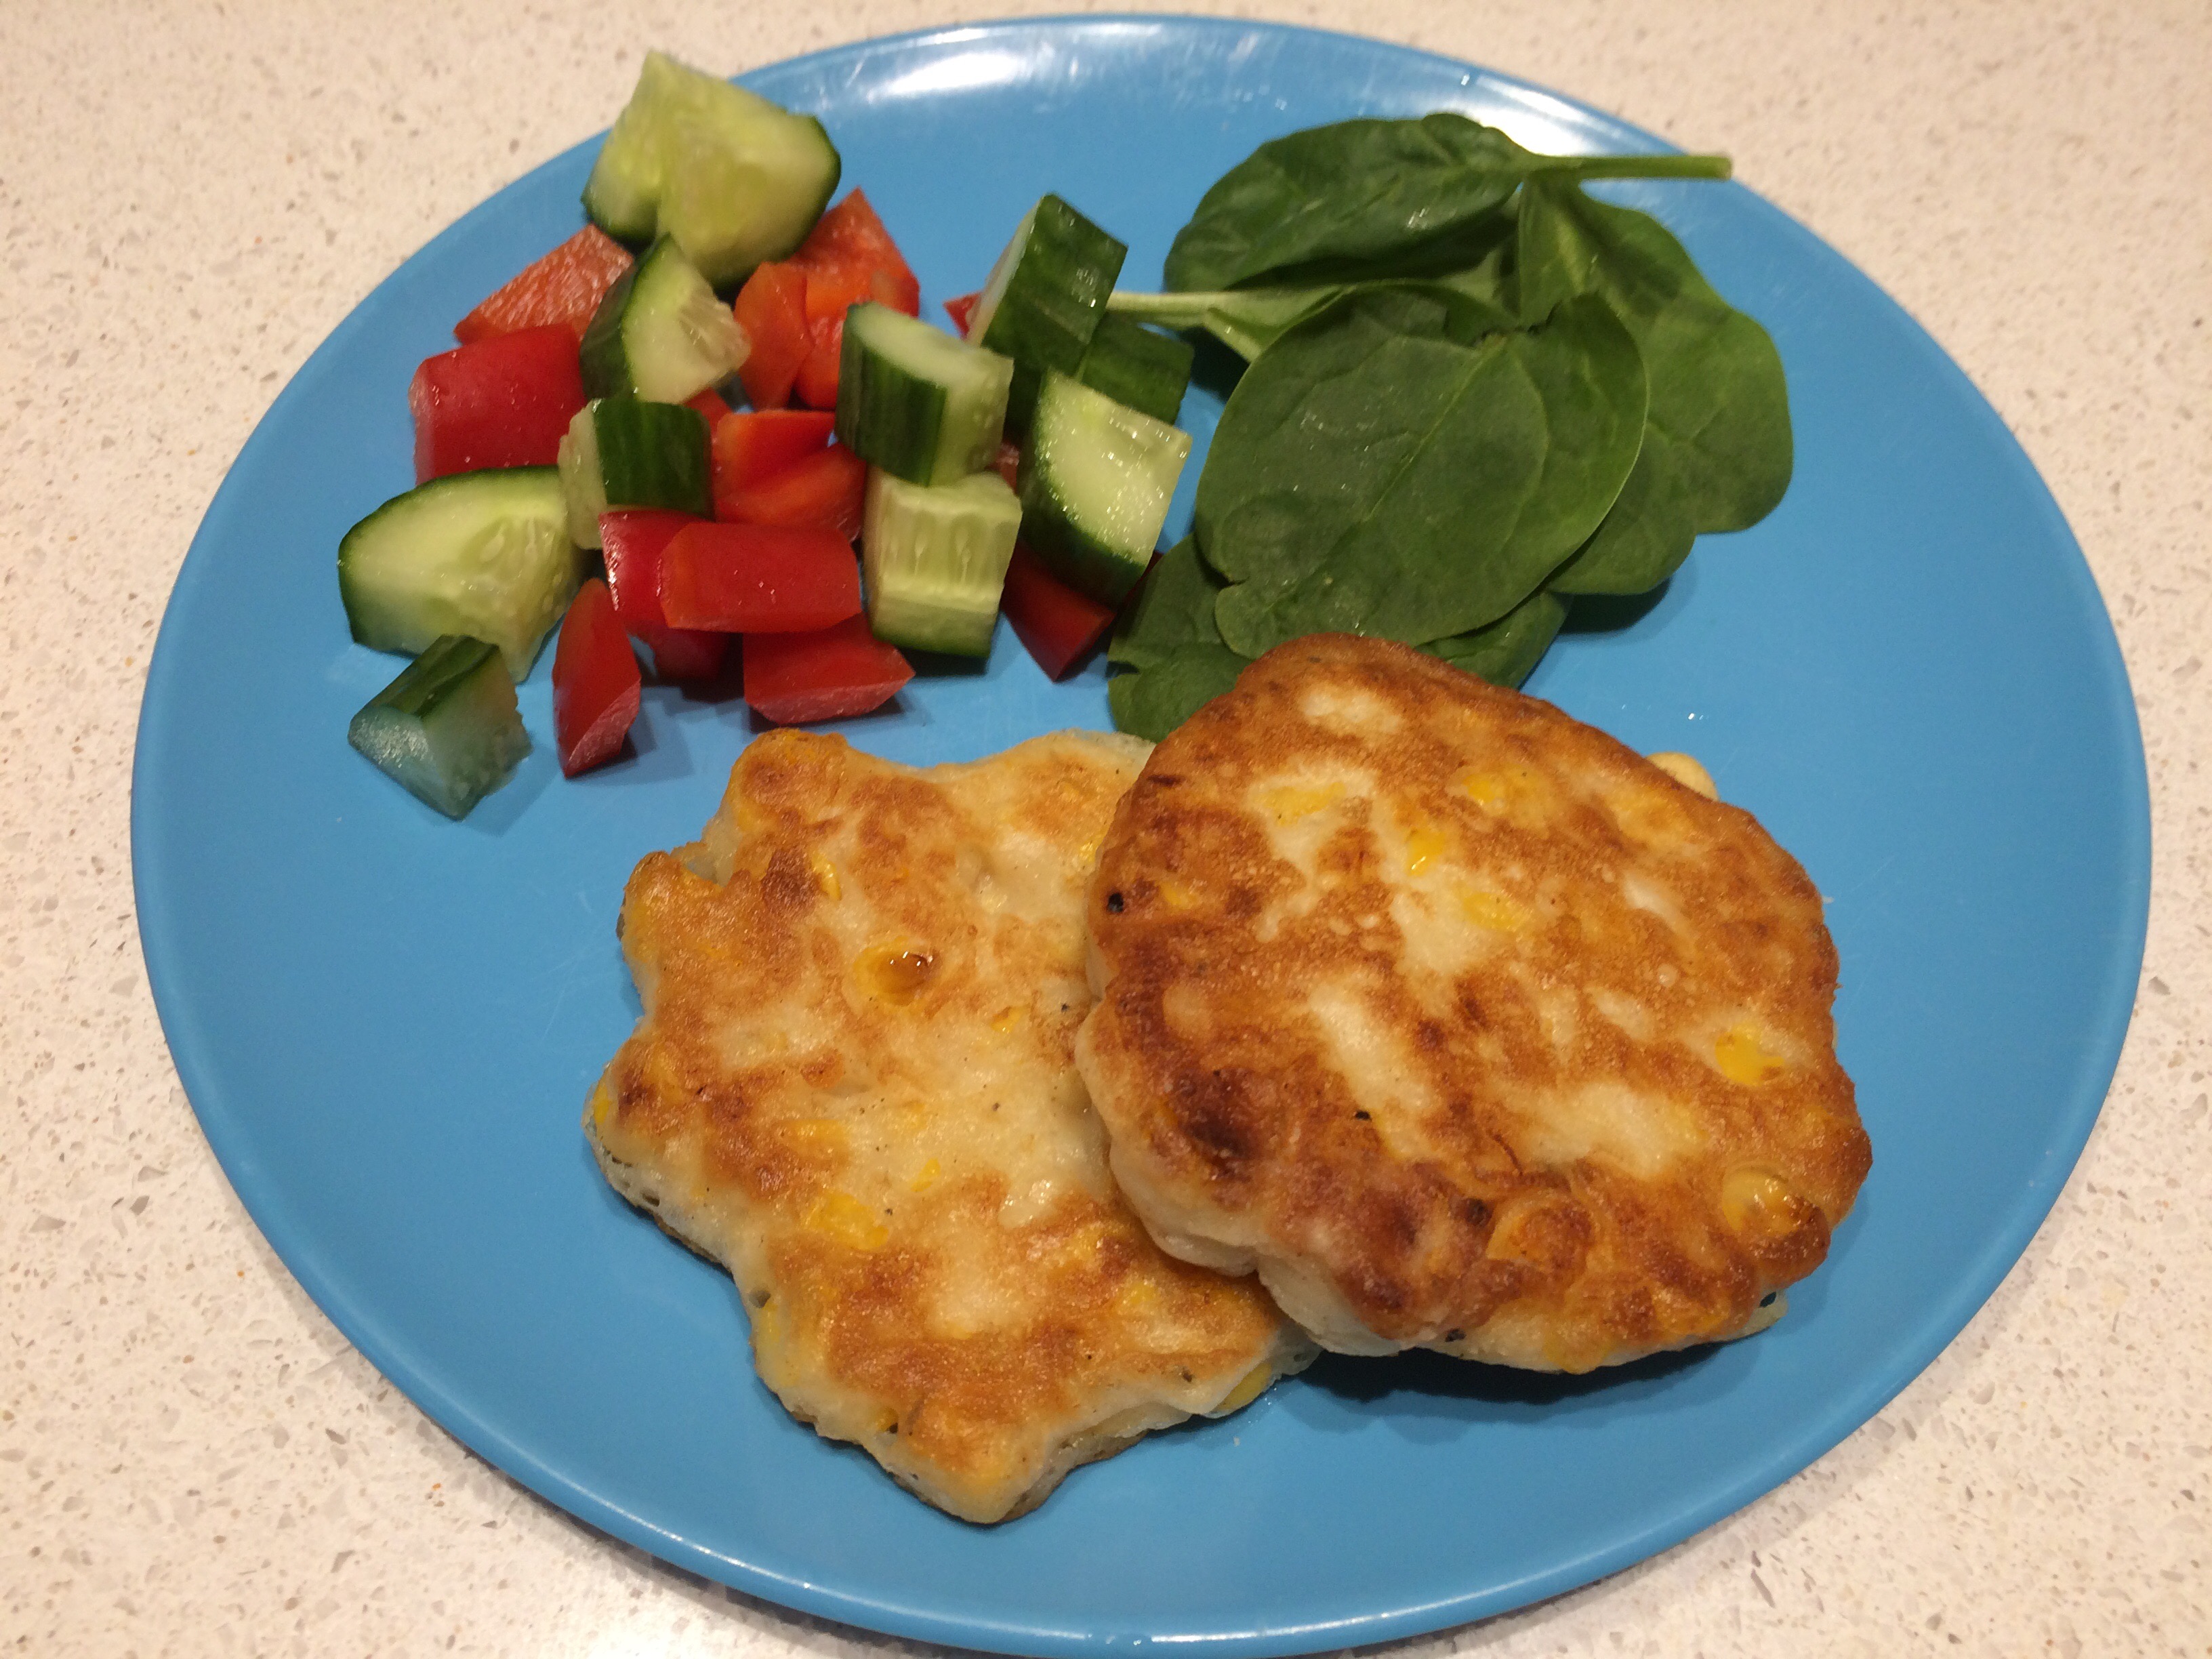
    One small tin of sweetcorn yielded seven fritters, so three each for the boys and one for the cook. The boys enjoyed them with a bit of mayonnaise but I thought they went rather well with sweet chilli sauce. 

    Could be a new family favourite. I wonder what else I can make into a fritter! 

    Ingredients:

    • 125g gluten free self raising flour
    • 1 large egg
    • 150 ml milk
    • 198g can sweetcorn
    • Groundnut oil for frying

    To make the fritters, sieve the flour into a bowl with the egg, and gradually whisk in the milk to make a batter. Drain and dry the sweetcorn before stirring enough of the batter into it to coat. It depends on your preferred corn:batter ratio, but I found there’s more than required. Season the mix. 

    Heat up a tablespoon or so of oil in a frying pan and cook spoonfuls of the mixture on a medium heat. They only take a couple of minutes on each side until golden and crisp. 

    Next time I might add some chopped spring onions or spices for a bit of extra flavour. 

    And I’m going to experiment with making something sweet out of the left over batter.