Category: Recipes

  • Guilt-free ice cream!

    Guilt-free ice cream!

    IMG_2474My recent discovery of nut creams and brief obsession with them has led me to experiment with home made ice creams:

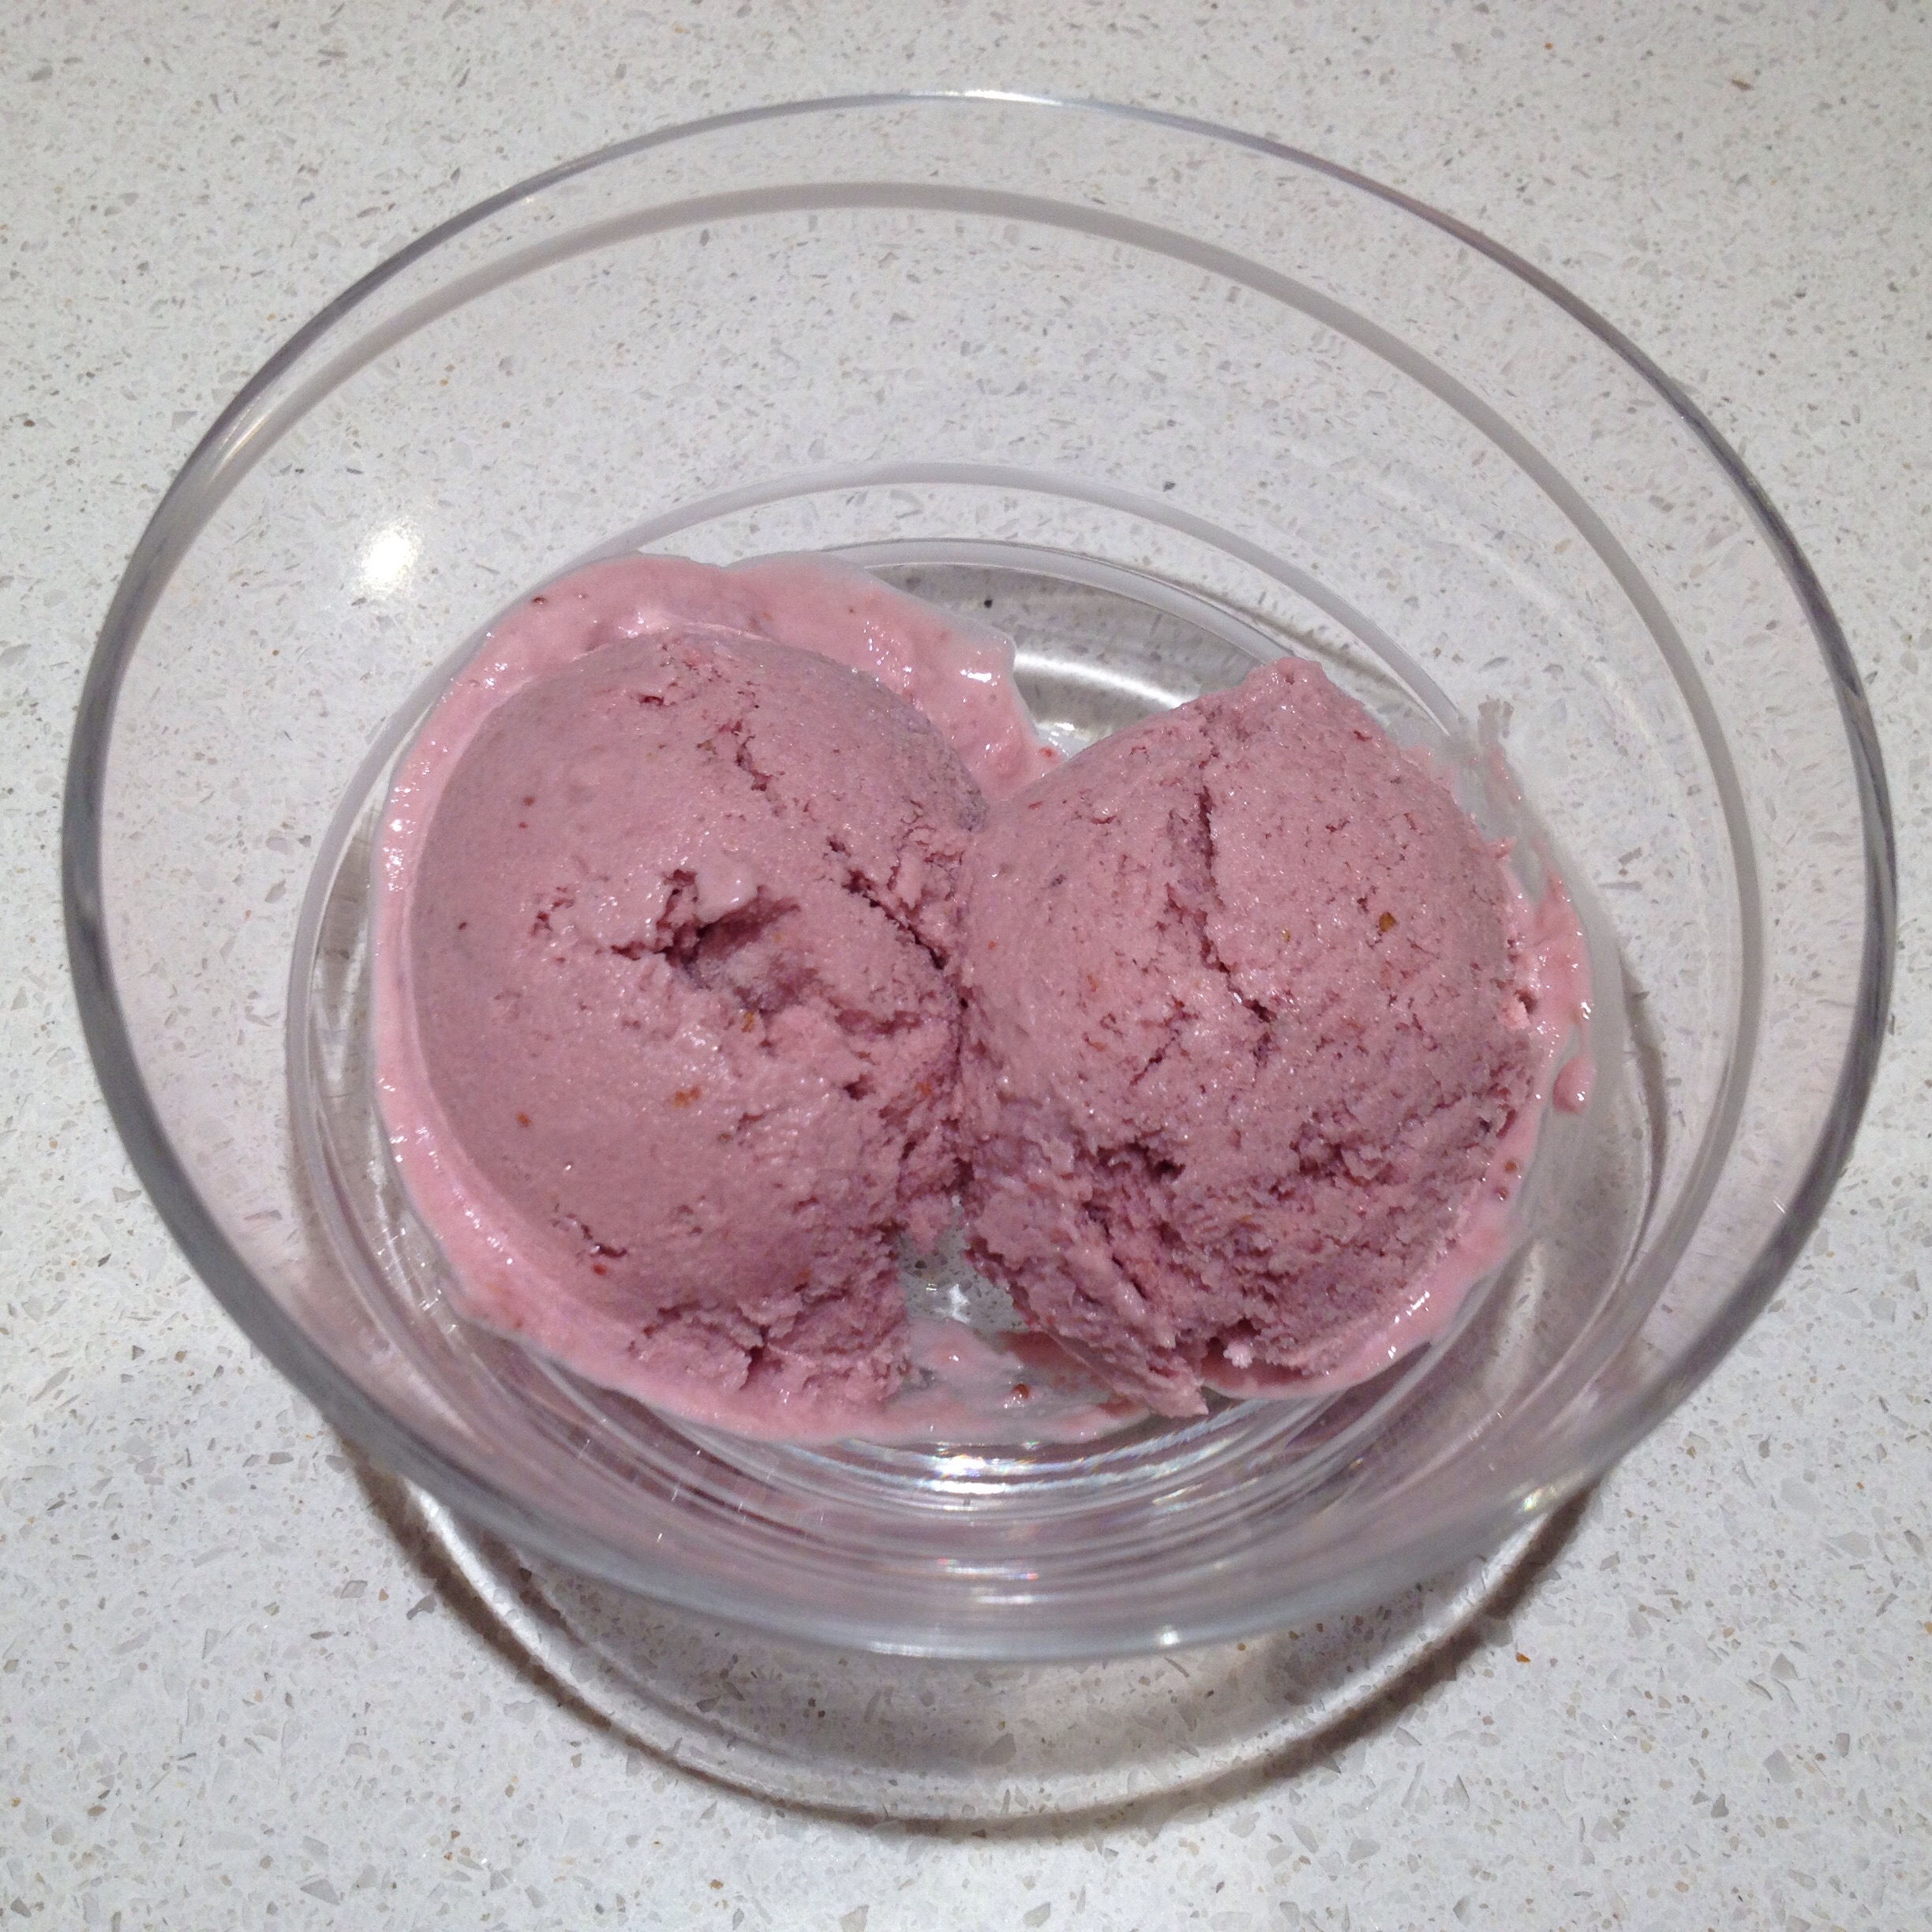
    Cashew and strawberry ice cream

    I blended about 100g cashew nuts with a little water to make as smooth a cream as possible in my mini-whizzer. I then added some strawberries and a bit of agave nectar and blended again. I put it in the freezer in a tupperware and gave it a good stir every couple of hours until it was frozen. (I won’t allow myself to buy an ice cream maker as consumption would go through the roof!) Freezing in a freezer is rather more labour intensive though, and requires stirring every couple of hours to break up the ice crystals and avoid it turning into a massive ice lolly!

    Easy peasy, and it tasted great, although the whizzing did take a good half hour and maybe it could have been a bit smoother…

    So if you decide to make this, ensure you start in the morning or early afternoon! I once started a sorbet too late and had to set my alarm twice in the night to get up and stir it – that’s commitment for you. Or poor organisation. Still, it tasted delicious.

    Pistachio ice creamIMG_2490

    The success of the strawberry & cashew inspired me to try making one of my all time favourite flavours, pistachio. I didn’t want to spend hours with my mini whizzer and risk its demise through over-heating, so this time I blended about 300g pistachios with a bit of water in my friend’s Vitamix high speed blender. This produced a silky smooth pistachio cream in a matter of a few minutes and I added some agave nectar to sweeten it.

    As 300g makes a fair quantity, I split the pistachio cream into 3 batches to experiment with the freezing. The first third went in the freezer as it was, the second, I mixed with plain yoghurt, so it was two thirds pistachio and one third yoghurt, and the final third was mixed with double cream in the same quantities – two thirds/one third.

    I stirred them every few hours and after a while, it became apparent that the ‘naked’ batch was getting rather stodgy and wasn’t going to make good ice cream. So to avoid wasting it, I mixed half of it into each of the yoghurt and cream batches.

    Once frozen, I scooped some of each out with a melon baller, and although you can’t really tell them apart, the ice-cream is on the left of the bowl, and the frozen yoghurt is on the right.

    I thought the ice-cream version was best, but hubby preferred the yoghurt one, which has a slightly tangy taste. I think they make a great guilt free treat in a small portion. My mum, who’s also fairly low-sugar, enjoyed them both, but my Dad has a very sweet tooth and thought both versions needed much more sweetening. You could always drizzle some honey on top.

    I think I’d be most likely to make the cashew and strawberry ice cream again, although all of them tasted lovely. Next time I’ll see if I can make it silky smooth with my friend’s Vitamix, then it’ll be perfect.
  • Ice cream for breakfast!

    Ice cream for breakfast!

    IMG_2479IMG_2488 

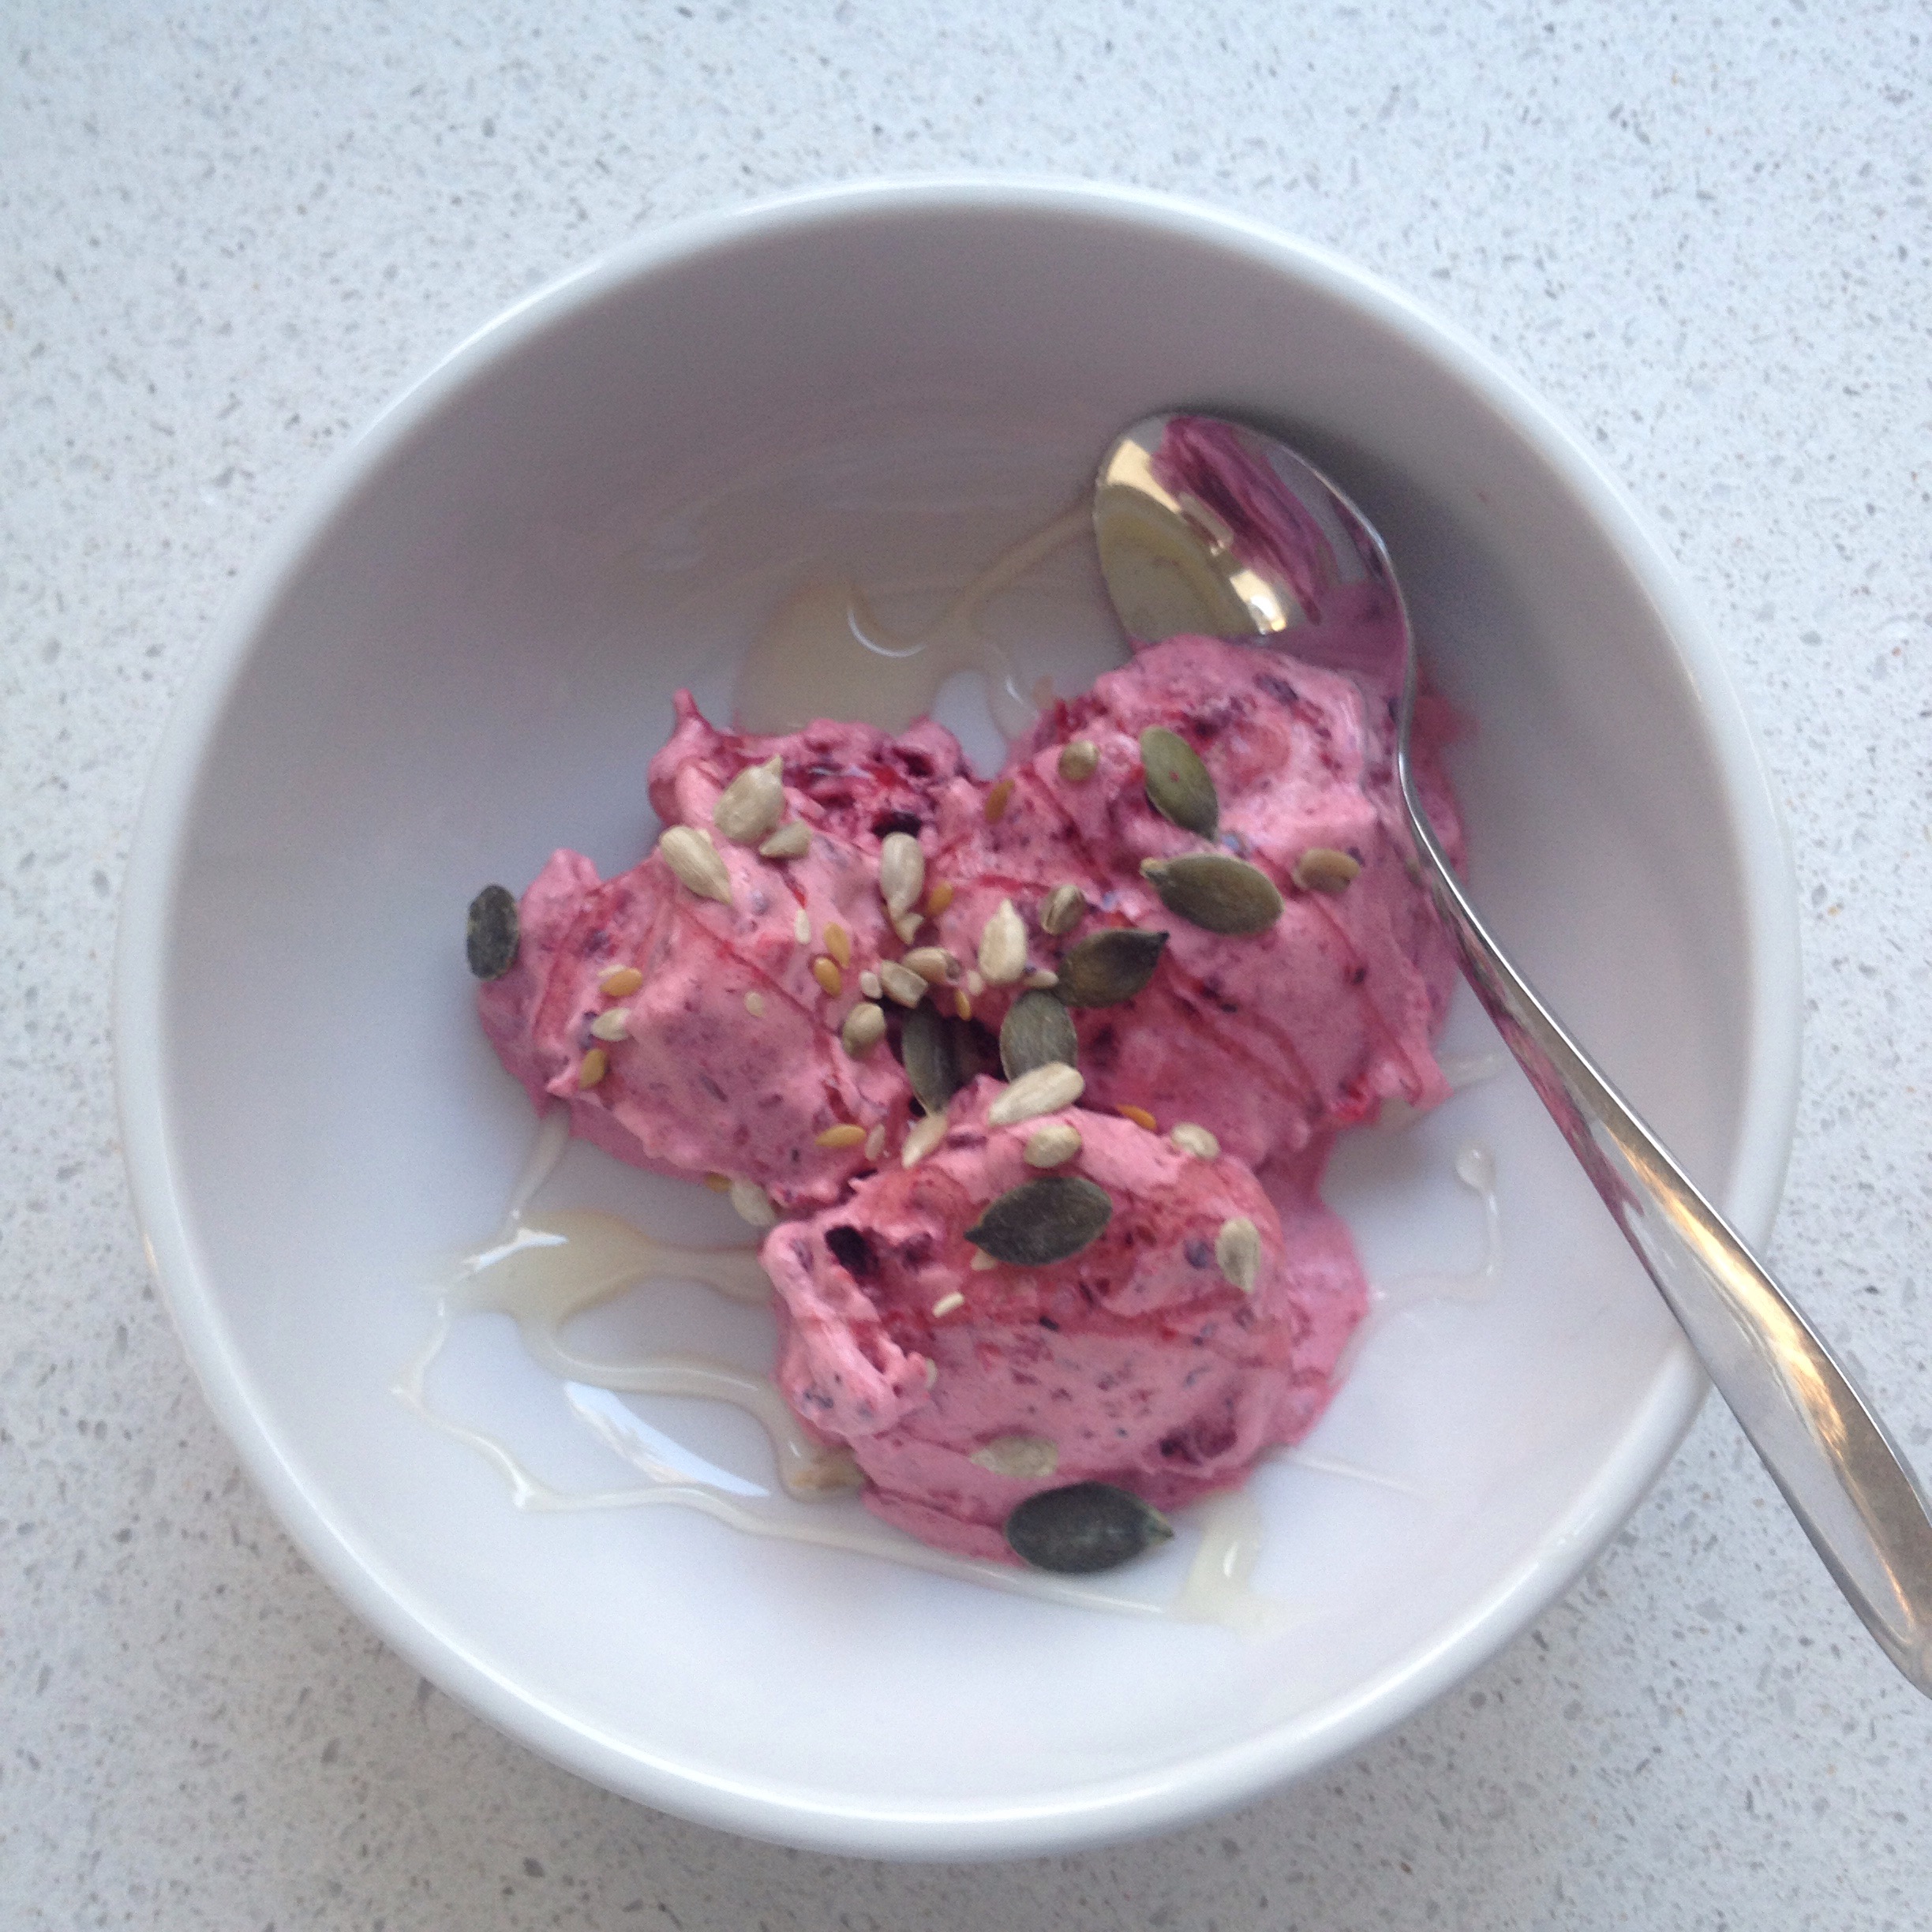
     So, my attention-grabbing headline is slightly misleading – it’s actually frozen yoghurt. But it’s pure genius. It takes literally seconds to make and is such a treat for breakfast it feels like it should be bad for you, but it’s really healthy. 

    All I did is blend a single portion of frozen fruit with natural yoghurt in my mini whizzer and added some toppings. Fresh yoghurt + frozen fruit = frozen yoghurt.

    The first picture is some frozen berries and natural yoghurt topped with a drizzle of honey and a sprinkling of seeds. These were budget frozen berries from the supermarket, so they were a bit tart and needed the sweetening honey. But when they’ve all gone I’ll be using fresh berries, which are coming into season. 

     The second picture is frozen banana and natural yoghurt topped with blueberries, strawberry and seeds. This makes a much sweeter frozen yoghurt. (N.B. You do need to peel and chop the banana before you put it in the freezer.)

    I think it’s the perfect summer breakfast.

  • Brazil nut carbonara

    Brazil nut carbonara

    IMG_2468I have a new obsession – nut creams. I’d never really heard of nut creams until I saw a demo of a Vitamix blender at the weekend. Rather impressive it was, yet extremely pricey for a blender, albeit one that can make silky smooth cream from just nuts and water.

    The cream demonstrated by the Vitamix guy was cashew cream, which I came home and tried to reproduce in my mini chopper. It took a lot of whizzing, but I was able to make it almost smooth, and with the addition of some agave and strawberries, I created a rather lovely and pretty much guilt-free ice cream. Picture to follow.

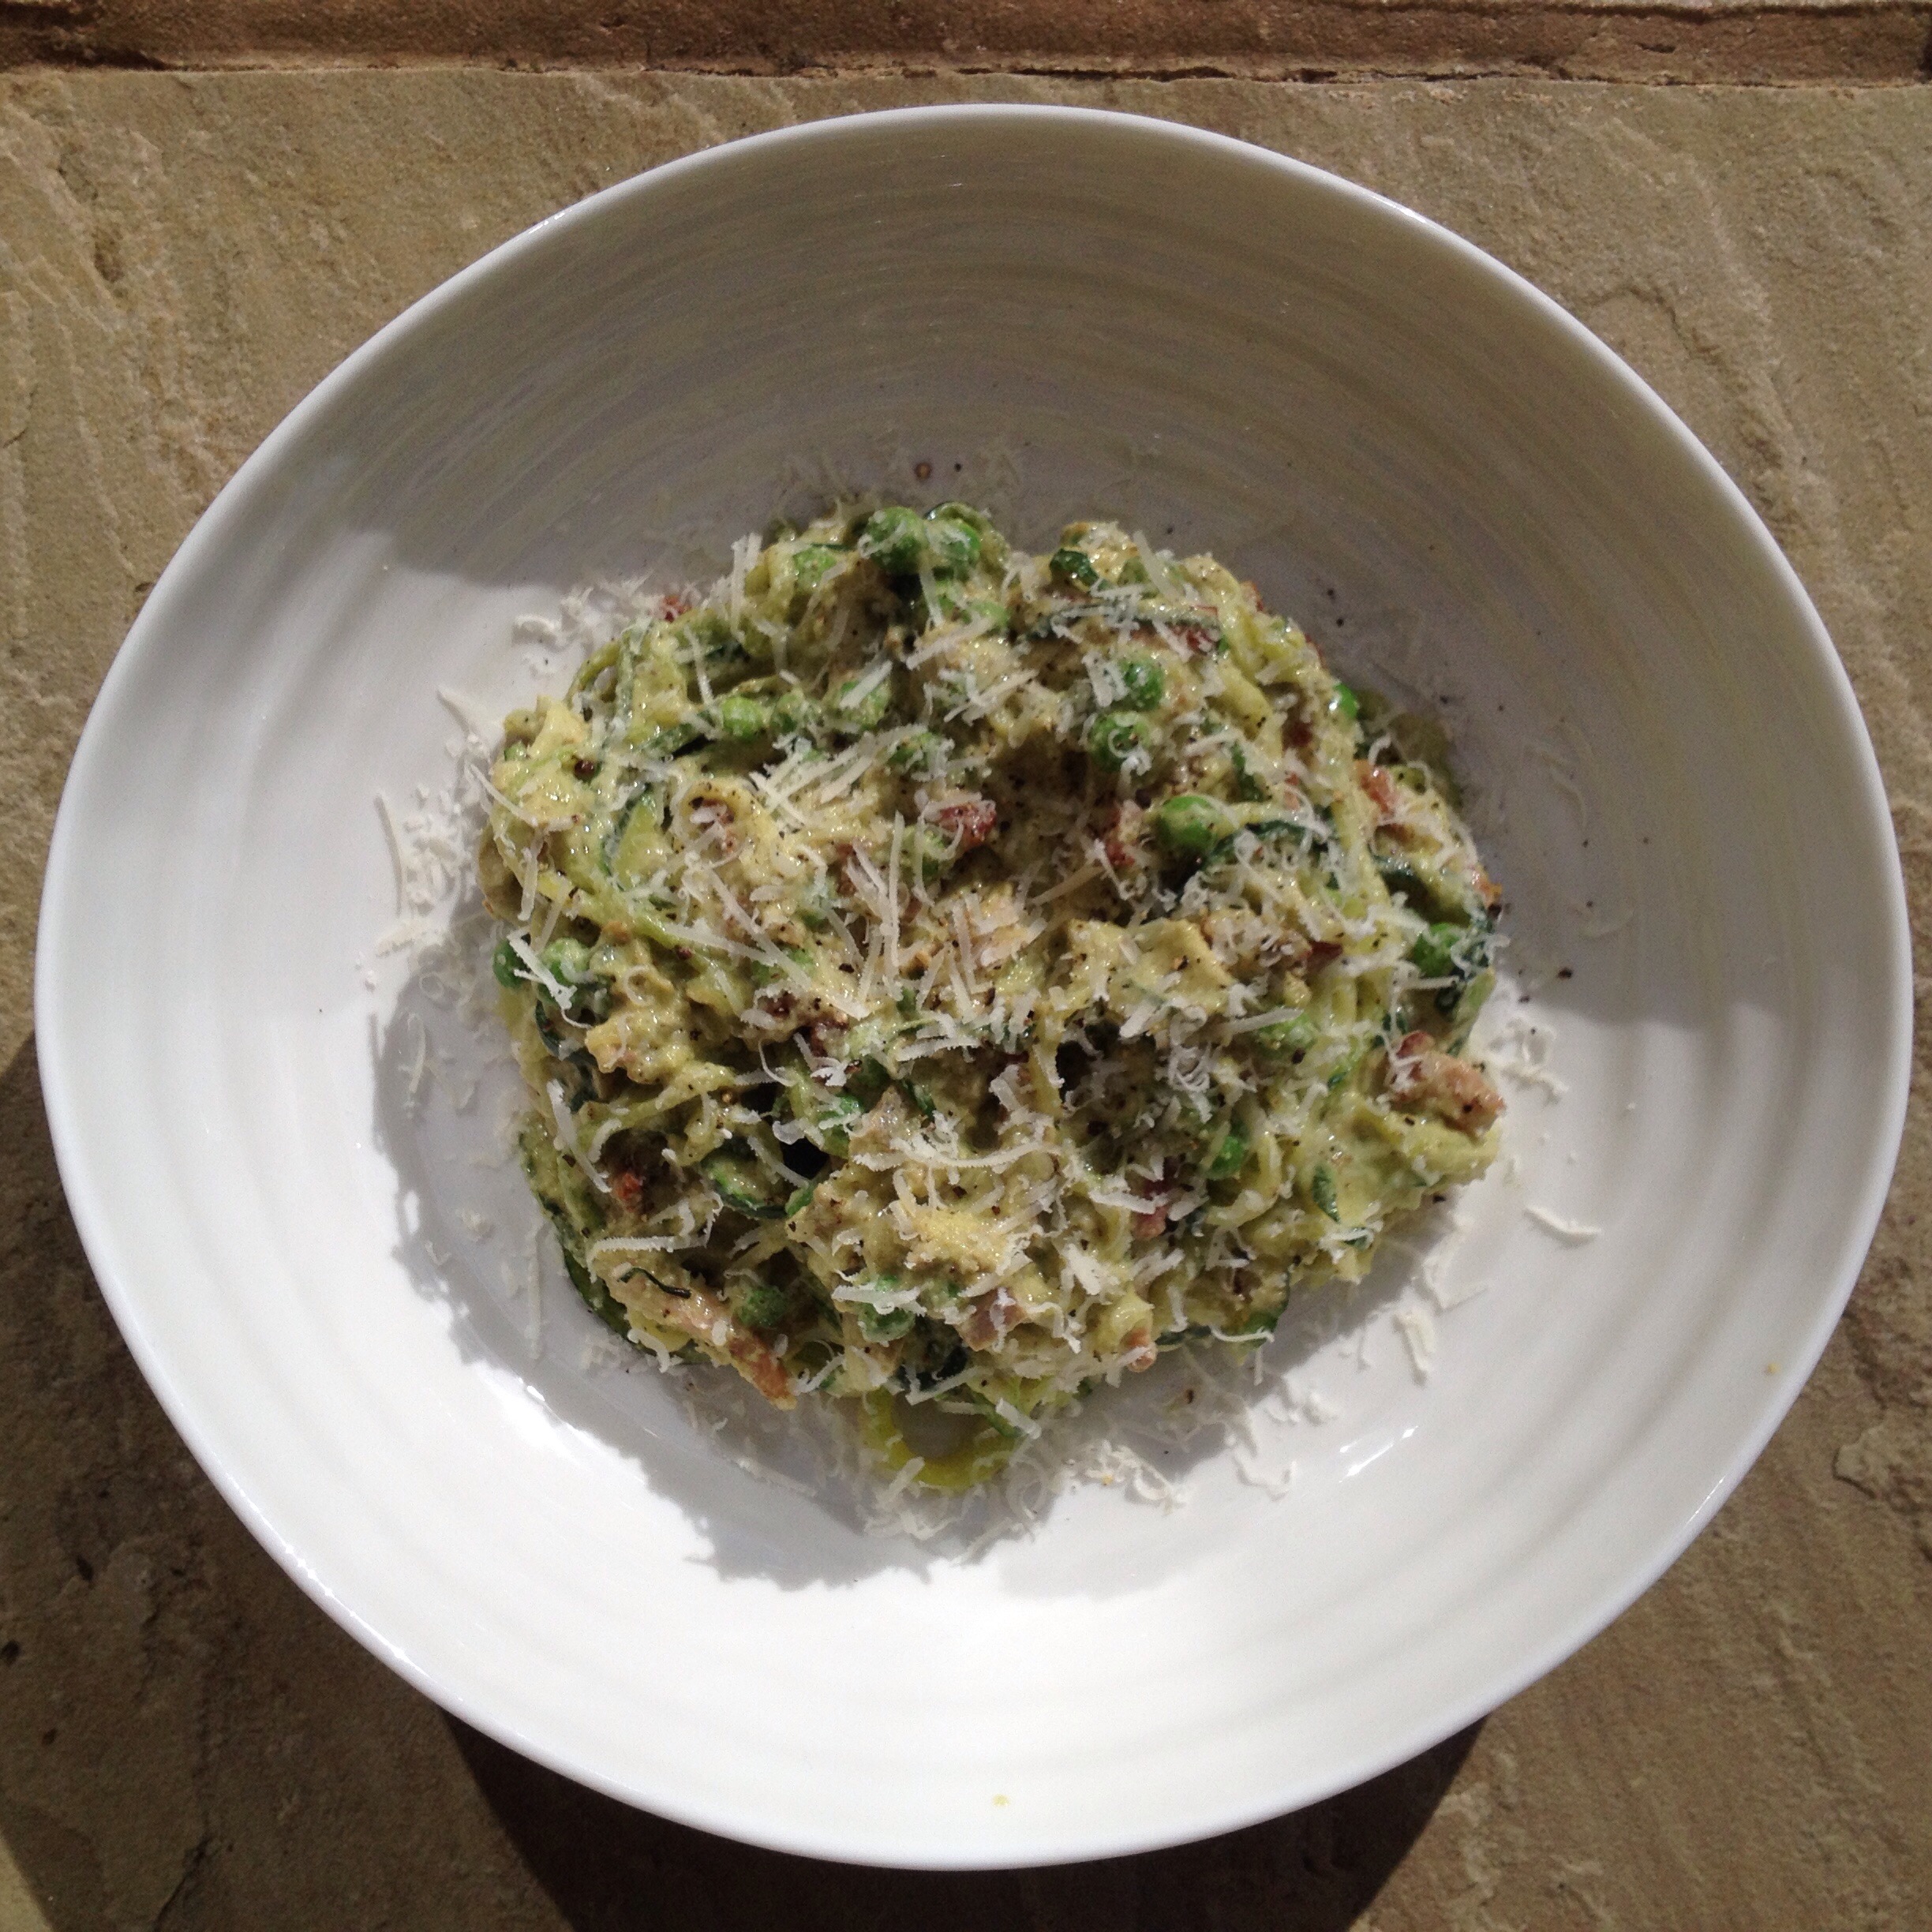
    Today’s quest has been to transform brazil nuts into a creamy carbonara sauce. It was incredibly simple but again, took an awful lot of whizzing in my mini blender to get it anywhere near smooth. I blended about 100g brazil nuts with maybe 3/4 cup of water (but I added a bit more later as it wasn’t quite loose enough). The texture was improved by whizzing in a nice ripe avocado. I stirred the resulting cream into 3 pieces of bacon I’d fried off, some left over chicken, both chopped pretty small, and a handful of frozen peas. Voila!

    I stirred mine into some zoodles (aka courgette spaghetti) and the boys had theirs with some ordinary pasta, with plenty of parmesan and a bit of black pepper.

    We even got to eat it in the garden because the weather was so nice. Bring on spring!

  • Breakfast frittata

    Breakfast frittata

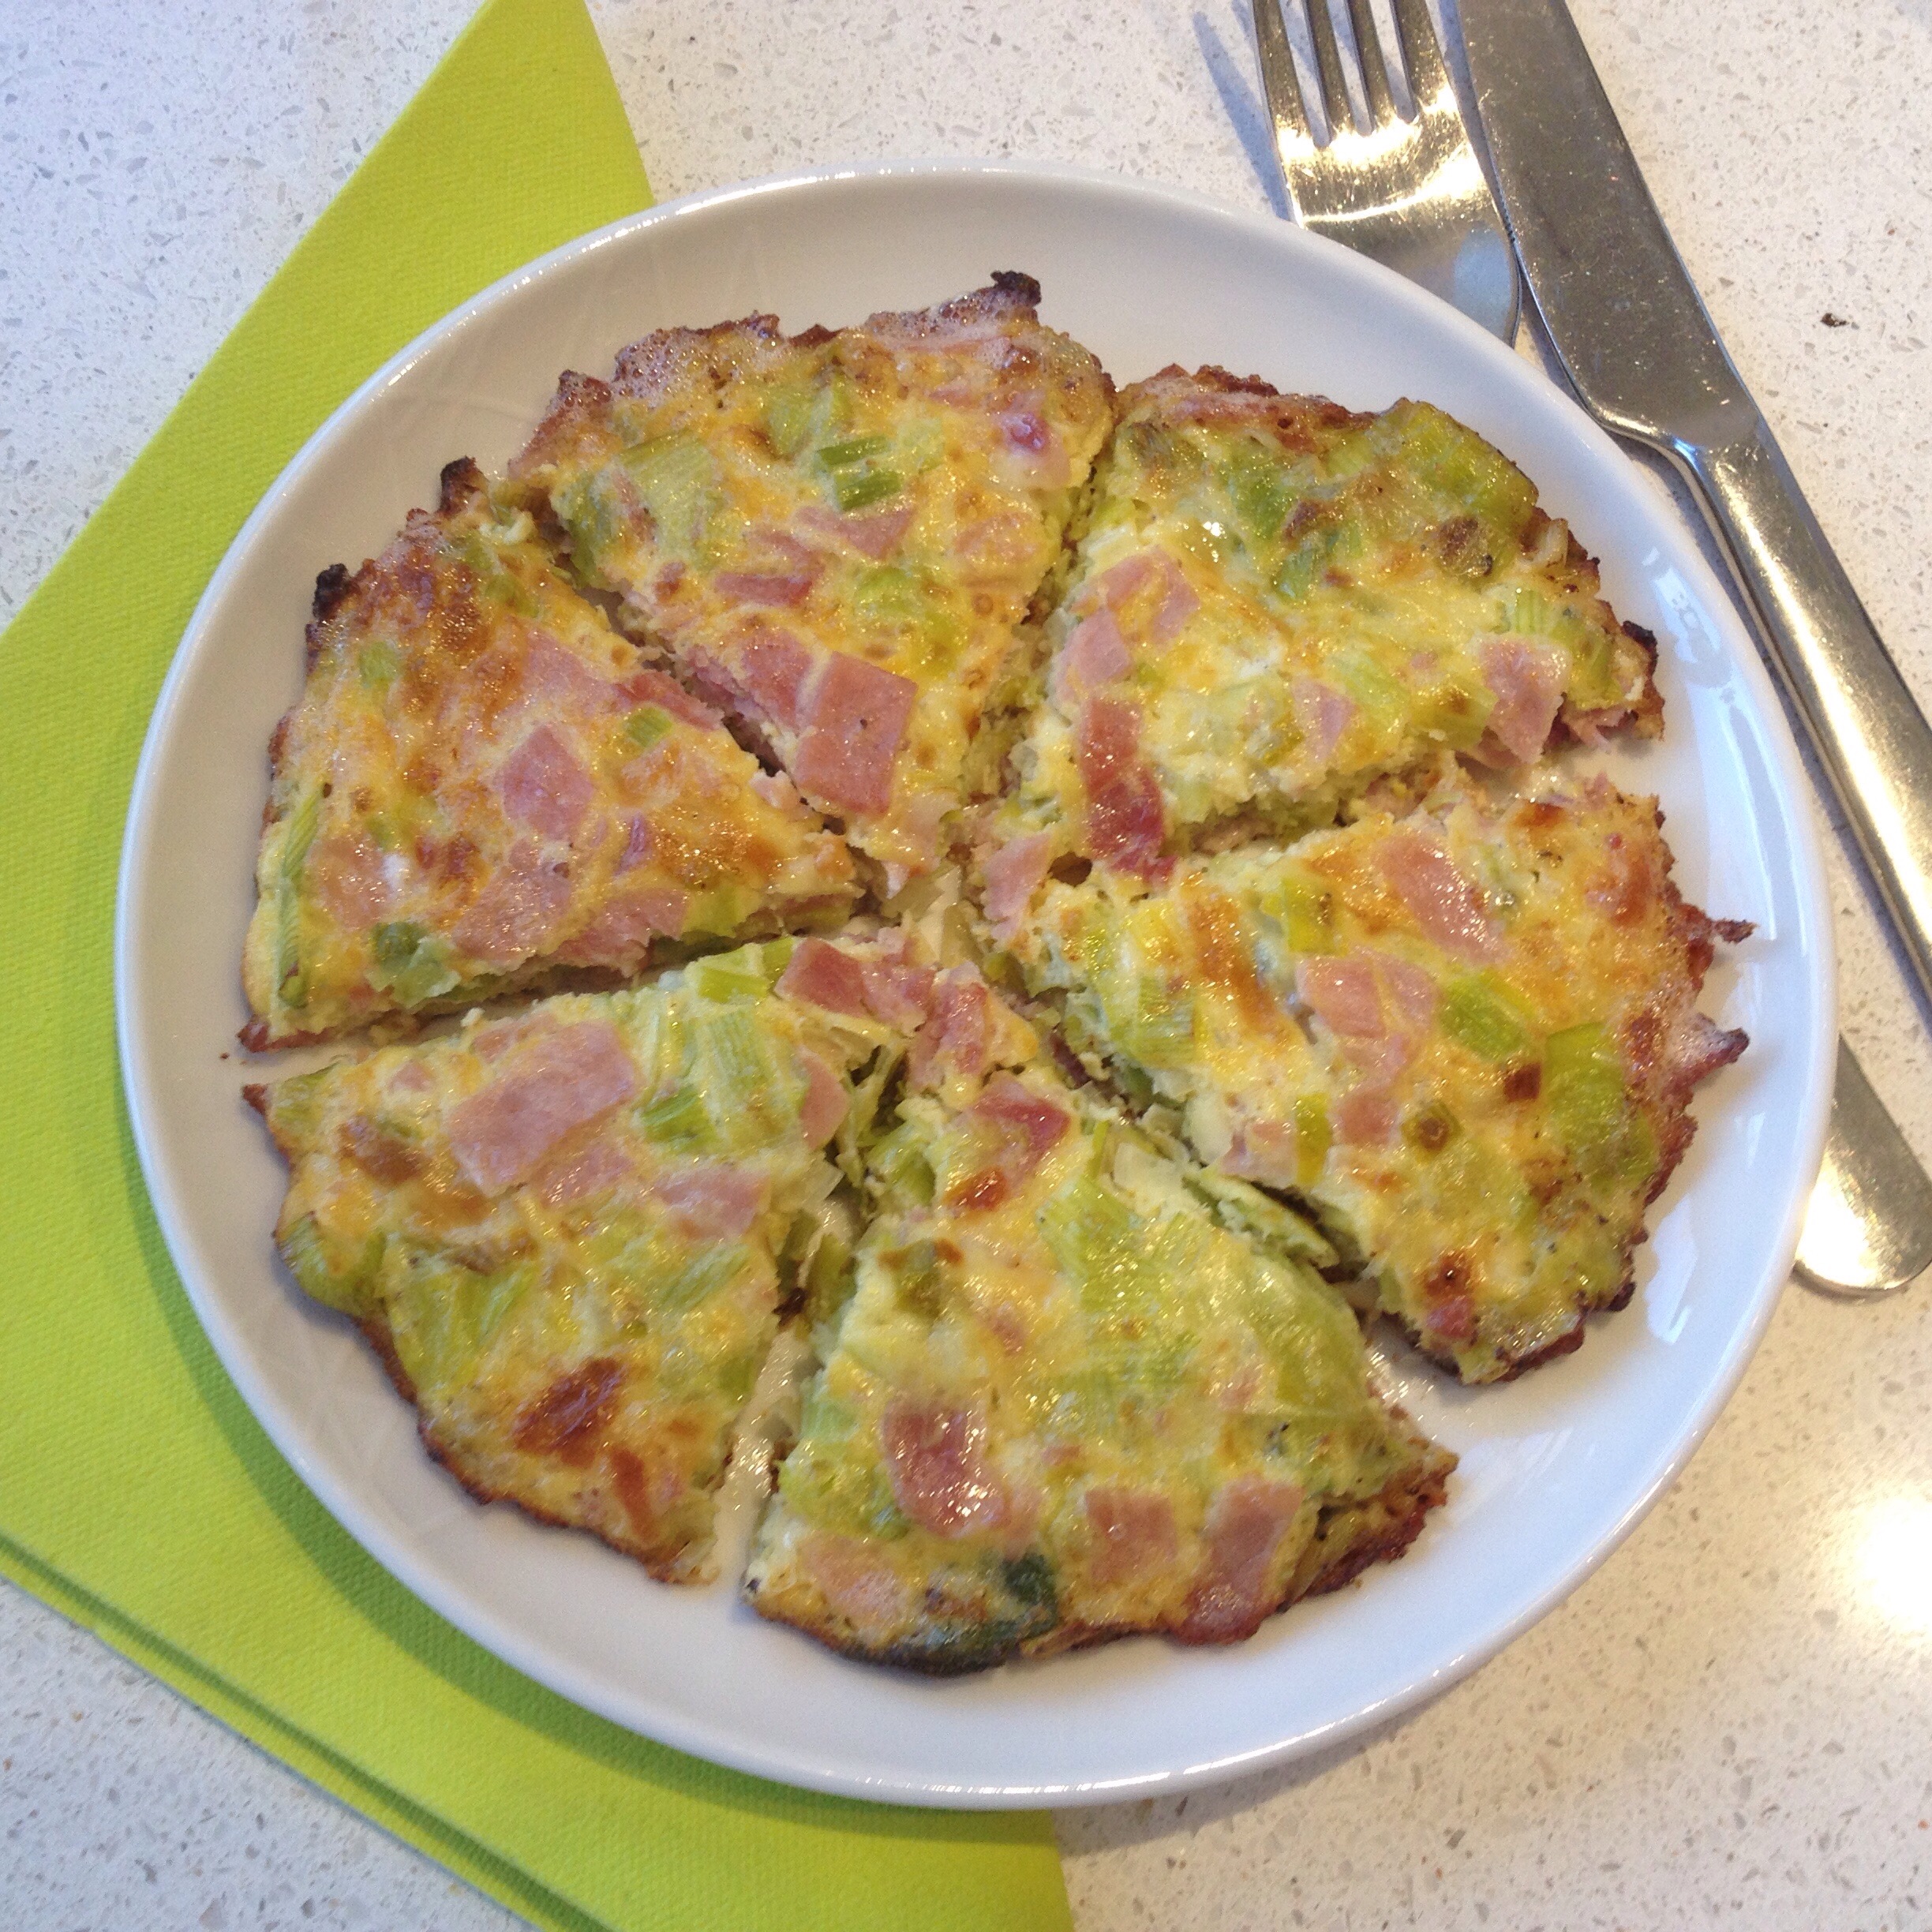
    IMG_2365Quite often I end up eating cereal for breakfast during the week, as it’s quick. But when I have time, I prefer to have something different, for variety and to avoid over-doing it with cereals and grains.

    I made a very simple breakfast frittata with some leftovers:

    1 large egg
    a slice of ham, chopped into pieces
    a bit of grated cheddar
    some leftover leeks that had been softened in oil and butter

    I beat the eggs slightly and then mixed everything together. I then tipped it into a small frying pan with a bit of butter. No stirring – just cooked on the hob until it was almost cooked through, and a blast under the grill to finish it off and make it rise up a bit.

    Unfortunately for me, the kids spotted it, so I didn’t get to eat all of it!

  • Pasta schmasta 2 – Aubergine lasagne

    Pasta schmasta 2 – Aubergine lasagne

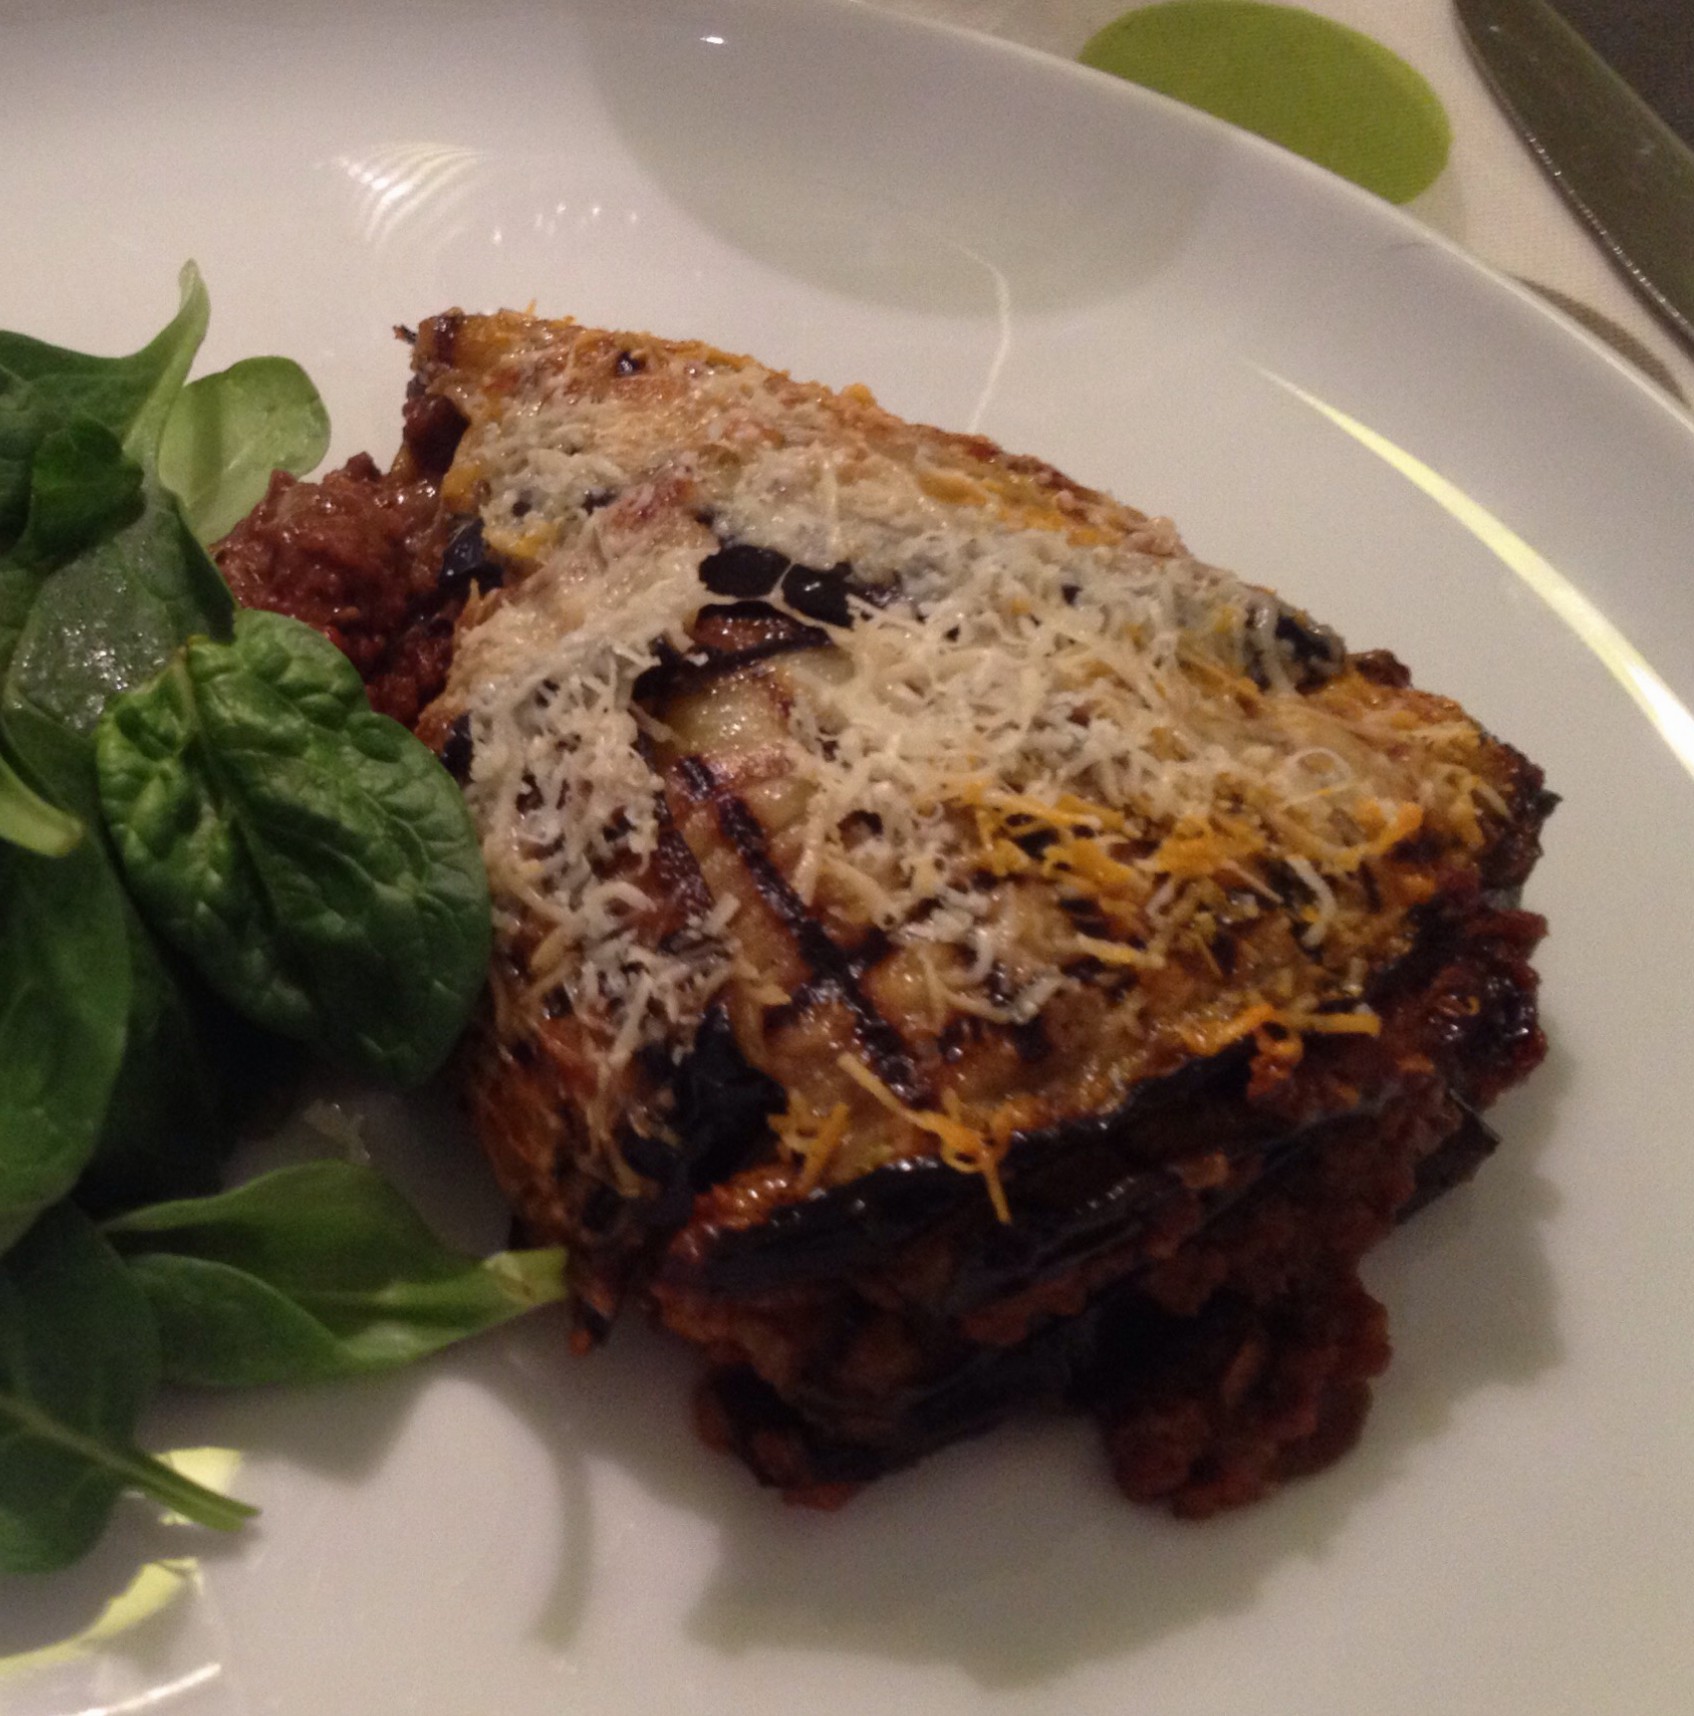
    IMG_2362I really wish I could have made this look a bit prettier! But it tasted divine and it’s lighter and healthier than traditional lasagne.

    Today was just an assembly job as I already had the bolognese sauce in the freezer. Everybody has a bolognese recipe so I don’t think I need to reproduce mine in full (I will if anybody wants), but I will share an approximation:

    Fry some lardons in a large pan in a little ground nut oil (I find it works better than olive oil) until they go a bit crispy. Remove from the pan and brown onions and garlic in olive oil. Add minced beef and cook until there are no raw bits left. I tend to break it up as much as possible, so the mince is nice and small.

    Put the lardons back in and add a tablespoon or so of corn flour to soak up the juices. Then add red wine, chopped tomatoes and tomato puree, a generous pinch of veg stock powder, oregano and a large dash of Hendo’s. Then bring it all to the boil and leave to simmer, stirring occasionally. The most important thing is to let all this cook down s-l-o-w-l-y for at least 2 hours with a lid on – that is what makes bolognese taste amazing. You just can’t rush it.

    After about an hour you can add the grated carrot and / or courgette, which just sneaks in a bit of veg to the sauce. I have been known to add in a bit of tomato ketchup or even (in my past, God forbid) a pinch of sugar for sweetness alongside some seasoning.

    To assemble the lasagne, I sliced an aubergine lengthways, coated it with olive oil and seasoned with S&P, then cooked the slices, several at a time, in my griddle pan. (We love food with lines on it!) Once cool, I assembled the lasagne in a small oven proof dish starting with a thin layer of bolognese, then a single layer of aubergine, then bolognese, aubergine and so on. I think I had about 4 layers of each, ending in aubergine, then I grated lots of parmesan cheese on top. You could make a bechemel sauce but it was a Tuesday evening so I didn’t have much time, and it was plenty moist enough as it was.

    It probably took about 20 mins at 180C to make it hot and bubbly with the cheese starting to go nice and brown, but this was only a small dish. We had baby spinach with it but you could serve it with garlic bread to mop up.

  • Banana pancakes

    Banana pancakes

    IMG_0088Breakfast in the week is always such a rush, so we like to make something a bit more special at the weekends. Home made Scotch pancakes with maple syrup & bacon were a big favourite but off the menu now for me, due to the flour, the sugar and the syrup – triple whammy!

    It’s taken a while to find a suitable replacement but these are the clear winner. They are much quicker to cook than the ‘traditional’ ones and contain no refined sugar, but the bananas make them just sweet enough. They’re very light and fluffy, and a surprisingly healthy breakfast if you don’t slather them with jam or syrup!

    Ingredients:
    2 bananas
    4 eggs
    2 heaped tbsp gluten free flour
    generous sprinkling of cinnamon
    generous pinch of baking powder (GF)

    Mash the bananas in a bowl with a fork until most of the lumps are gone. (I’ve made these with incredibly ripe and a-bit-ripe bananas and both seem to turn out ok, but the riper the bananas, the sweeter the pancakes). Break the eggs into the bowl and mix in well. You can stop here and get cooking, but I like to stir in the last three ingredients for texture, flavour and fluffiness respectively.

    I usually get two small frying pans on the go on a lowish heat so I can cook two pancakes at a time. I make a mixture of oil and melted butter to cook them in, and just spread a small amount on each pan with a pastry brush. Pour in a serving spoon’s worth of batter and flip them when you can see the edges are starting to cook. You have to do this confidently, as the top will still be quite wet at this point. They don’t need long on the other side.

    I tend to pile them up on a plate in a very low oven until they’re all done so we can all sit down and enjoy them together. I think I got 13 out of this morning’s mixture, which fed the four of us with a couple of slices of bacon. I added a dribble of agave nectar to mine, just for old times’ sake…

  • Super satay chicken

    Super satay chicken

    On many occasions I feel like being coeliac and off refined sugar where possible means I miss out on lots of food – in some cafes and restaurants more than half the menu can be off limits, which is frustrating. However, sometimes I find myself being more than a bit grateful that my food quest has led me to something new and exciting. I’m sure I wouldn’t have found my new favourite food, almond butter, if I wasn’t always on the lookout for new and interesting ingredients to take the place of things I’m not allowed to eat.

    I discovered almond butter a couple of weeks ago when I made Deliciously Ella’s avocado chocolate mousse, which went down extremely well with my dinner guests. And since then, I’ve been figuring out what else I could do with it other than dip vegetables in it and eat it straight from the jar! Then a couple of days ago, I saw this post from Gluten Free B, a well known coeliac blogger, who had made almond butter chicken with cauliflower rice. This was just the recipe for me! But as there was only a picture, I’ve done a bit of research and made up my own version. And I’ll definitely be making it again as it was a roaring success. I reckon it’ll barbecue nicely in summer too.

    I managed to produce a rather good almond butter satay that really helped keep the chicken moist and was a definite improvement on the peanut butter satays I’ve tried to make in the past. And I already had all the ingredients in the cupboard, so this could become a family staple.

    I’ve never eaten cauliflower rice before, so i thought I’d give that a go too. Plenty of people, particularly paleo followers, totally rave about cauliflower rice, and this seemed like a good opportunity to give it a try. I’ve never been a fan of food trying to masquerade as something it isn’t, and I can’t say cauliflower rice tasted anything like actual rice… but it did the job of being a decent accompaniment to the chicken, with a nice texture and an interesting flavour. I think it would work better with something more saucy, as it were.

    Ingredients

    So, almond butter satay then:

    4-5 tbsp almond butter (I used a cutlery spoon so this is approx)
    2 tbsp tamari soy sauce
    1 tbsp lime juice
    1 tbsp agave nectar (*) or honey
    1/4 tsp smoked garlic powder (what I had in – plain would be fine)
    really good grind of black pepper
    sprinkling of chilli flakes
    3 chicken fillets cut into strips

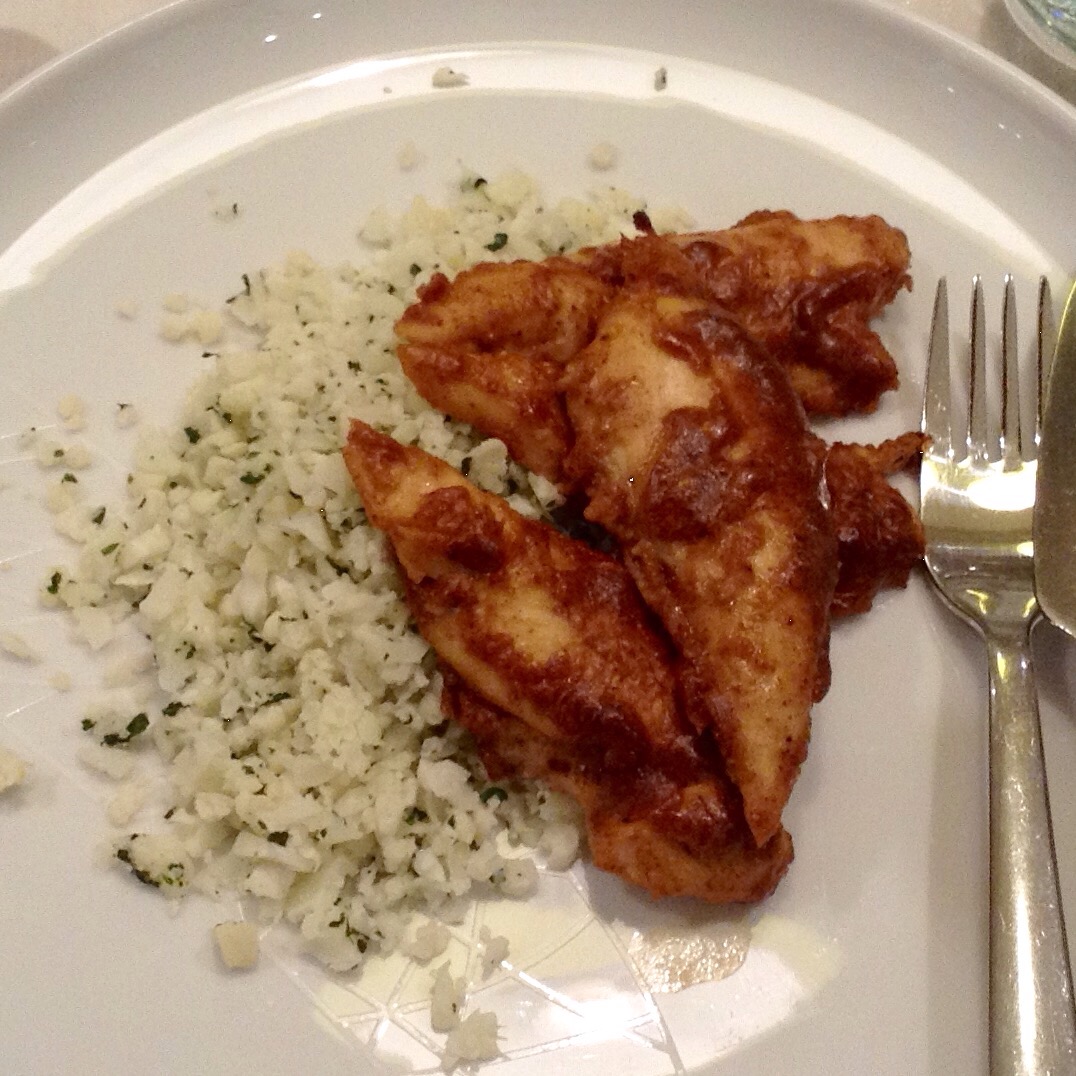
    IMG_0079All you need to do is combine the satay ingredients in a dish and then add in the pieces of chicken and marinade them at room temperature for half an hour (or longer). You could barbecue, pan fry or griddle the chicken but for minimal effort, I put the strips on a lightly oiled baking tray and cooked them for 12 minutes at 190C.

    Cauliflower rice is equally easy. You only really use the florets for this. I cut them up into small chunks and pulsed them 4 or 5 times in my mini whizzer. The key is to only put in a few at a time, so you end up with evenly chopped pieces. I put them in a bowl covered in cling film and microwaved them for 4 minutes (no need to add any water). Then I added a bit of chopped coriander leaf I had in the freezer to add a bit of colour and flavour. Ta da! My 6 year old wanted me to save him some of the chicken, but I’m taking the rest for my lunch tomorrow with some slaw!

    (* Frankly I feel really poncey using agave nectar. I really don’t get the whole sugar-free thing where you’re allowed to just use sugar substitutes, and I’m generally trying to avoid them where possible, but where a bit of sweetness is really called for in a recipe, I figured this is better than refined sugar, so I keep a bit in my cupboard. Honey would probably work fine here though.)

  • Food superhero: Broccoli soup

    Food superhero: Broccoli soup

    IMG_2234I really want to share this recipe because it’s become a staple in my house. It’s great on so many levels: it’s quick and simple to make, super healthy because of all the green veg, the kids love it, and it’s a great way of using up broccoli stalks which would otherwise go in the bin.

    I tend to use what’s in the fridge so I can’t be too specific with the measurements, but here are the basics:

    Ingredients:

    About a tablespoon each of butter and olive oil
    1 large onion
    1 leftover broccoli stalk (florets used in something else) and one full head of broccoli
    vegetable stock (gluten free, of course)

    optional extras: spinach, frozen peas, cream, loads of black pepper, parmesan, ham, prawns…

    Method:

    Roughly chop the onion and soften in the oil and butter in a large pan.

    Remove and chop the florets from the full head of broccoli. Chop the dry bit off the bottom of the broccoli stalks then slice them into quarters, lengthways and chop into approximately 2cm pieces. Add these to the pan and fry for a few minutes.

    Add hot vegetable stock to just under the top of the broccoli, and simmer with a lid on until the broccoli is cooked. This is about 7-10 mins depending on the size of the broccoli. Don’t overcook it as the broccoli will lose its vibrant colour.

    When the broccoli is cooked through, blitz into smooth soup with a hand blender in the pan. That’s it! I don’t usually add salt as there’s generally enough in the stock.

    There are some variations you can do. If I have any in the fridge, I add a generous splash of cream to make it a bit more indulgent.

    Spinach can be added immediately before blending, and will give the soup a silky texture. It’s good to add spinach if you only have broccoli stalks and no florets, because it adds some more colour.

    You can add frozen peas a few minutes before the broccoli is cooked, then whizz them into the soup. Or for the kids, I sometimes add them frozen to the finished soup, to cool it down.

    Their favourite is when I put in peas and prawns and we call it Octonauts’ soup – they’re easily pleased!

    Tonight we had it with peas and spinach, and lots of parmesan and black pepper, with a gluten free bagel from Udis. And I’ll be taking the leftovers to work tomorrow.

  • Product review: Orgran Pizza and Pastry Multimix (via Gluten Free Centre)

    Product review: Orgran Pizza and Pastry Multimix (via Gluten Free Centre)

    IMG_2099I’ve written a review of Orgran Gluten Free Pizza and Pastry Multimix for the Gluten Free Centre. You can read it here.

    This is the rather yummy pizza I made with it, topped with chicken, artichokes and peppers.

  • Creamy saffron kedgeree

    Creamy saffron kedgeree

    IMG_0028We love a good breakfast in my house. On lazy weekend mornings hubby and I love to sit with a big mug of coffee and indulge in a nice hearty breakfast, to ring the changes from our midweek cereal scoffing. I was looking for interesting brunch recipes for over Christmas, when I came across this lovely creamy saffron kedgeree by James Martin for BBC Good Food.

    I’ve never made or really eaten kedgeree before but this seems to be a particularly indulgent recipe. I particularly like the sieved (boiled) egg yolks, which the kids loved sprinkling on – so pleasingly small. And the saffron infusion is a lovely touch. It’s not something to be made in a rush, but it makes a delicious, filling brunch. The leftovers reheat nicely too.

    The first time, I used garam masala instead of mild curry powder, but this got a fair bit spicier when I reheated it, much to the shock of my six year old! I invested in some mild curry powder to make it the second time, but I think it can take a little bit more than the recipe suggests, if you like spice.

    Thanks James. 🙂